Your partner desk
For agencies that work with an organization: join with a code, add and send students, pay fees, and run your own team and sub-partners.
- 6 min
- 7 steps
- For partners
A partner desk is your agency's own space inside an organization's account. You add students and their papers and pay the application fees; the organization applies to the universities and records the results. You see only your own students and your sub-partners'.
Step 1
Join with a code
The organization, or the partner that brings you in, gives you a sign-up code or a sign-up link. On the sign-up page choose Join as a partner; a sign-up link opens that form for you with the code filled in. Enter your agency name, a contact person and phone if you like, your email (it becomes your login), a password of at least 8 characters and the code. Then choose Create my partner account.
The organization can also create your login itself and send you the details. Then you simply sign in.
Tip: A partner login is only for your desk. The same email cannot also belong to an organization, so use a different address if you also run one.
Step 2
Wait for approval
After signing up you can sign in, but you see a page saying your partnership is not approved yet. Nothing else opens until whoever gave you the code approves you. The page checks again by itself, or you can choose Check again. A login the organization created for you is approved already.
Step 3
Your home page
Home shows how many students you have, how many are sent and not sent yet, and how many have changes you have not sent. Below are the things waiting on you: Fees to pay and Documents the organization needs. If you can bring in partners of your own, your code is at the top.
Step 4
Add a student and send it
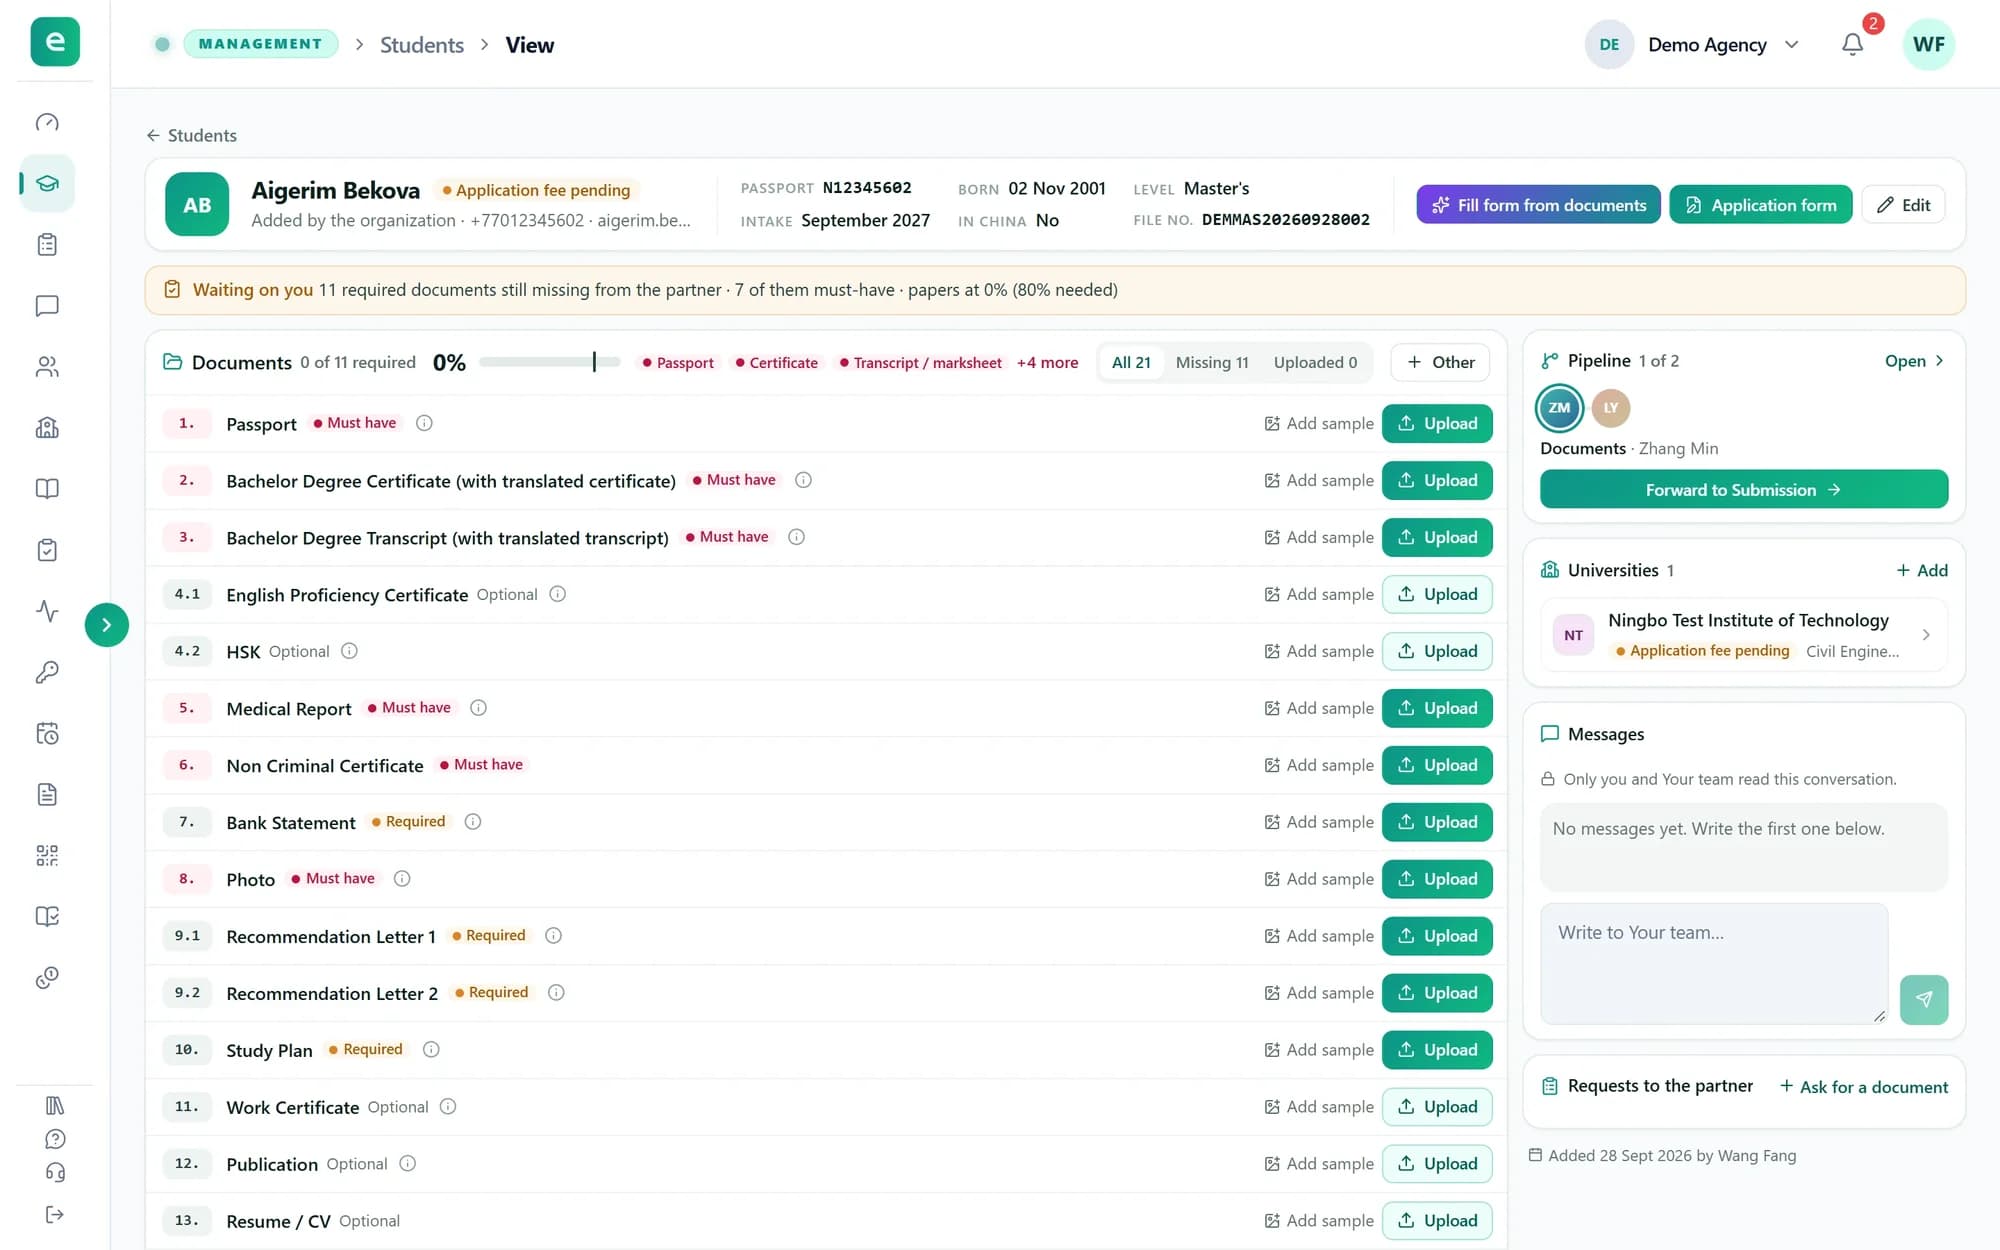
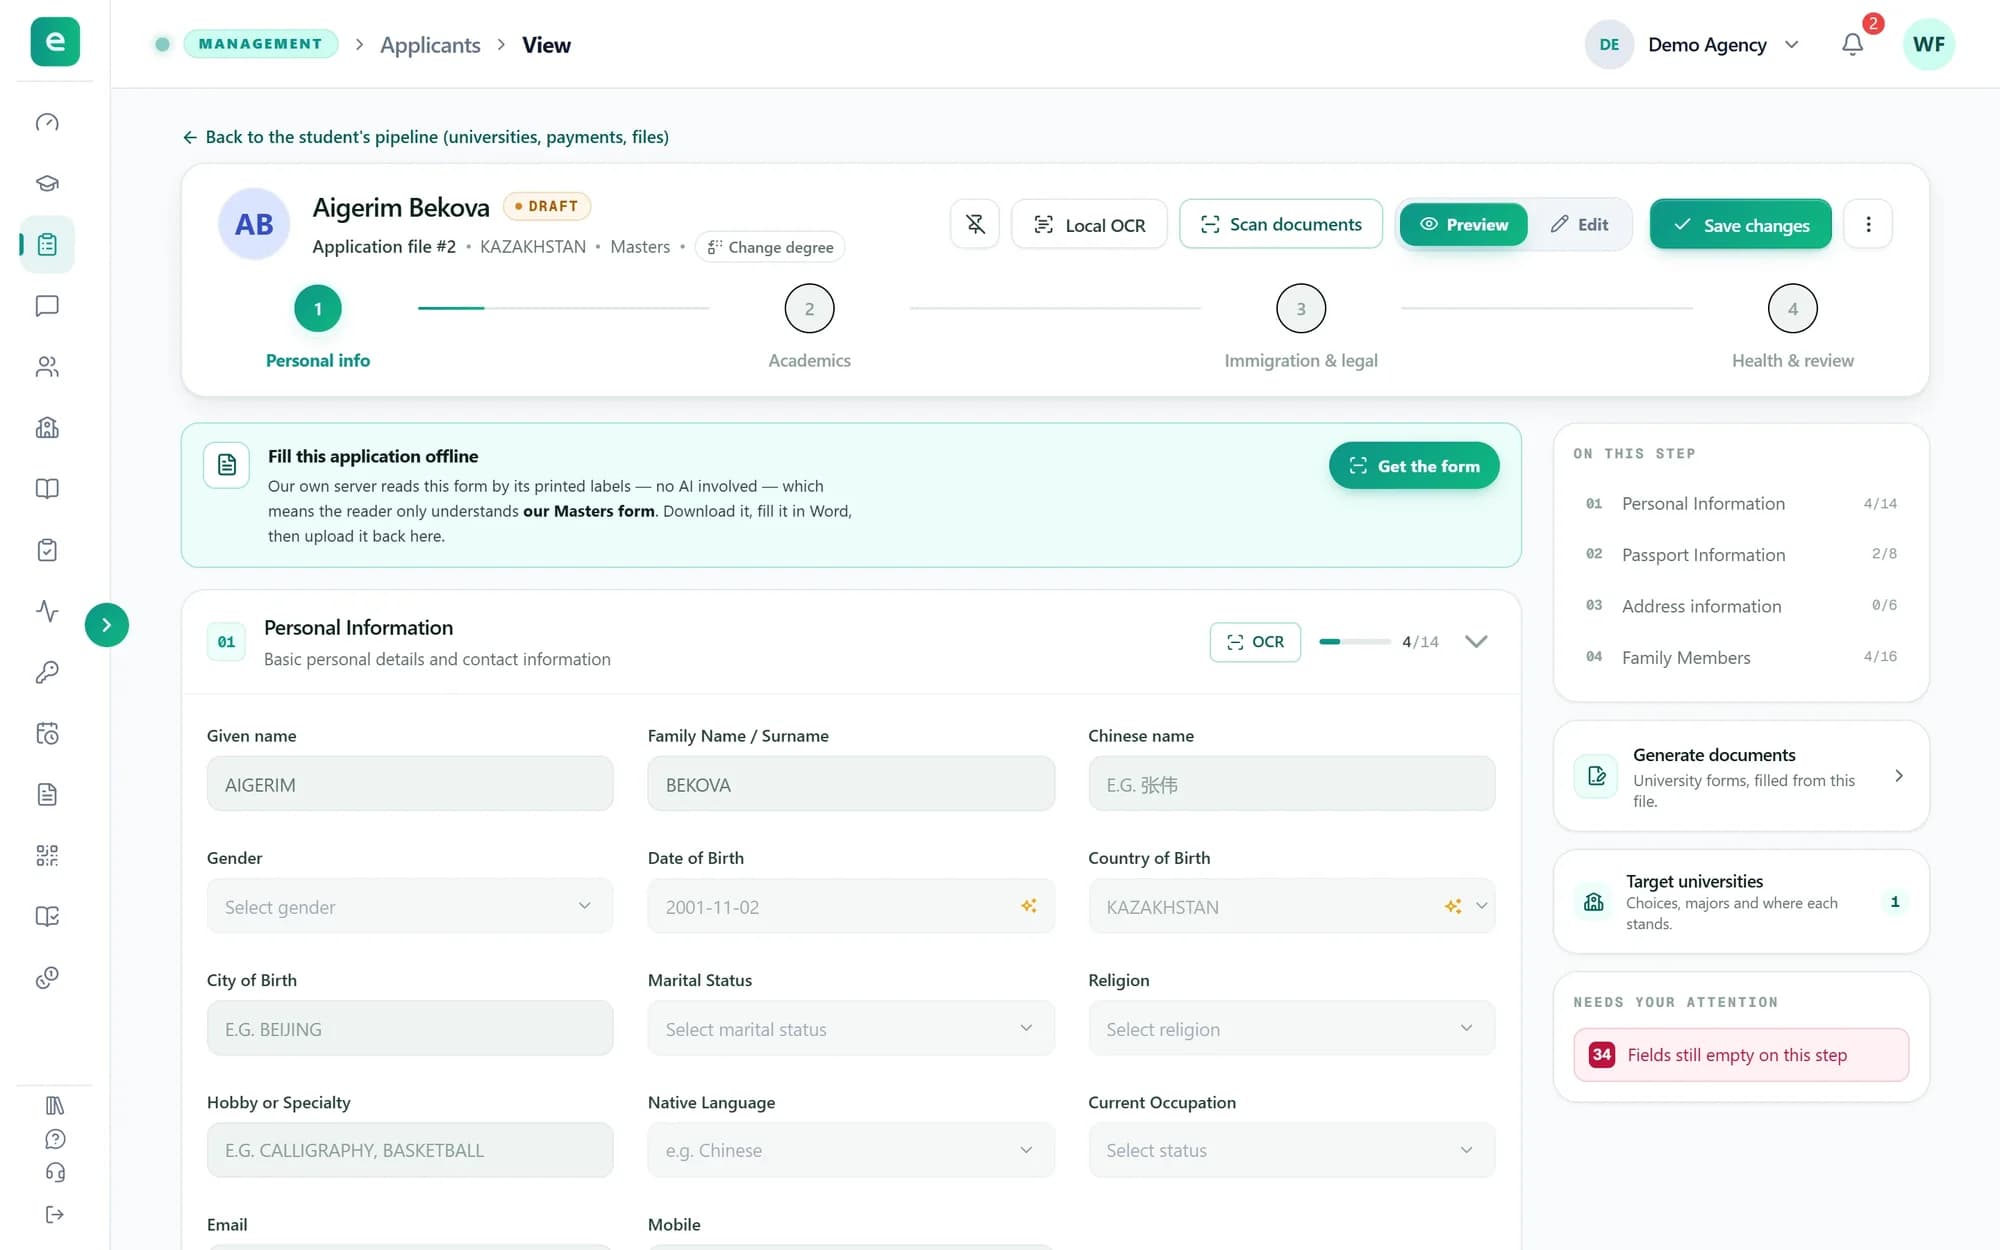
Choose Add student. Enter the student's details exactly as in the passport, then choose the universities; you can also add those later. On the student's page, upload the papers on the checklist.
The organization sees nothing of the student until you choose Send to and the organization's name. Anything you change afterwards stays with you until you choose Send updates.
Tip: You can send while must-have papers are still missing; the organization is told what is missing. The Students list shows each student's stage and whether it is sent.
Step 5
Answer requests and pay fees
When the organization asks for a paper, it appears under Documents the organization needs and on the student's page; upload it there.
For a university with an application fee, choose How to pay the fee on the student's page, pay, then choose Upload application fee screenshot. The organization confirms the payment before it applies, and attaches a screenshot of the application when it does.
Step 6
Bring in your team
The desk's owner and admins see Members in the sidebar. Choose Invite by email; the owner also chooses whether the person joins as a Member or an Admin. The link is good for 7 days. A member adds students and sends them, and sees only the students they added. An admin sees every student of the desk, like the owner.
If the organization switched the application form or the browser extension on for your desk, the owner and admins always have them; for a member, switch each one on in their row. Make admin and Make member change a person's role.
Tip: Only the owner can add or remove an admin. Someone whose email already belongs to an organization or to another desk cannot join yours.
Step 7
Open partners of your own
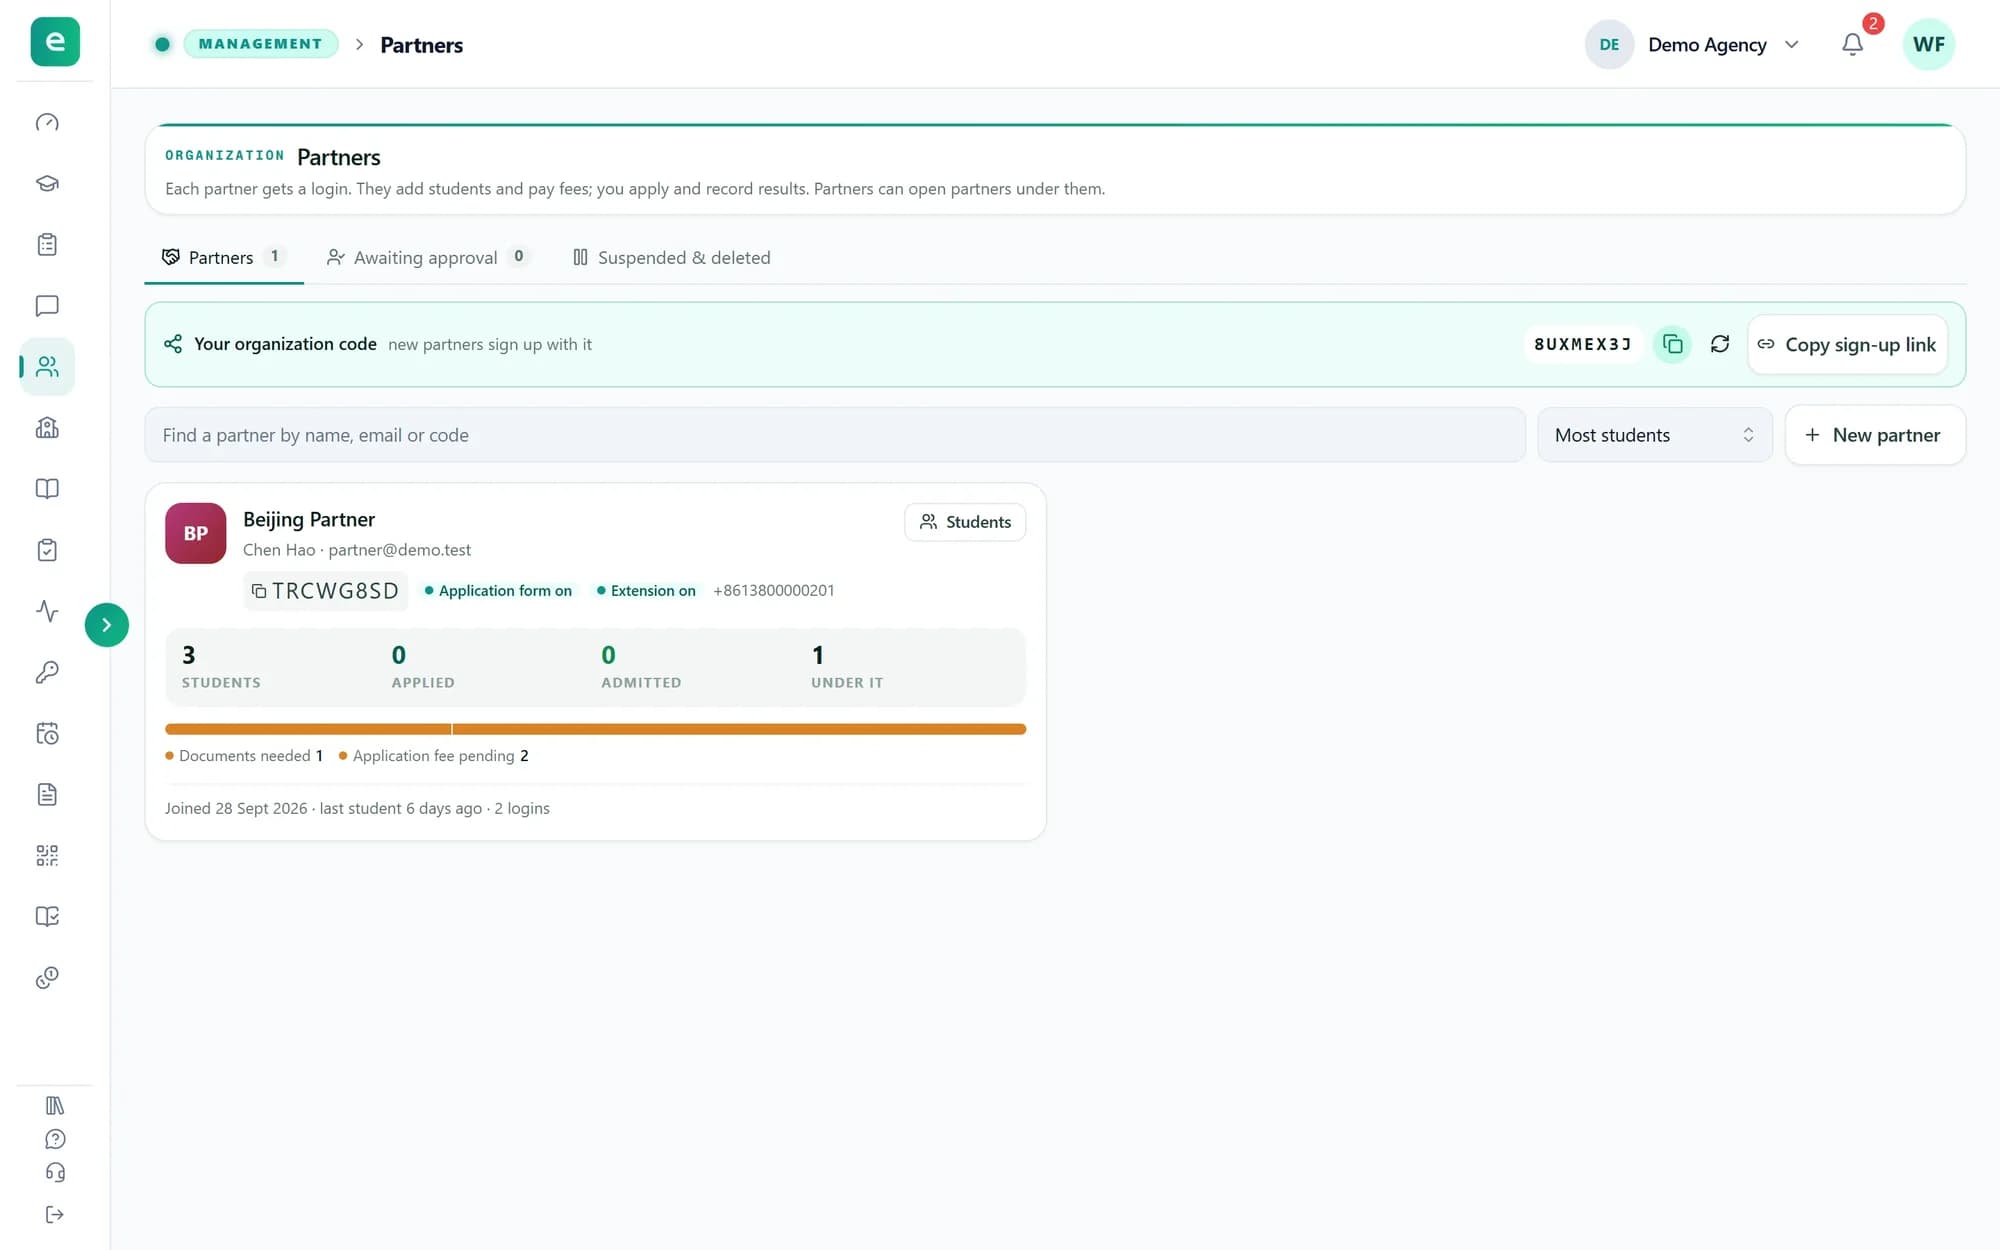
A partner directly under the organization can have partners of its own: sub-partners. Its owner and admins see My partners in the sidebar. Share your partner code or choose Copy sign-up link, or choose New partner to create a login yourself. New sign-ups wait on the Awaiting approval tab for you to approve.
A sub-partner's students appear in your Students list. What they send comes to you first, under Waiting for you to send on on your home page: check the file, then send it on to the organization. Their application fees are paid to you, with the methods you set under Application fee methods (the organization's, if you set none), and you confirm them.
Tip: A sub-partner can add and send students and have its own team, but cannot open partners of its own and never gets the application form or the browser extension. Sub-partners do not see your desk's name; they see the organization's.
What you have now
You can join, add and send students, pay their fees, and run your own team and sub-partners.