Fill university portals with the extension
Install the browser extension, connect it to your account, and let it type a student's application into a university's online portal.
- 4 min
- 6 steps
- For everyone
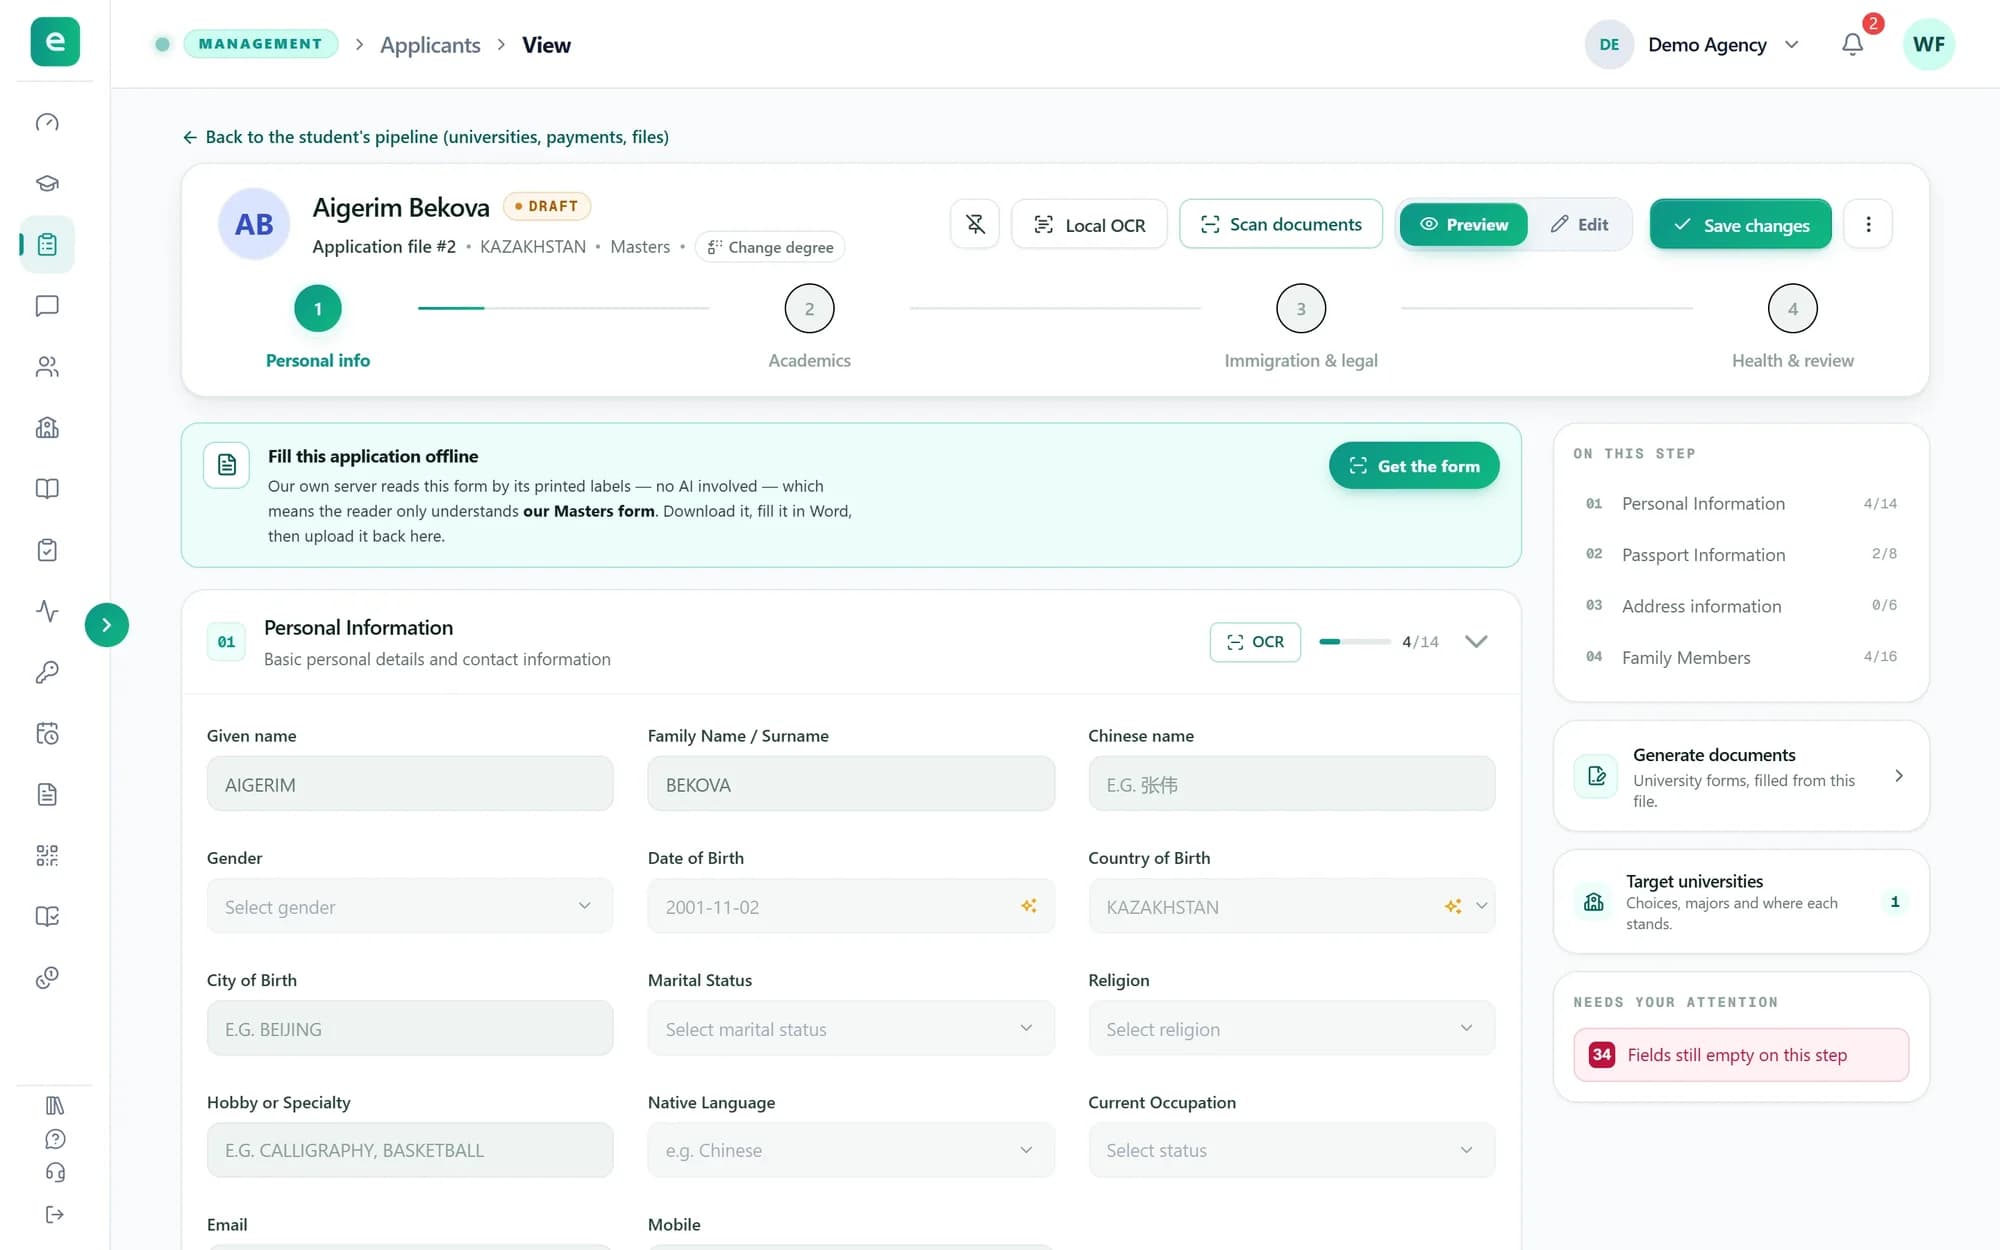
Many universities take applications through their own website. The browser extension reads the application you have already filled in and types it into the portal for you. You check each page and submit it yourself.
Step 1
Check that you may use it
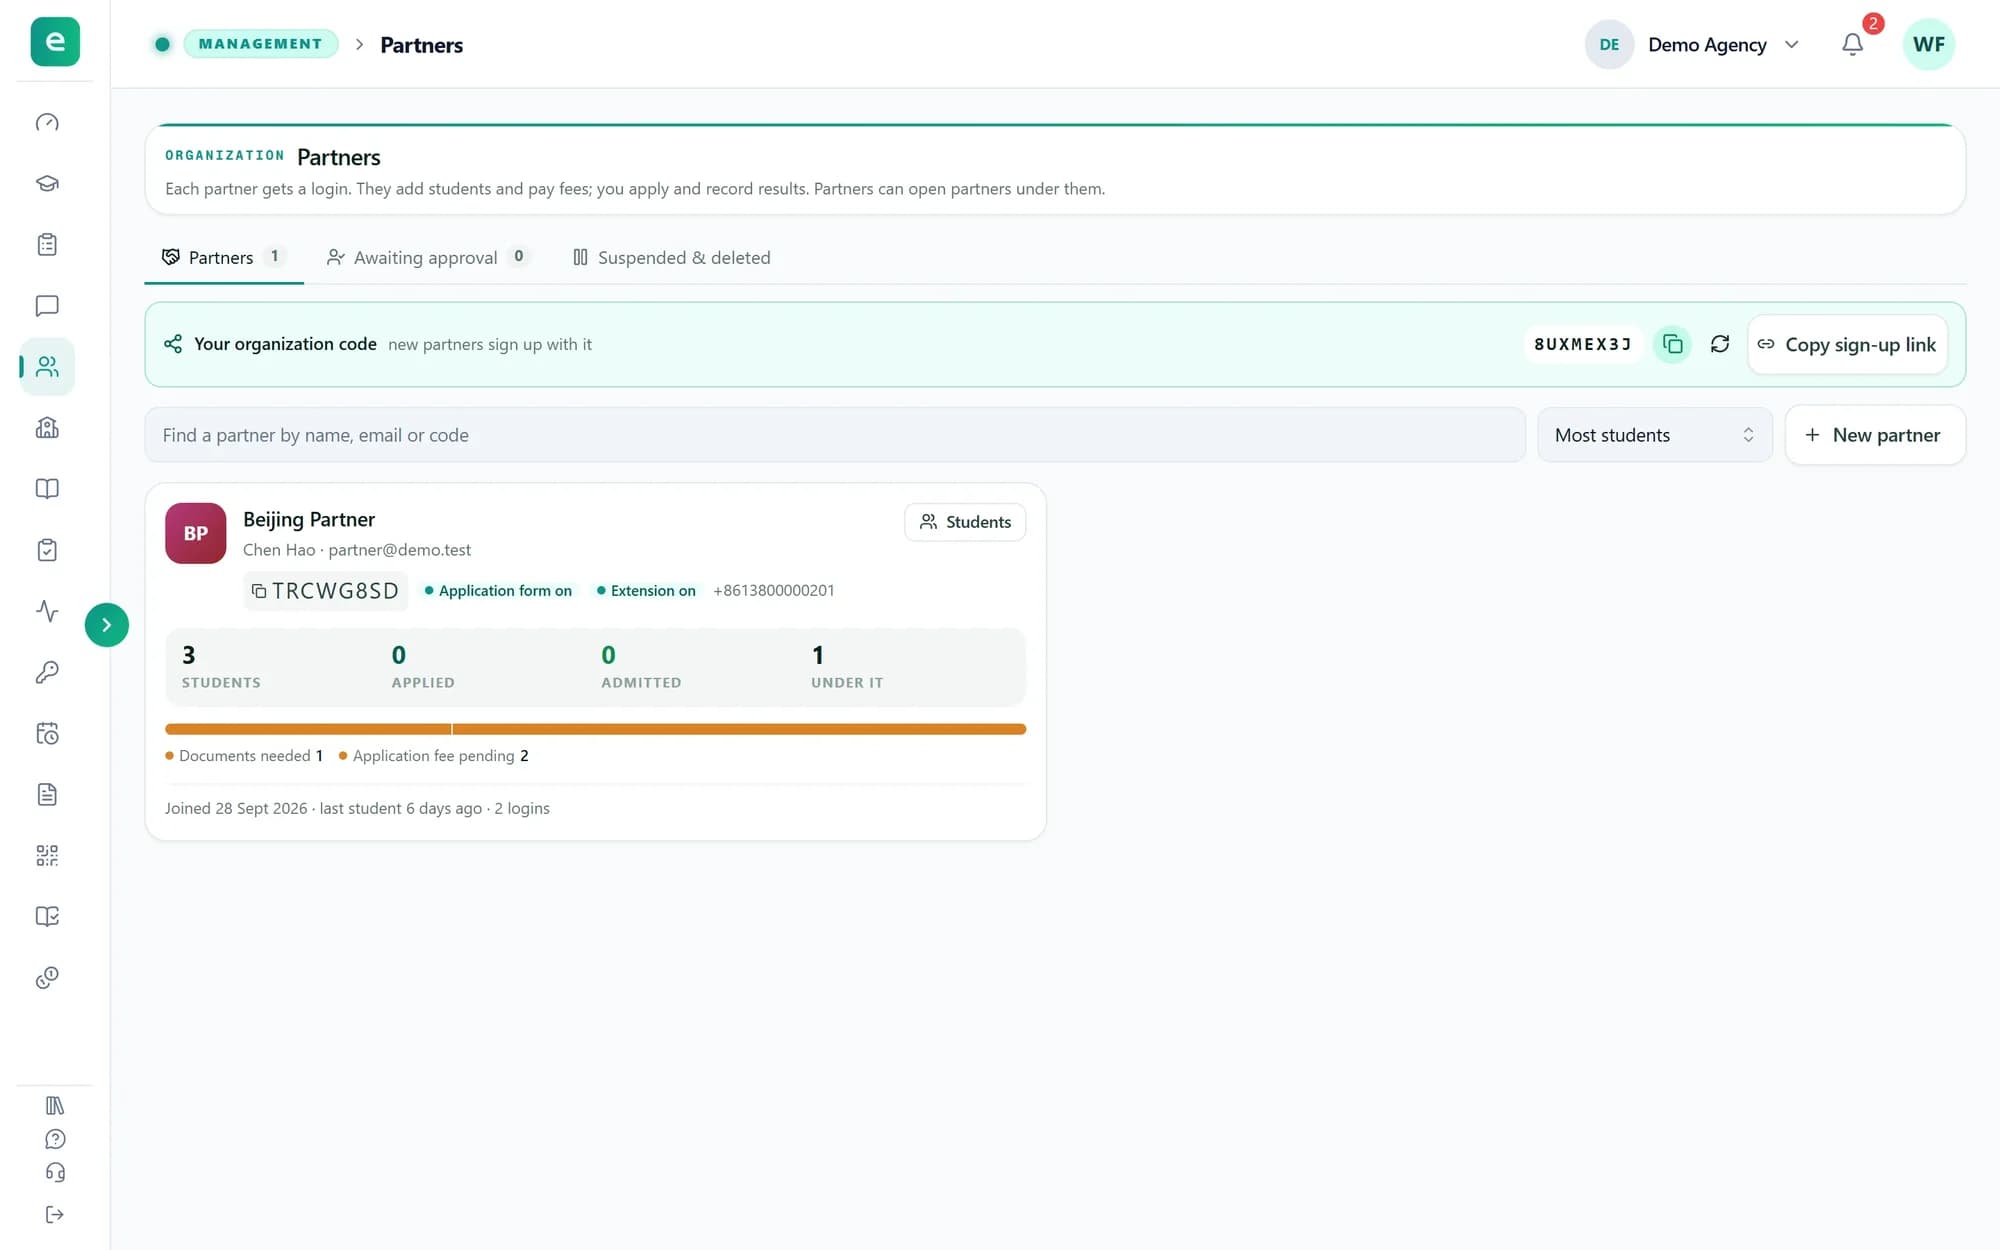
Owners and admins can always use the extension. Other members need Browser extension on their role, or switched on for them personally.
A partner can use it only when the organization has switched Browser extension on for that desk. A desk member who is not its owner or an admin also needs it switched on for them at the desk. Sub-partners, and desks still awaiting approval, cannot use it.
Tip: Access is checked every time the extension is used. When it is taken away, the extension stops working for that person at once, even on a browser that was already connected.
Step 2
Install the extension
Open the extension page, linked from the foot of this website. The extension runs in Chrome, Edge and other Chromium browsers.
When the extension is listed in the Chrome Web Store, the page shows Add to Chrome. Until then it says that the listing is not live yet.
Tip: Connecting always starts from inside the extension, as in the next step.
Step 3
Connect your account
Click the extension's icon in the browser toolbar and press Connect EduApplify account. A tab opens on this website: sign in if asked, check the email under Signed in as, and press Allow Access.
The extension then shows your name and email. Disconnect in the extension signs that browser out. Members of an organization can also disconnect a browser under Connected devices on My Profile.
Step 4
Open the portal and choose the applicant
Open the university's application portal in the same browser and sign in there. The extension says Connected portal when it recognises the page, and Unsupported page when it does not.
If you belong to several organizations, pick one under Select organization. Then search Select applicant by name, passport or file number. You only find applicants you can see in the web app.
Step 5
Start the fill
Press Start Autofill. The extension works through the portal's pages and fields. On a portal with several steps you can choose the step to start at.
If it reaches something only you can decide, it stops with Needs your input and highlights the field on the page: answer it there to carry on. At the end it shows how many fields were filled, skipped or failed.
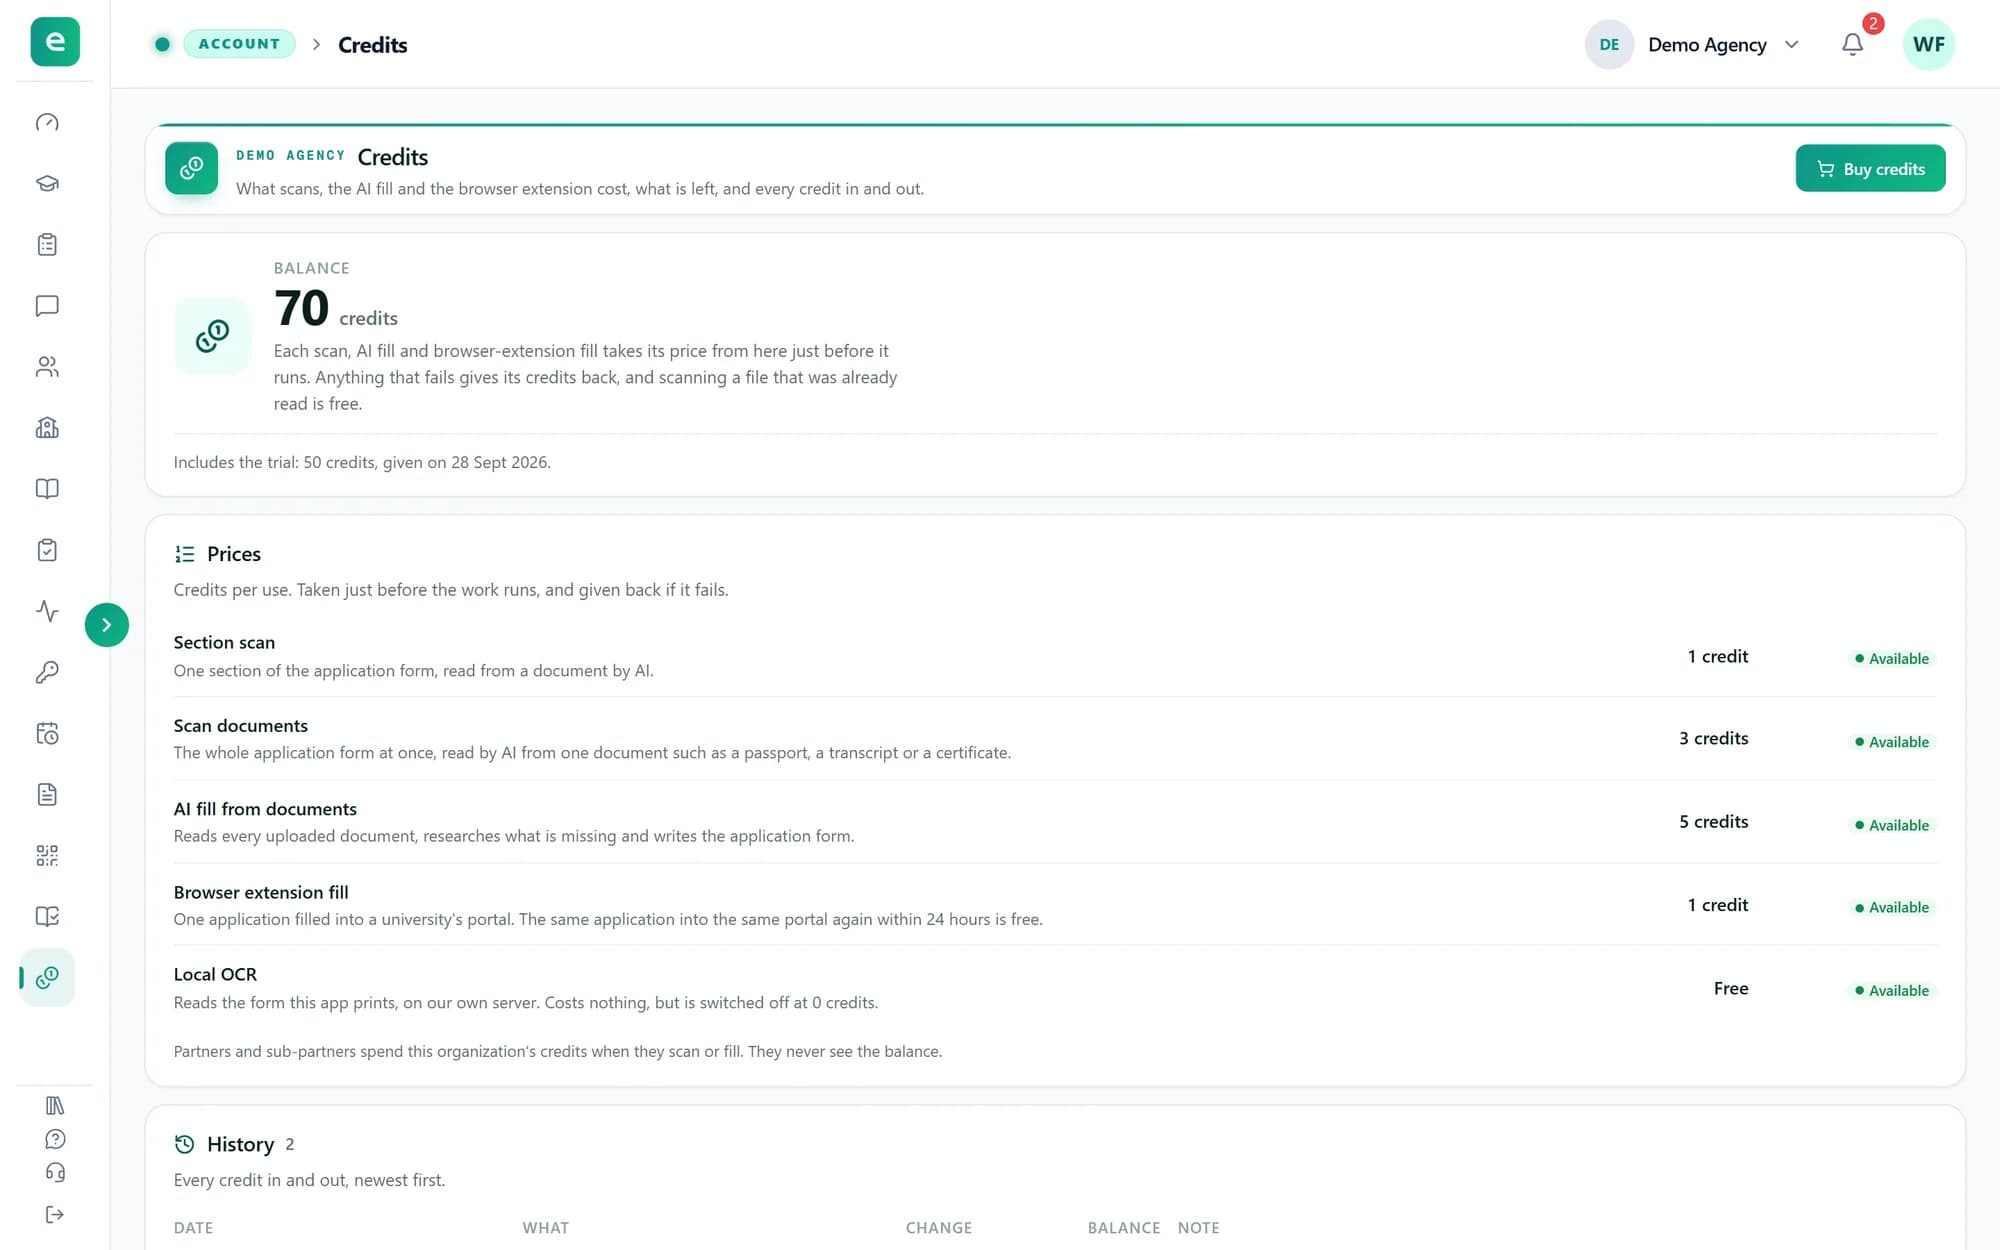
Tip: Each fill costs your organization 1 credit when you press Start Autofill. The same applicant in the same portal again within 24 hours is free, and a fill that cannot be prepared gives its credit back. With no credits left, the extension says Out of credits.
Step 6
Check and submit it yourself
Go through every page of the portal. Compare the values with the application, and fix anything that is wrong or still empty. Then submit the application on the portal yourself.
If a value is wrong in the application itself, correct it there too, so the next fill is right.
What you have now
Your browser is connected, and you can fill a supported portal for any applicant you can see, then check and submit it yourself.