Work with partners
Bring partner agencies in with your code or a login you create, approve them, and choose what each one may use.
- 5 min
- 6 steps
- For organizations
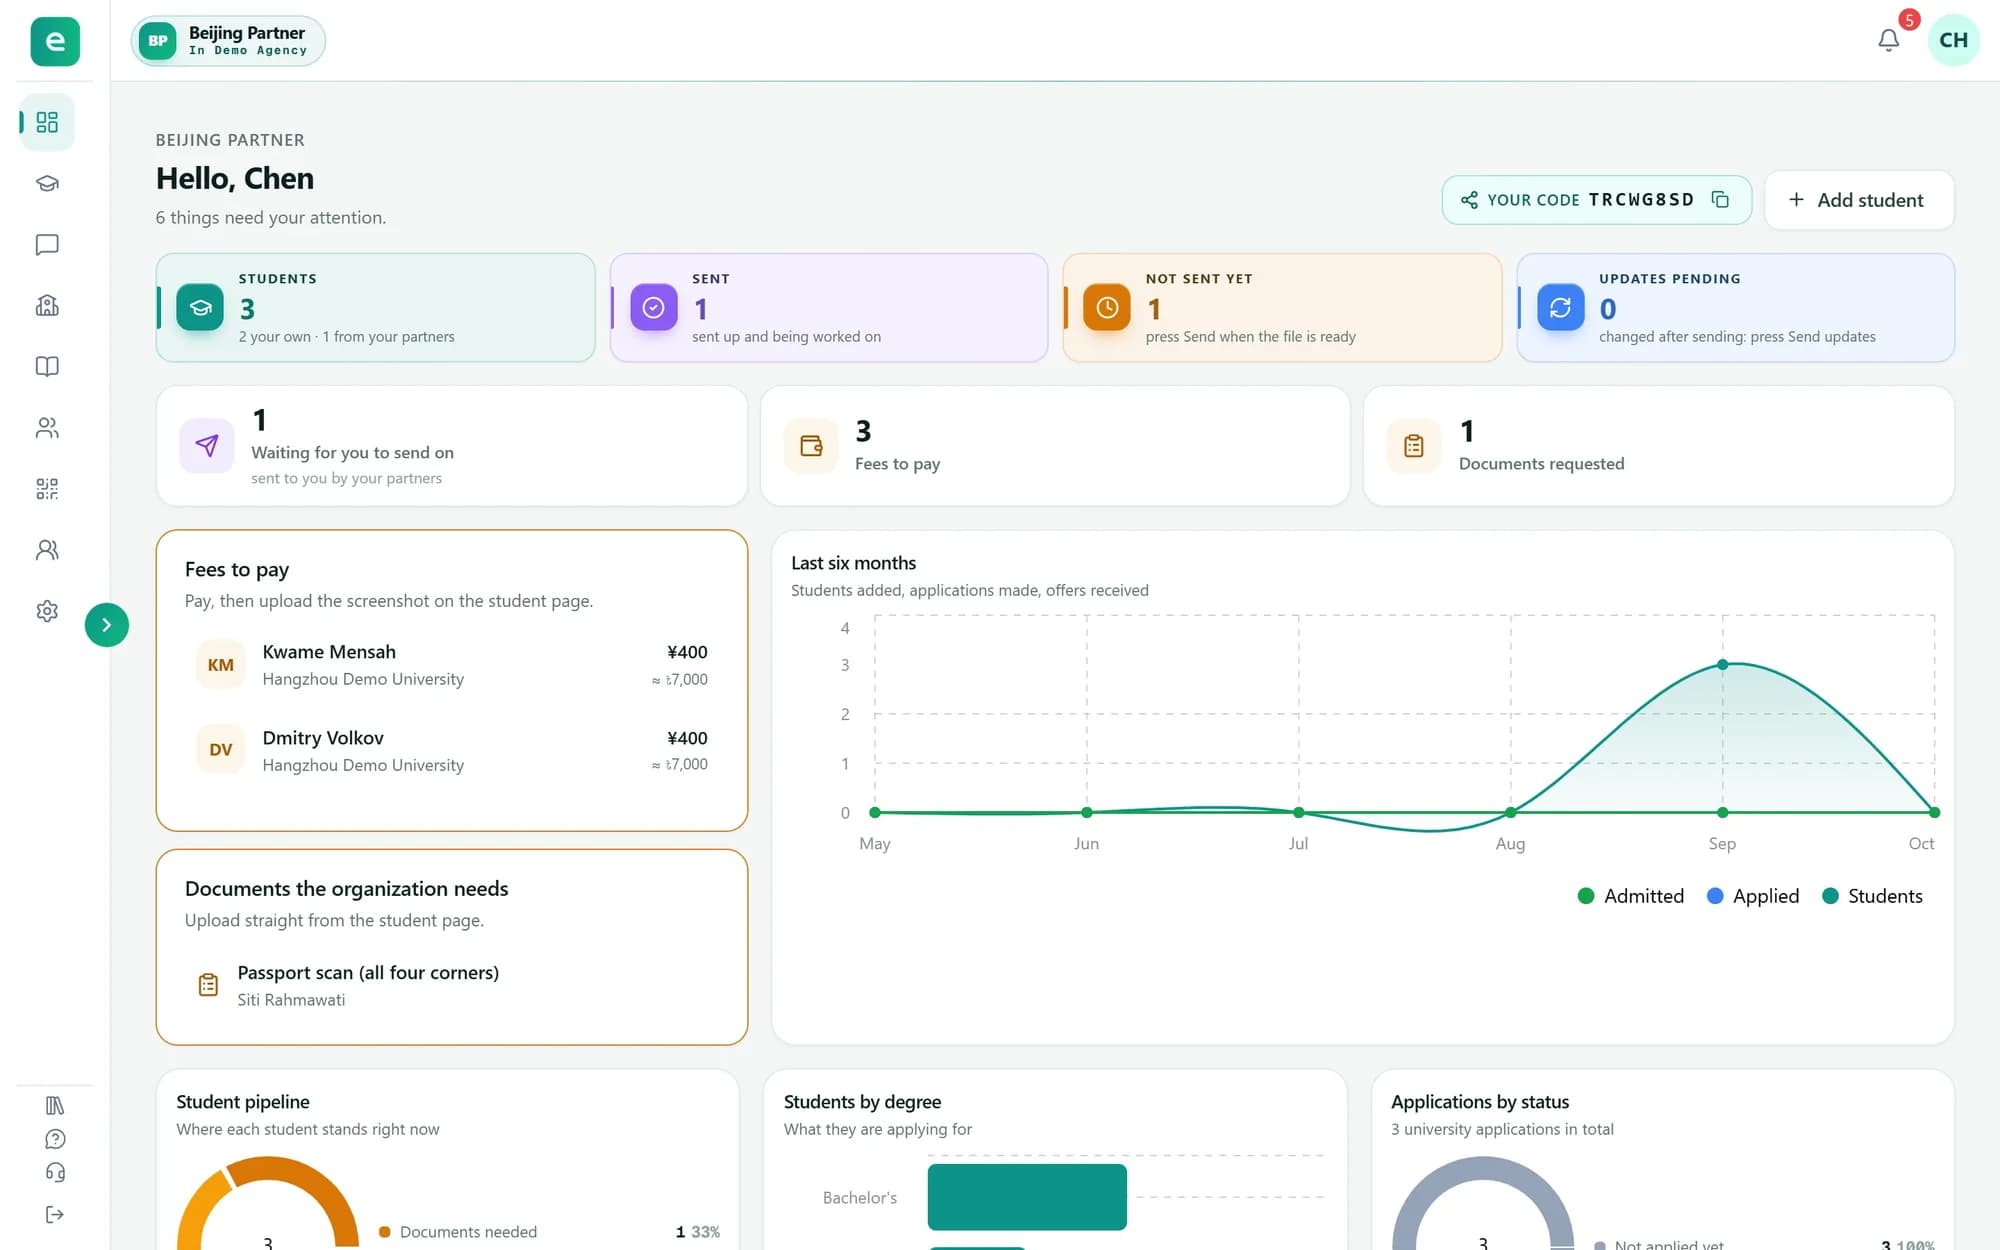
A partner is an agency that sends you students. Each partner gets its own login and desk: it adds students and papers and pays the application fees; you apply and record the results. The owner, admins and members whose role has Manage partners run the Partners page.
Step 1
Share your organization code
Open Partners in the sidebar. Your organization code is at the top. Copy the code, or choose Copy sign-up link: the link opens the partner sign-up form with the code already filled in.
Whoever signs up with it becomes a partner directly under your organization.
Tip: Issue a new code (the circular arrow) stops the old code and old links at once. Partners who already signed up are not affected.
Step 2
Approve partners who sign up
A partner who signs up with your code can sign in at once, but can do nothing else until you approve them. They wait on the Awaiting approval tab, and owners and admins are notified when one signs up. Choose Approve to let them start, or Decline, which suspends the account.
Step 3
Or create the login yourself
Choose New partner. Enter the partner name, a contact person and phone if you like, the login email and a password of at least 8 characters (one is filled in for you). Under decides where the partner sits: at the top level under your organization, or under one of your partners, which makes it a sub-partner.
Choose Create partner. The next screen shows the login details once: copy them and send them to the partner. A partner you create needs no approval.
Tip: The login email must not have an account already. A partner login stays a partner login: it cannot also be a member of an organization.
Step 4
Choose what each partner may use
Click a partner's card to open it. Two switches decide what that desk gets.
Application form lets the partner open the application form, the scanners and the AI fill for its own students.
Browser extension lets the partner fill university portals for its own students.
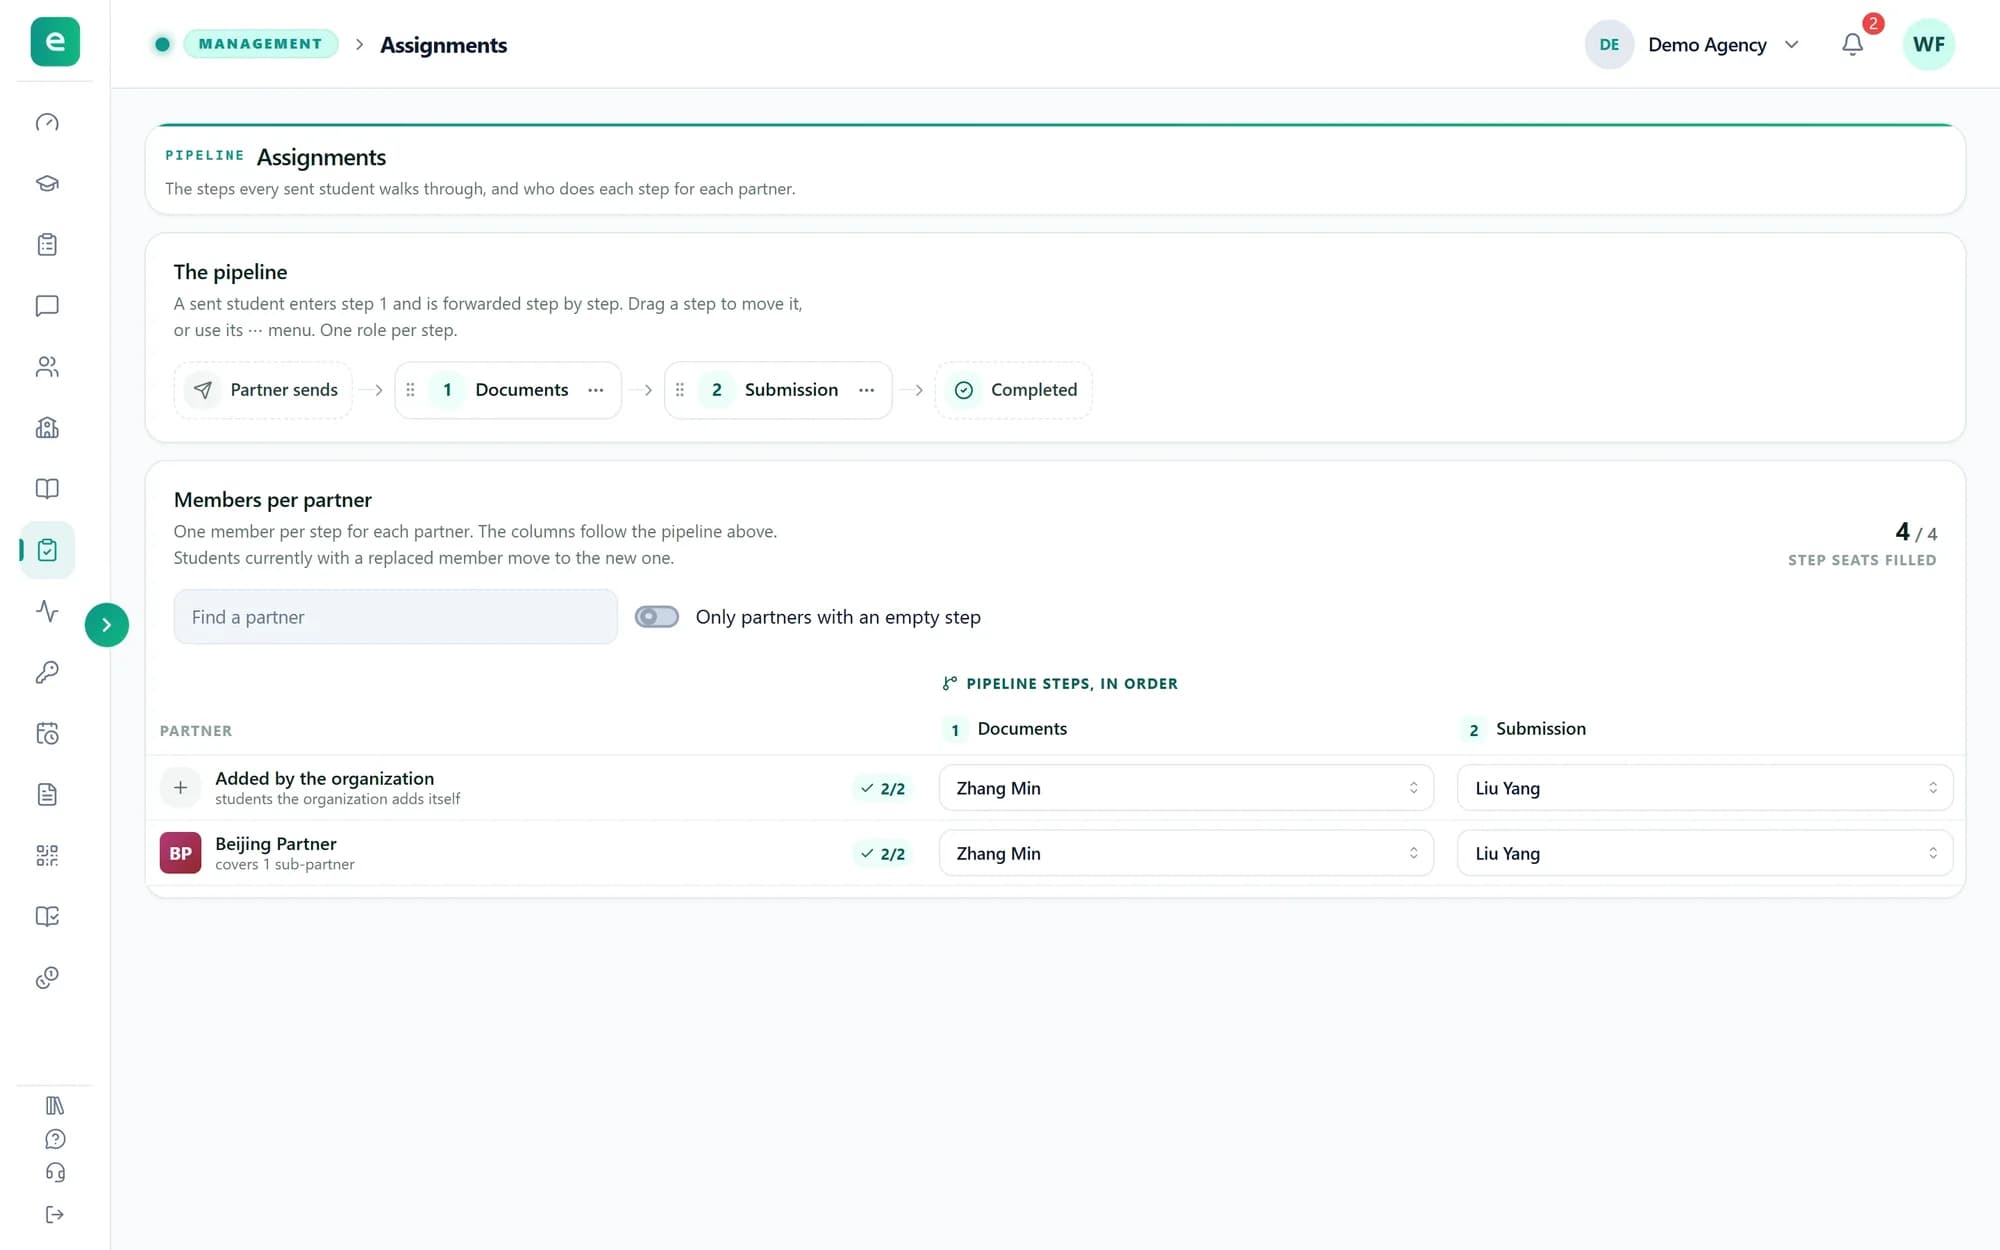
The same window shows who in your team works on this partner's students, with Edit to change it on Assignments.
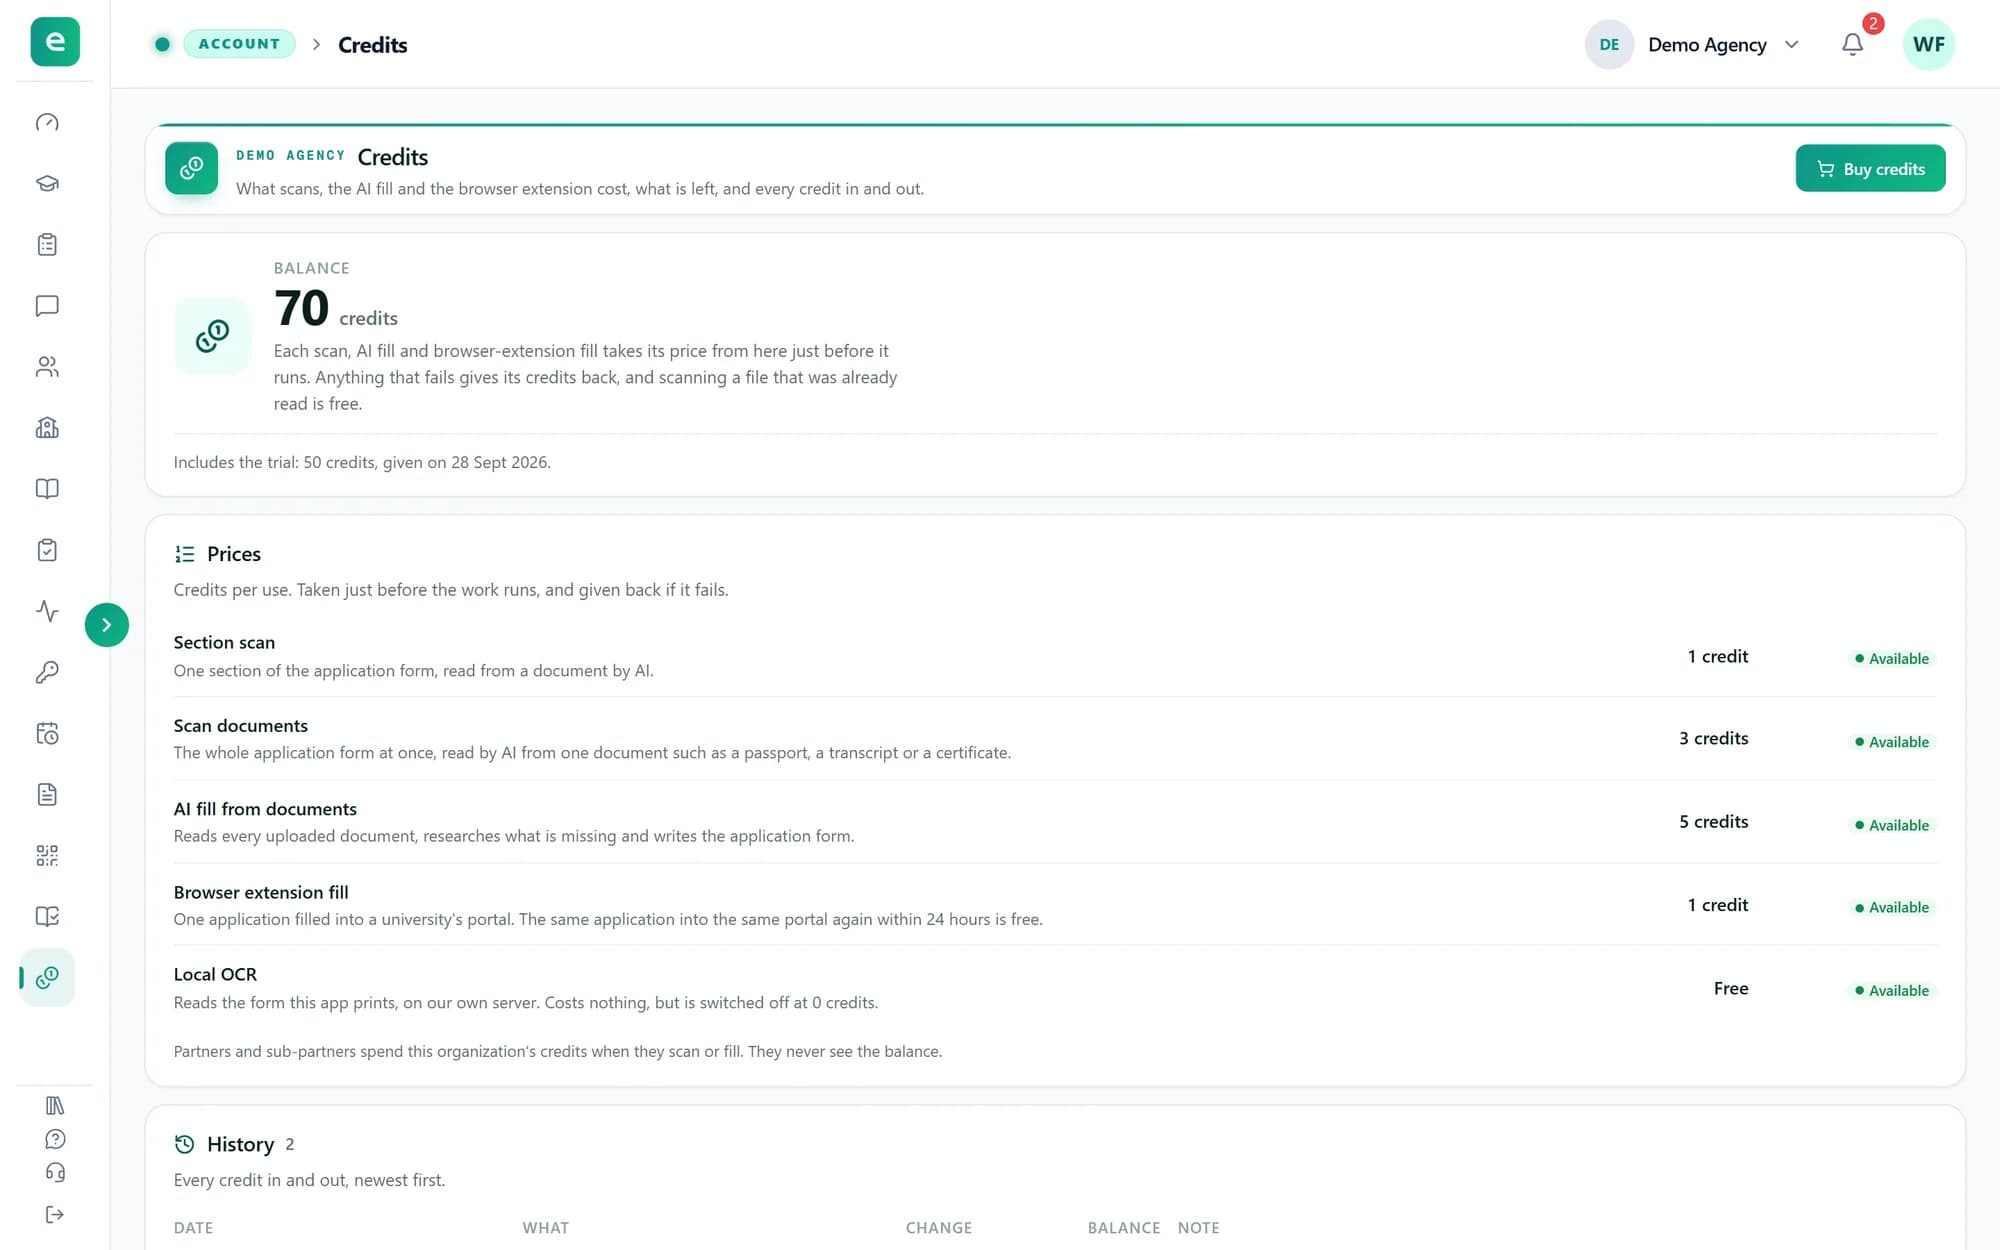
Tip: Only the owner or an admin can switch the browser extension on, and neither switch is offered for a sub-partner. What partners scan or fill is paid from your organization's credits; they never see your balance.
Step 5
Follow each partner's students
Each card shows the partner's students, how many have applied and been admitted, how many partners sit under it, and a bar of where its students stand. For a partner with sub-partners, the numbers include theirs. Choose Students to open your Students list filtered to that partner.
Step 6
Suspend or delete a partner
In a partner's window, Suspend stops its logins at once, and those of every partner under it. Reinstate brings the partner back, but not the partners under it; reinstate those one by one. Reset password gives the partner's login a new password and signs it out everywhere.
Delete suspends the partner now and removes it for good after ten days; its students then move up to the partner above, or to your organization. Until then you can restore it from the Suspended & deleted tab.
Tip: Move puts a partner under another partner, or back at the top level. Its students stay with it.
What you have now
Your partners have their own desks, and you decide who gets in and what each one may use.