Documents and application fees
Collect each student's papers against a checklist, ask partners for what is missing, show them samples, and confirm application fees.
- 6 min
- 7 steps
- For everyone
Every student has a checklist of papers for their degree, and every university with an application fee has a fee to settle before you apply. This guide covers both, from the organization's side and the partner's.
Step 1
Read the checklist
Open a student from Students. The Documents card lists the papers for the student's degree, numbered in the order the files are named when you download them.
Each paper is marked Must have, Required or Optional. The bar shows how much of the required paperwork is in. The student has Enough to apply once every must-have paper is uploaded and the bar reaches the 80% line. Use All, Missing and Uploaded to filter the list.
Step 2
Upload the papers
Press Upload on a row and pick the file. Any size is fine: files are compressed in the background, and an ID photo gets a blue background automatically, with the original upload kept as well. Press Other for a paper that is not on the list.
The (i) beside a paper's name says what is expected. Download all puts every file in one ZIP.
Tip: On the organization's side, uploading needs Upload documents on your role. Owners and admins always have it. A partner uploads for its own students.
Step 3
Ask the partner for a paper
Under Requests to the partner, press Ask for a document. Pick the checklist item, or leave it empty and type what you need. Say what is wrong if a file was not good enough, add a note, and press Send request.
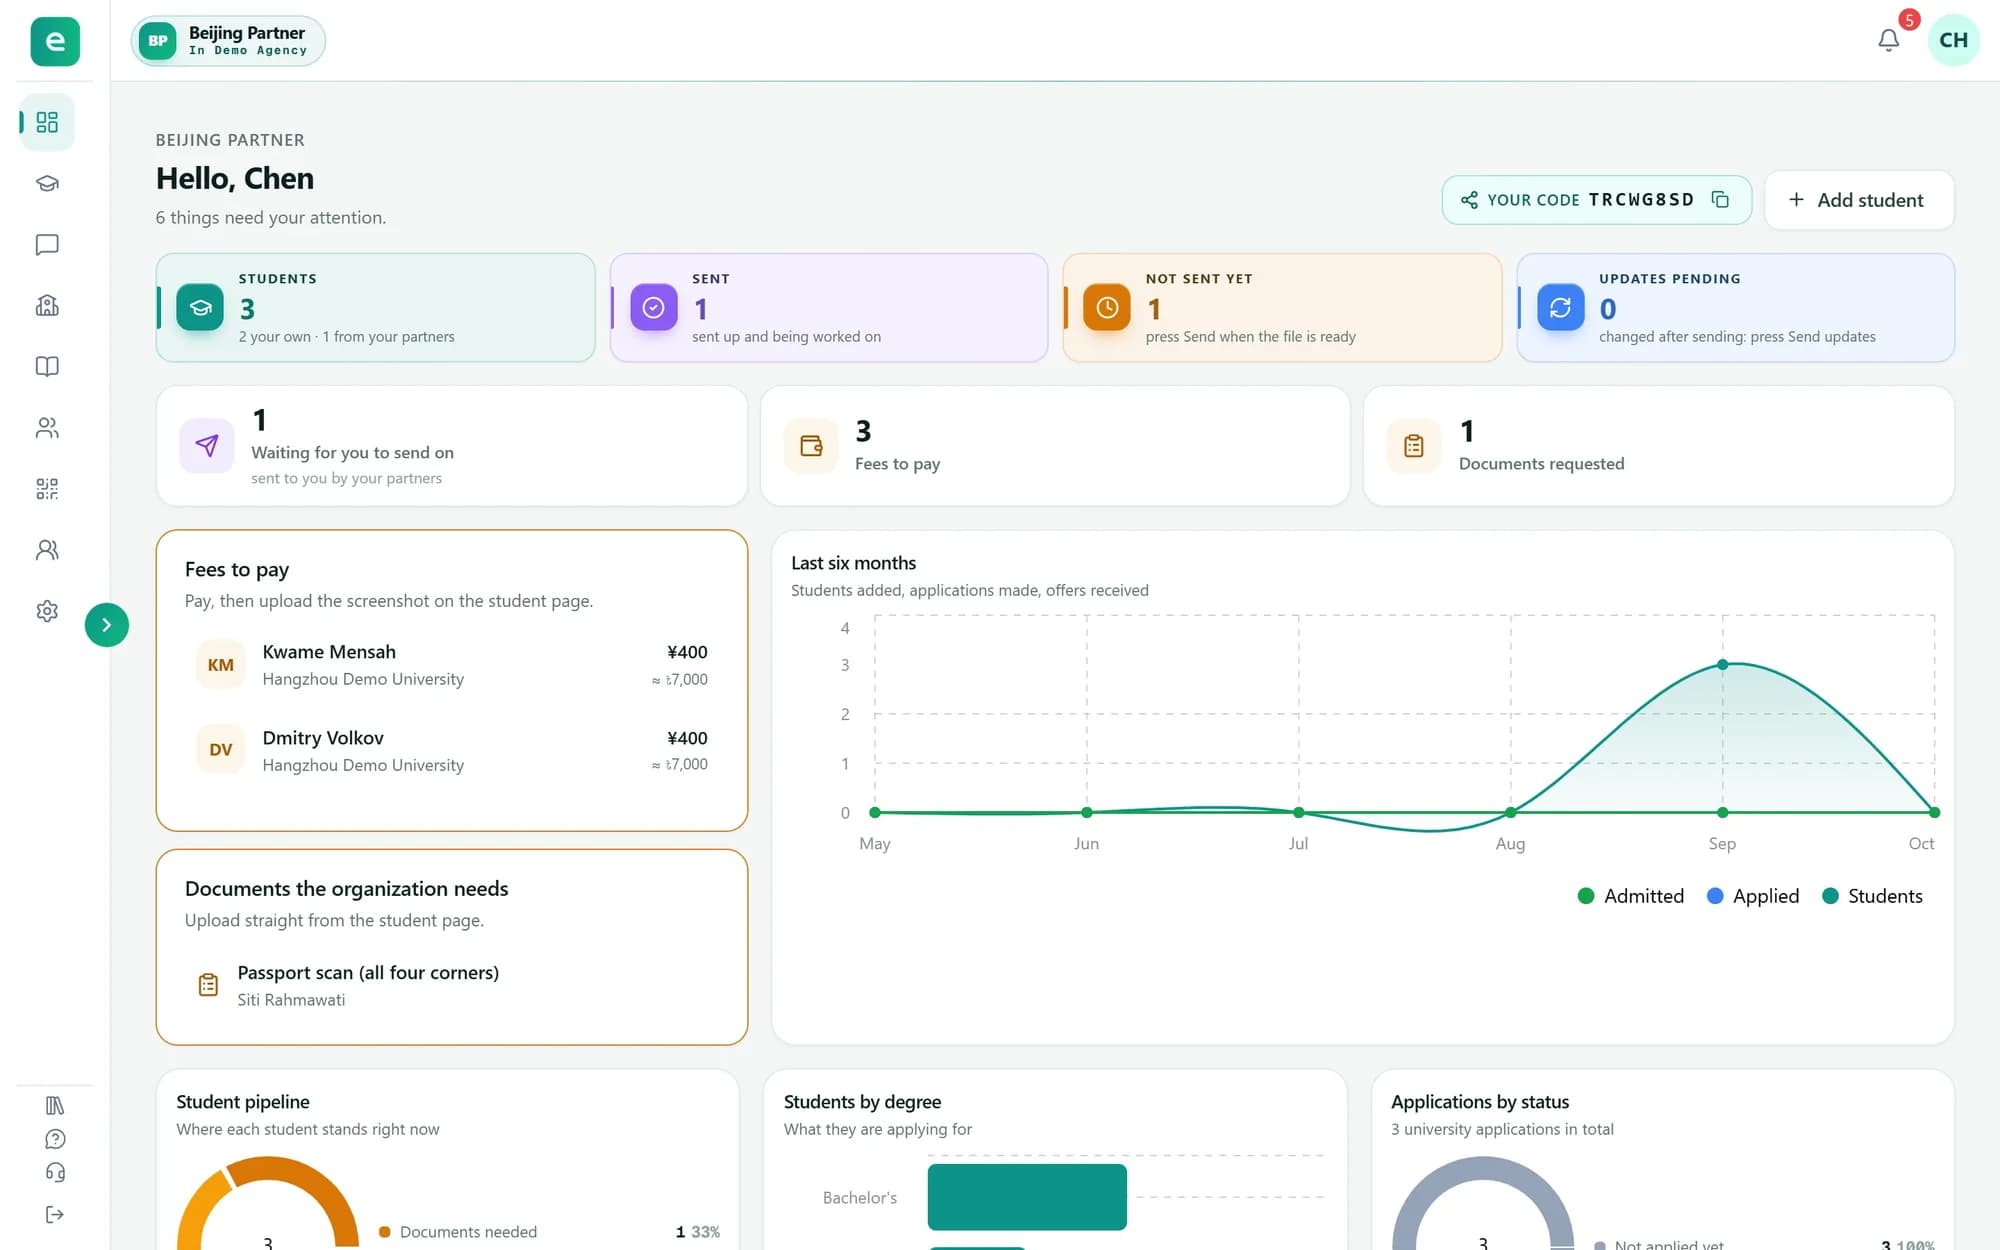
The partner sees it under Documents the organization needs, with an Upload for this button that closes the request. You can withdraw a request, or press Ask again on one in its history.
Tip: Asking needs Request documents on your role. Owners and admins always have it.
Step 4
Show partners what to send
Document samples in the sidebar lists every checklist item. Press Upload sample to attach an example, and add a note to show beside it. Filter by Master's & PhD, Bachelor's or Language.
You can also press Add sample on a row of any student's checklist. Partners then see a Sample link beside that paper on every student.
Tip: Only owners and admins manage samples. A few items, such as the self-introduction video, take no sample.
Step 5
Set how partners pay the application fee
Open Application fee in the sidebar. Press Add method and enter what the payer needs: a QR code, the account name and number, a payment link or instructions. Use a method's switch to pause it: partners stop seeing it, and it is not deleted.
To show partners an estimate in taka as well, enter BDT per CNY and press Save rate. What partners see shows the result as they will see it.
Tip: Owners and admins set this. A partner can set its own methods for its sub-partners under Application fee methods; when it has none, yours are shown.
Step 6
The partner pays and sends the proof
When a student is given a university that charges an application fee, the fee shows Application fee pending. Open the university from the student's Universities card to see it.
The partner presses How to pay the fee, pays with one of the methods shown, and presses Upload application fee screenshot. The fee then shows Waiting for confirmation, and you are notified.
Tip: Members see fees only with View finance on their role.
Step 7
Confirm the fee
Check the screenshot, then press Confirm application fee paid. If it is not right, press Reject proof and give the reason, so the partner can send another. The university's … menu also has Waive the fee.
Mark as applied only becomes available once the fee is confirmed or waived.
Tip: Confirming needs Edit finance on your role. Owners and admins always have it. For a sub-partner's student, the partner above confirms the fee, not the organization.
What you have now
You can now see what each student still needs, ask for it, show partners what good looks like, and settle application fees before you apply.