Set up your pipeline
Turn your roles into the steps a student moves through, and choose who does each step for each partner.
- 5 min
- 5 steps
- For organizations
The pipeline is the order in which your team works on a student, for example Documents and then Submission. Each step is one of your custom roles. The owner or an admin sets the order; they and members with Assign pipeline choose who works on each partner's students.
Step 1
Start with the roles
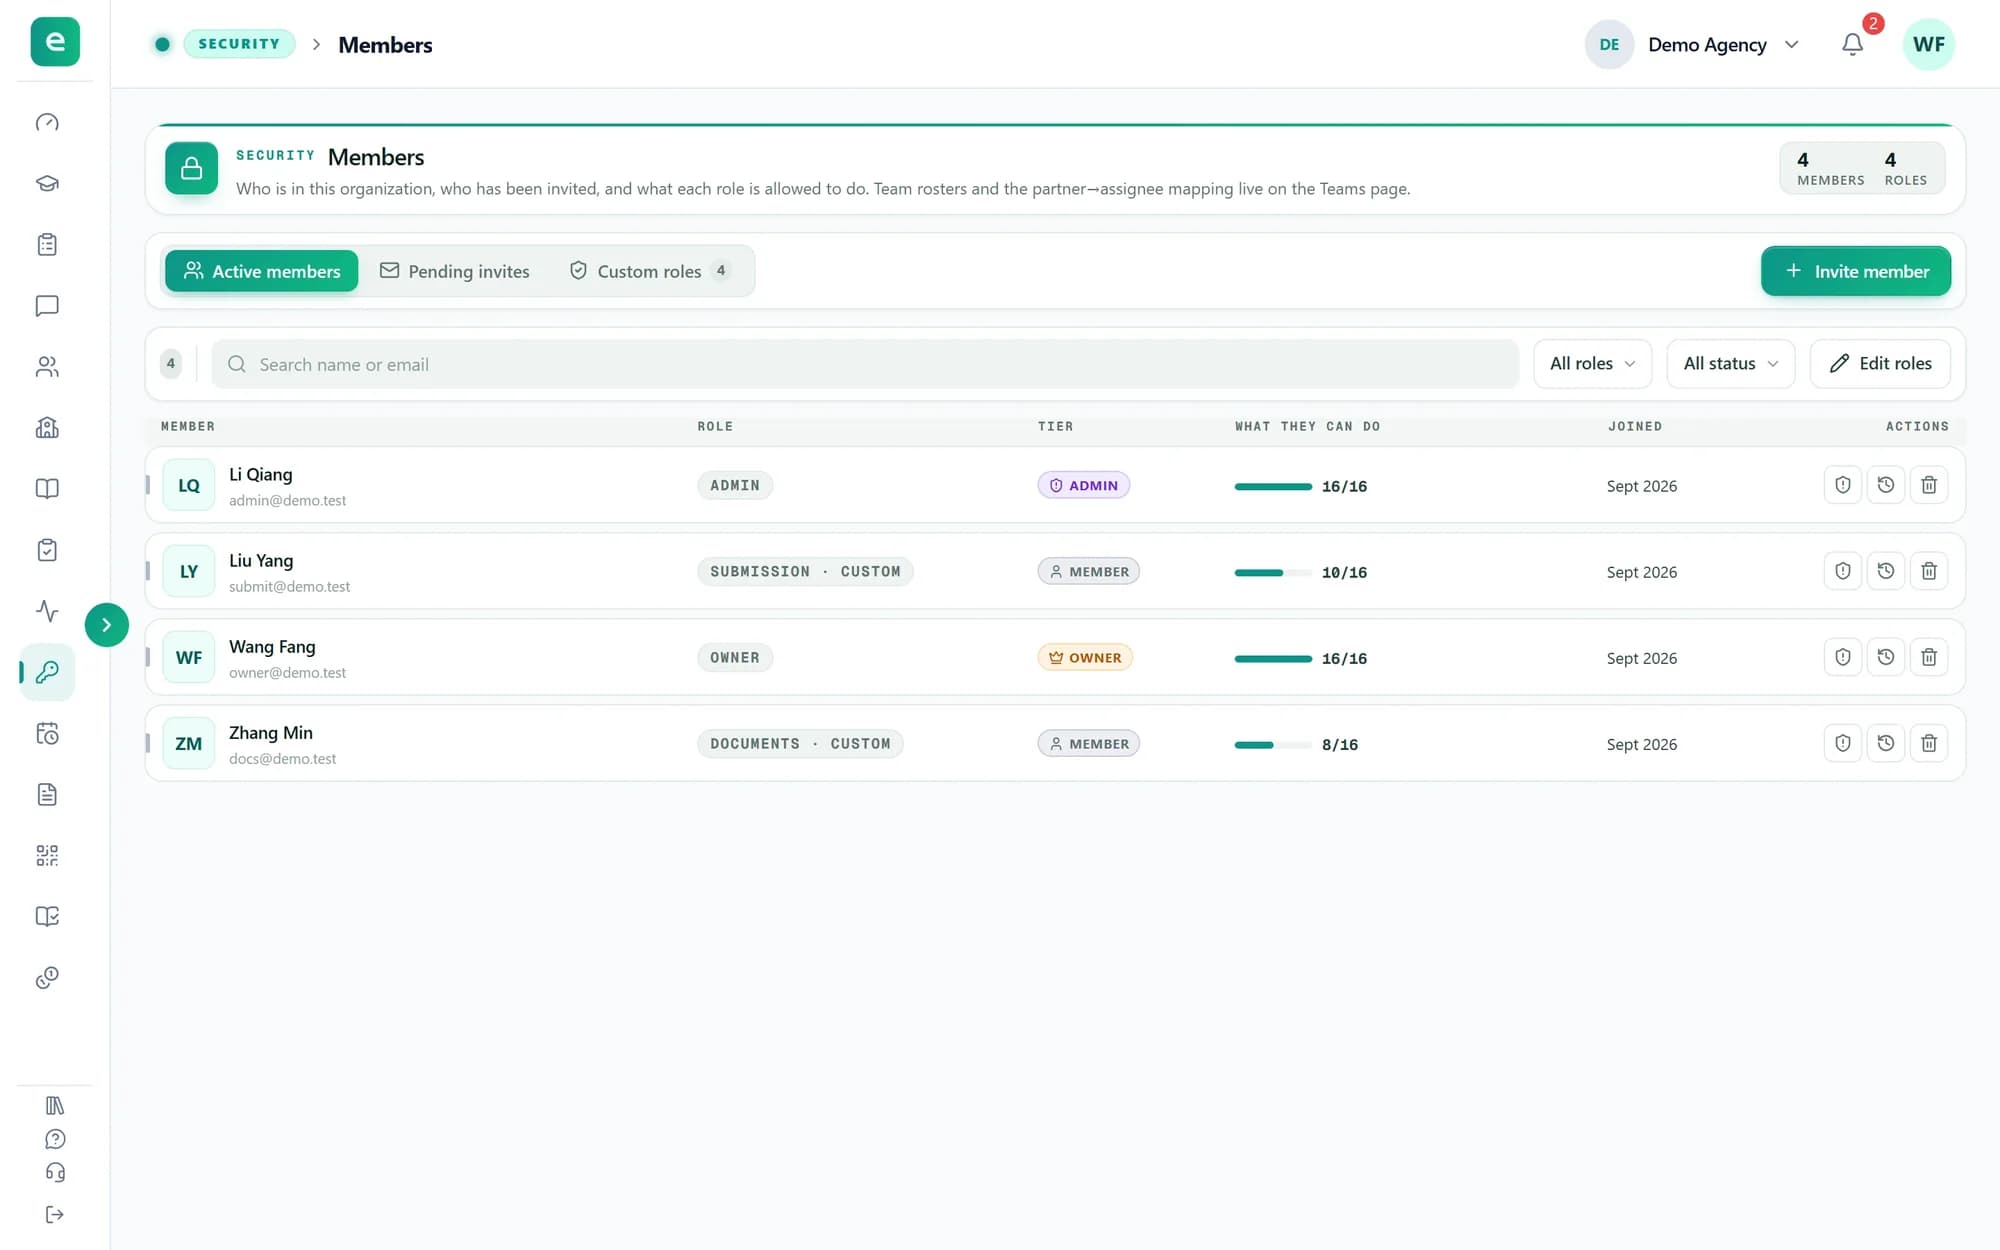
A step is a custom role, so create the roles first: open Members, go to the Custom roles tab and choose Create role. Owner and Admin are never steps.
Then give each role to the members who do that work, when you invite them or with Edit roles on the Members page.
Step 2
Put the steps in order
Open Assignments in the sidebar. The pipeline runs from Partner sends to Completed. Choose Add step to add a role, drag a step to move it, or use its ⋯ menu to move it earlier, later or out of the pipeline. Then choose Save pipeline.
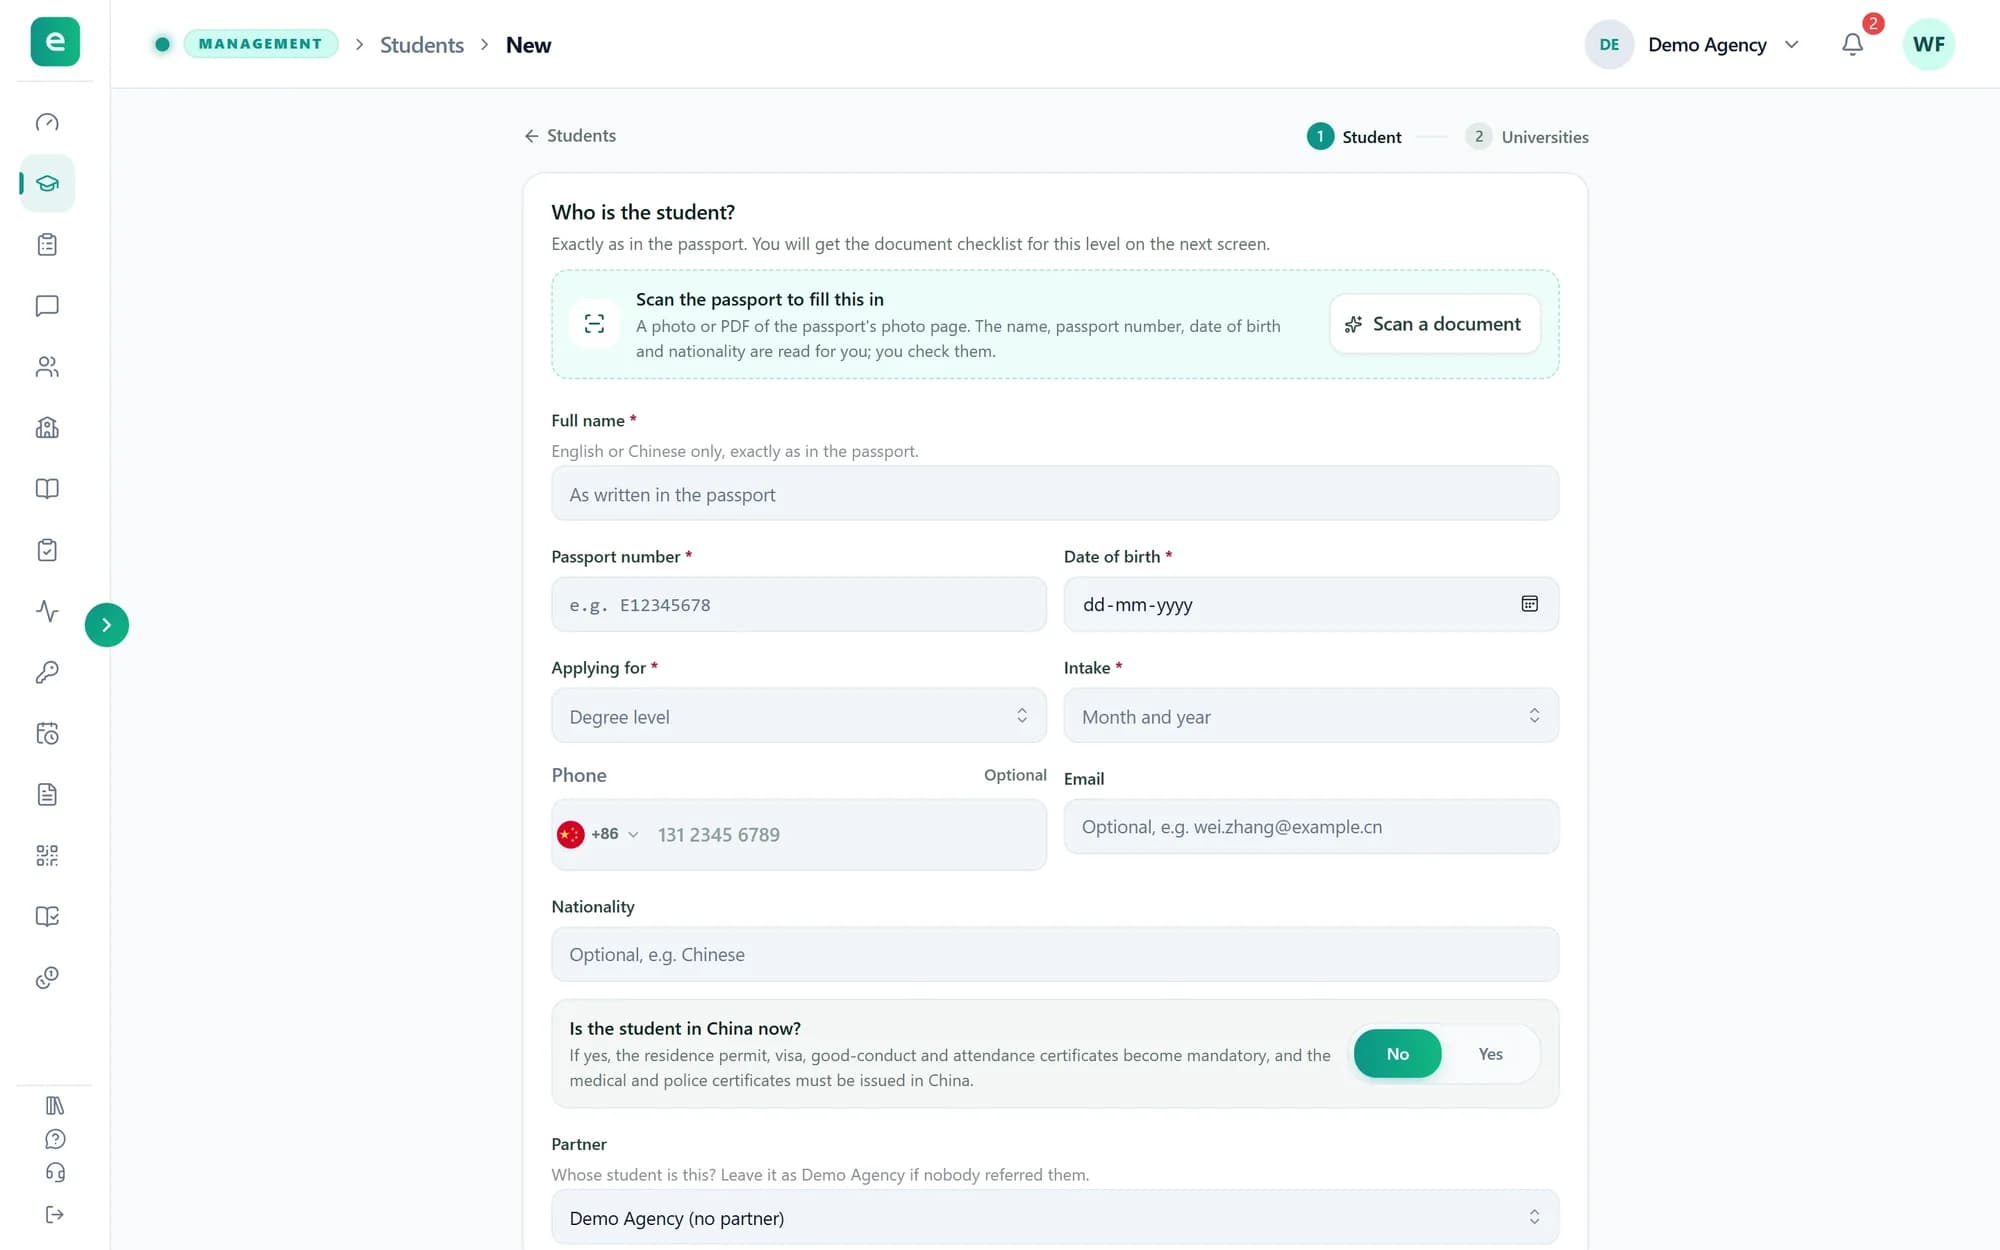
A student a partner sends enters step 1. A student your organization adds itself enters the pipeline at once.
Tip: Only the owner or an admin can change the order. Taking a step out moves the students at that step on to the next one; nobody starts again from the beginning.
Step 3
Choose who works for each partner
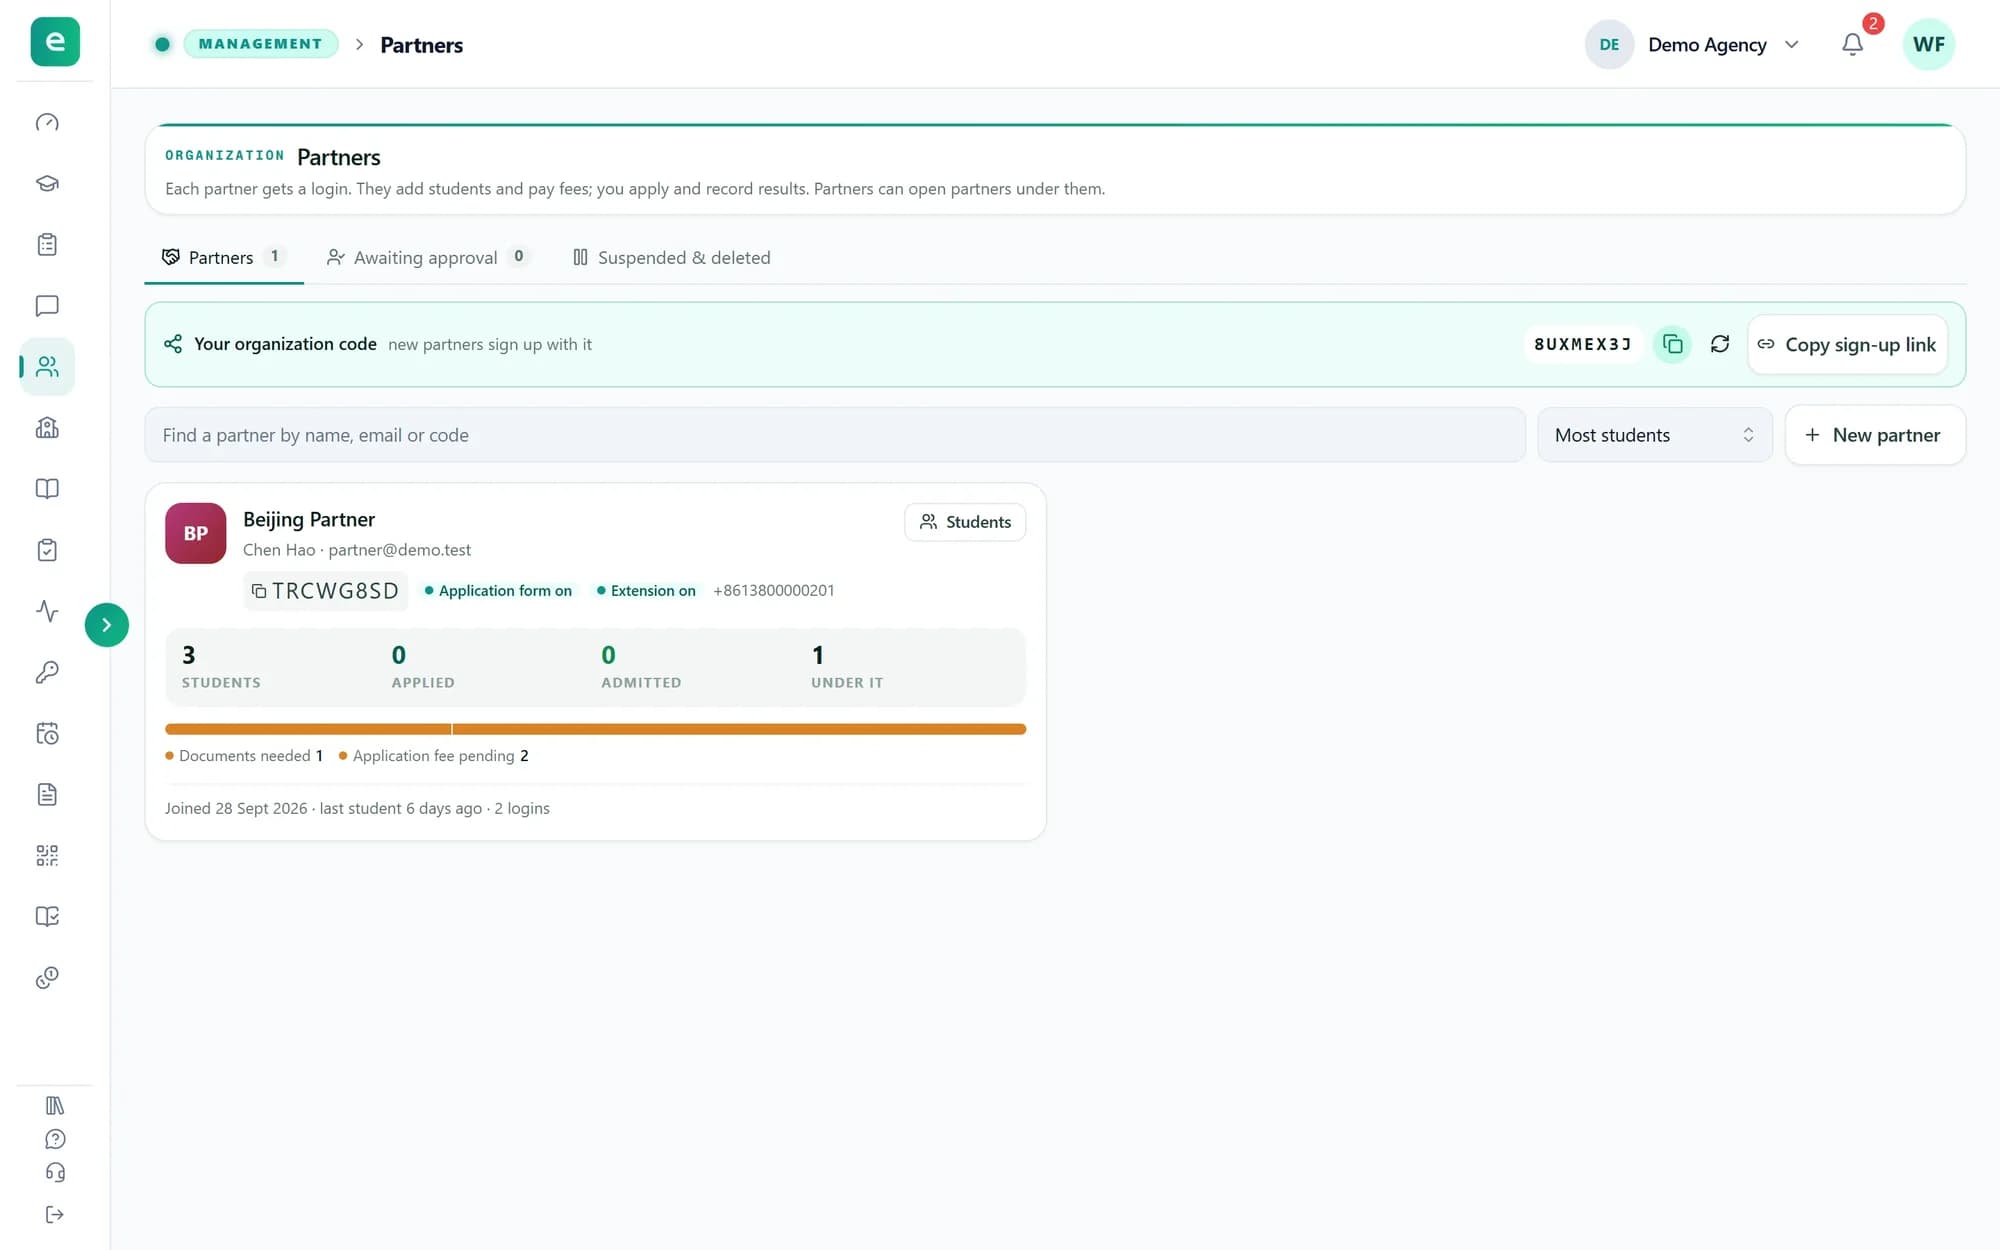
Members per partner has one row for each partner and one for Added by the organization: the students you add yourself. The columns follow the pipeline. In each cell, pick the member who does that step for that partner; members who hold the step's role are listed first. A sub-partner's students follow its partner's row.
If you replace the member in a cell, the students they are holding move to the new one. Roles that are not a step sit apart, under Not a step · access only: assigning someone there only lets them see that partner's students.
Tip: Everyone except the owner and admins sees only the students the pipeline gives them, so a member with no cell anywhere sees an empty student list. Switch on Only partners with an empty step to find the rows that still need someone.
Step 4
Forward a student to the next step
Open a student. The Pipeline card shows the step the student is at and who holds it. When your part is done, choose Forward to and the next step's name; that member is notified. Send back returns the student one step, with a note saying why.
Open shows every step and the history of the student's moves.
Tip: A step with nobody assigned for that partner is skipped. Forward and Send back are for the member holding the student, the owner, admins and members with Assign pipeline; only the last three can move a student to any step or change who does a step for one student.
Step 5
Watch the workload
Open Reports to see the pipeline as a whole: how many students are in it, how many nobody holds, who holds what right now against the team's average, where students sit by step, and how much work moved each day. Choose 7 days, 30 days, 90 days or This month, or set your own dates. Pick one member in the box at the top to see their own report.
Like Assignments, Reports is for the owner, admins and members with Assign pipeline.
Tip: When students are waiting with nobody, Nobody holds these lists them, and its Assign members button takes you to Assignments.
What you have now
Every student now moves through the same steps, and each partner's students reach the people you chose.