Credits: what they pay for
How your organization's credits work: the balance, what each feature costs, what pauses at 0, and how to get more.
- 3 min
- 6 steps
- For organizations
A few features that read documents or fill university portals are paid for from your organization's credit balance. Everything else is included. Owners and admins keep an eye on it on the Credits page.
Step 1
Open the Credits page
Owners and admins find Credits in the sidebar. The Credits card on the dashboard also has an Open credits link.
The balance is at the top, marked Running low or Out of credits when that is the case. The line under it says whether the balance includes the trial: 50 free credits for the first organization a person creates.
Tip: The trial is one per person, for life. Another organization you create starts at 0 credits.
Step 2
Know the prices
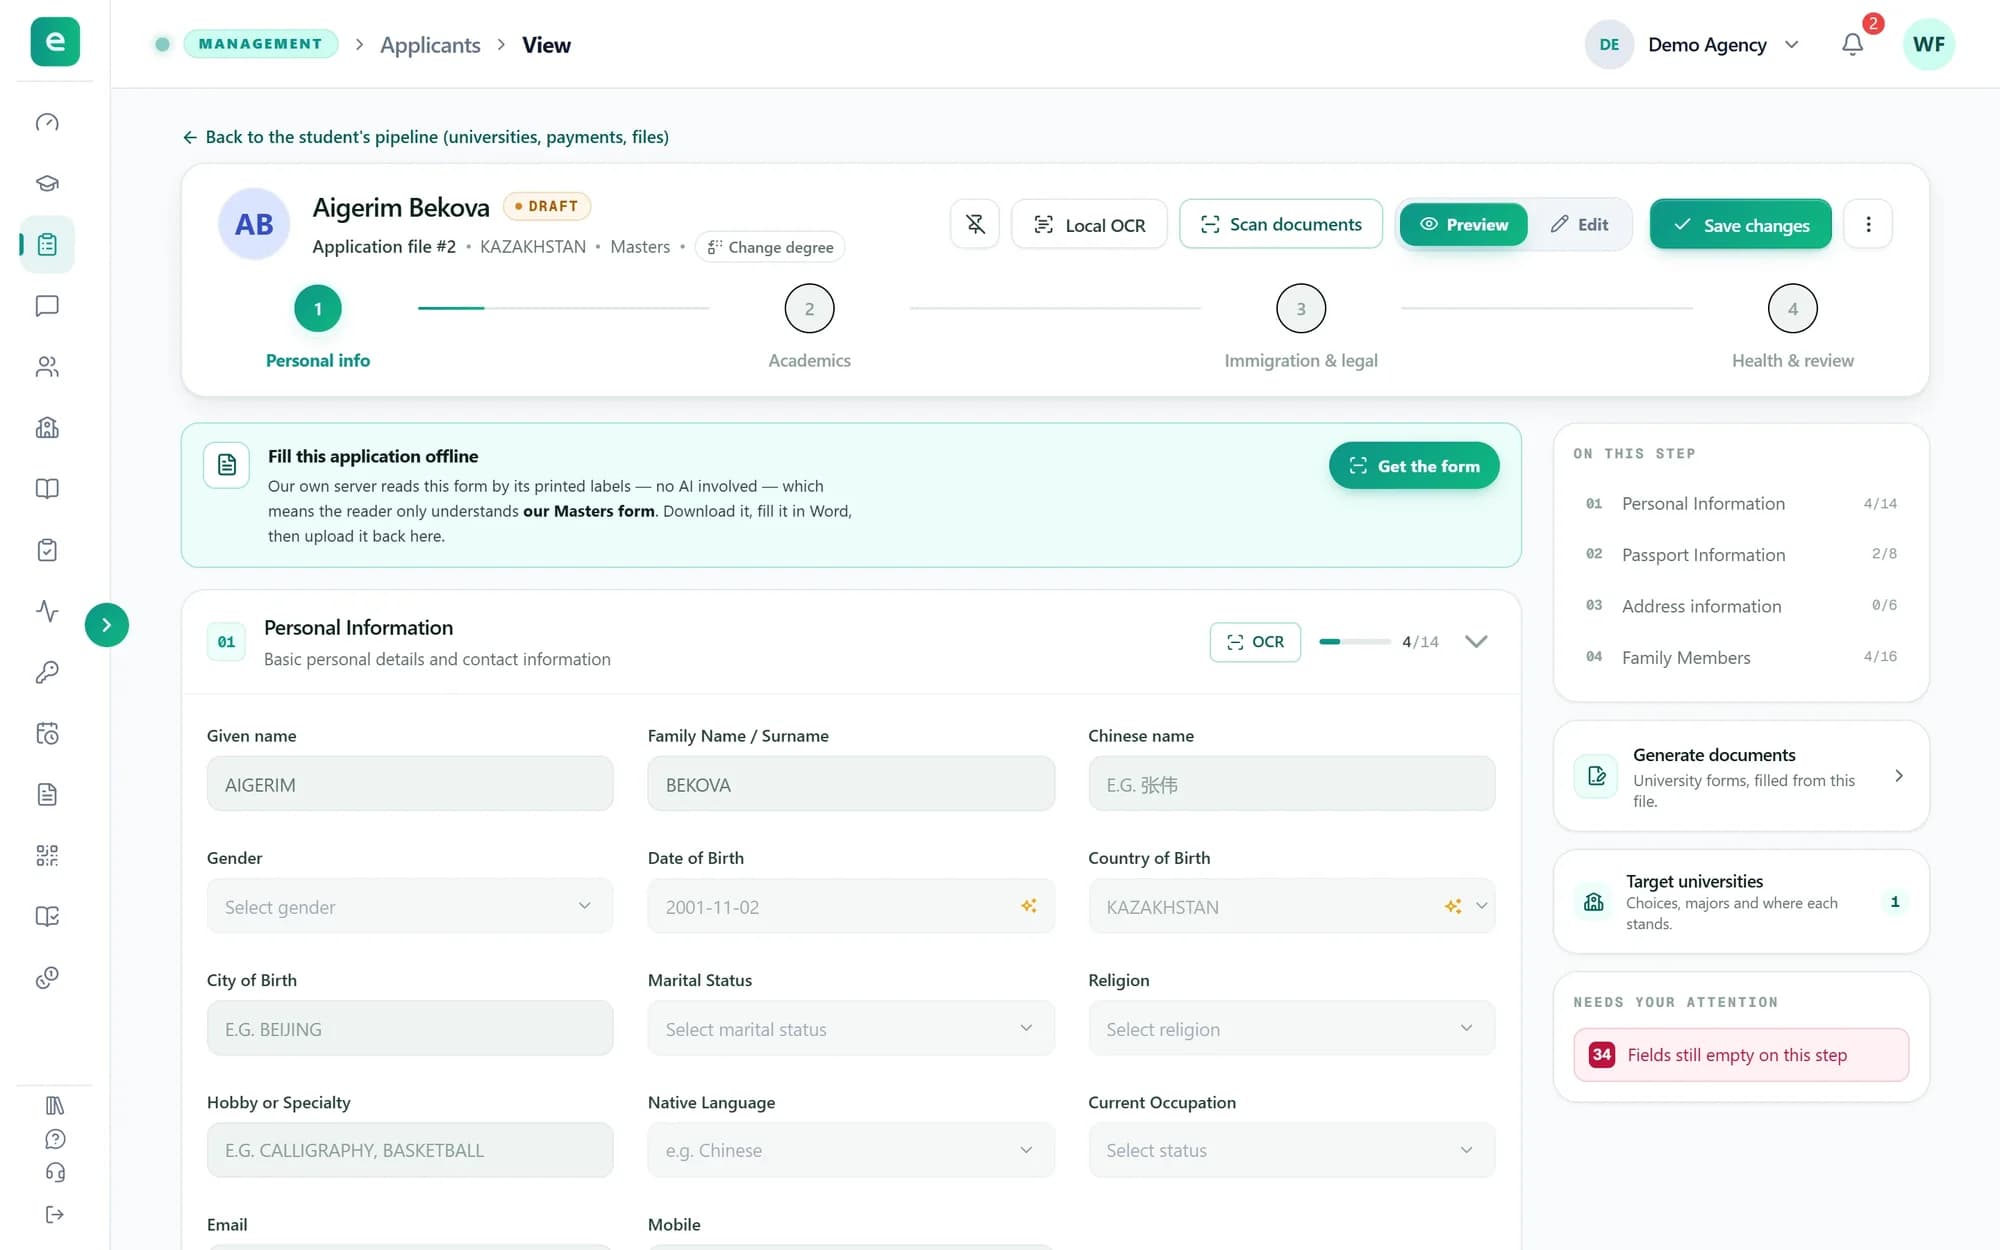
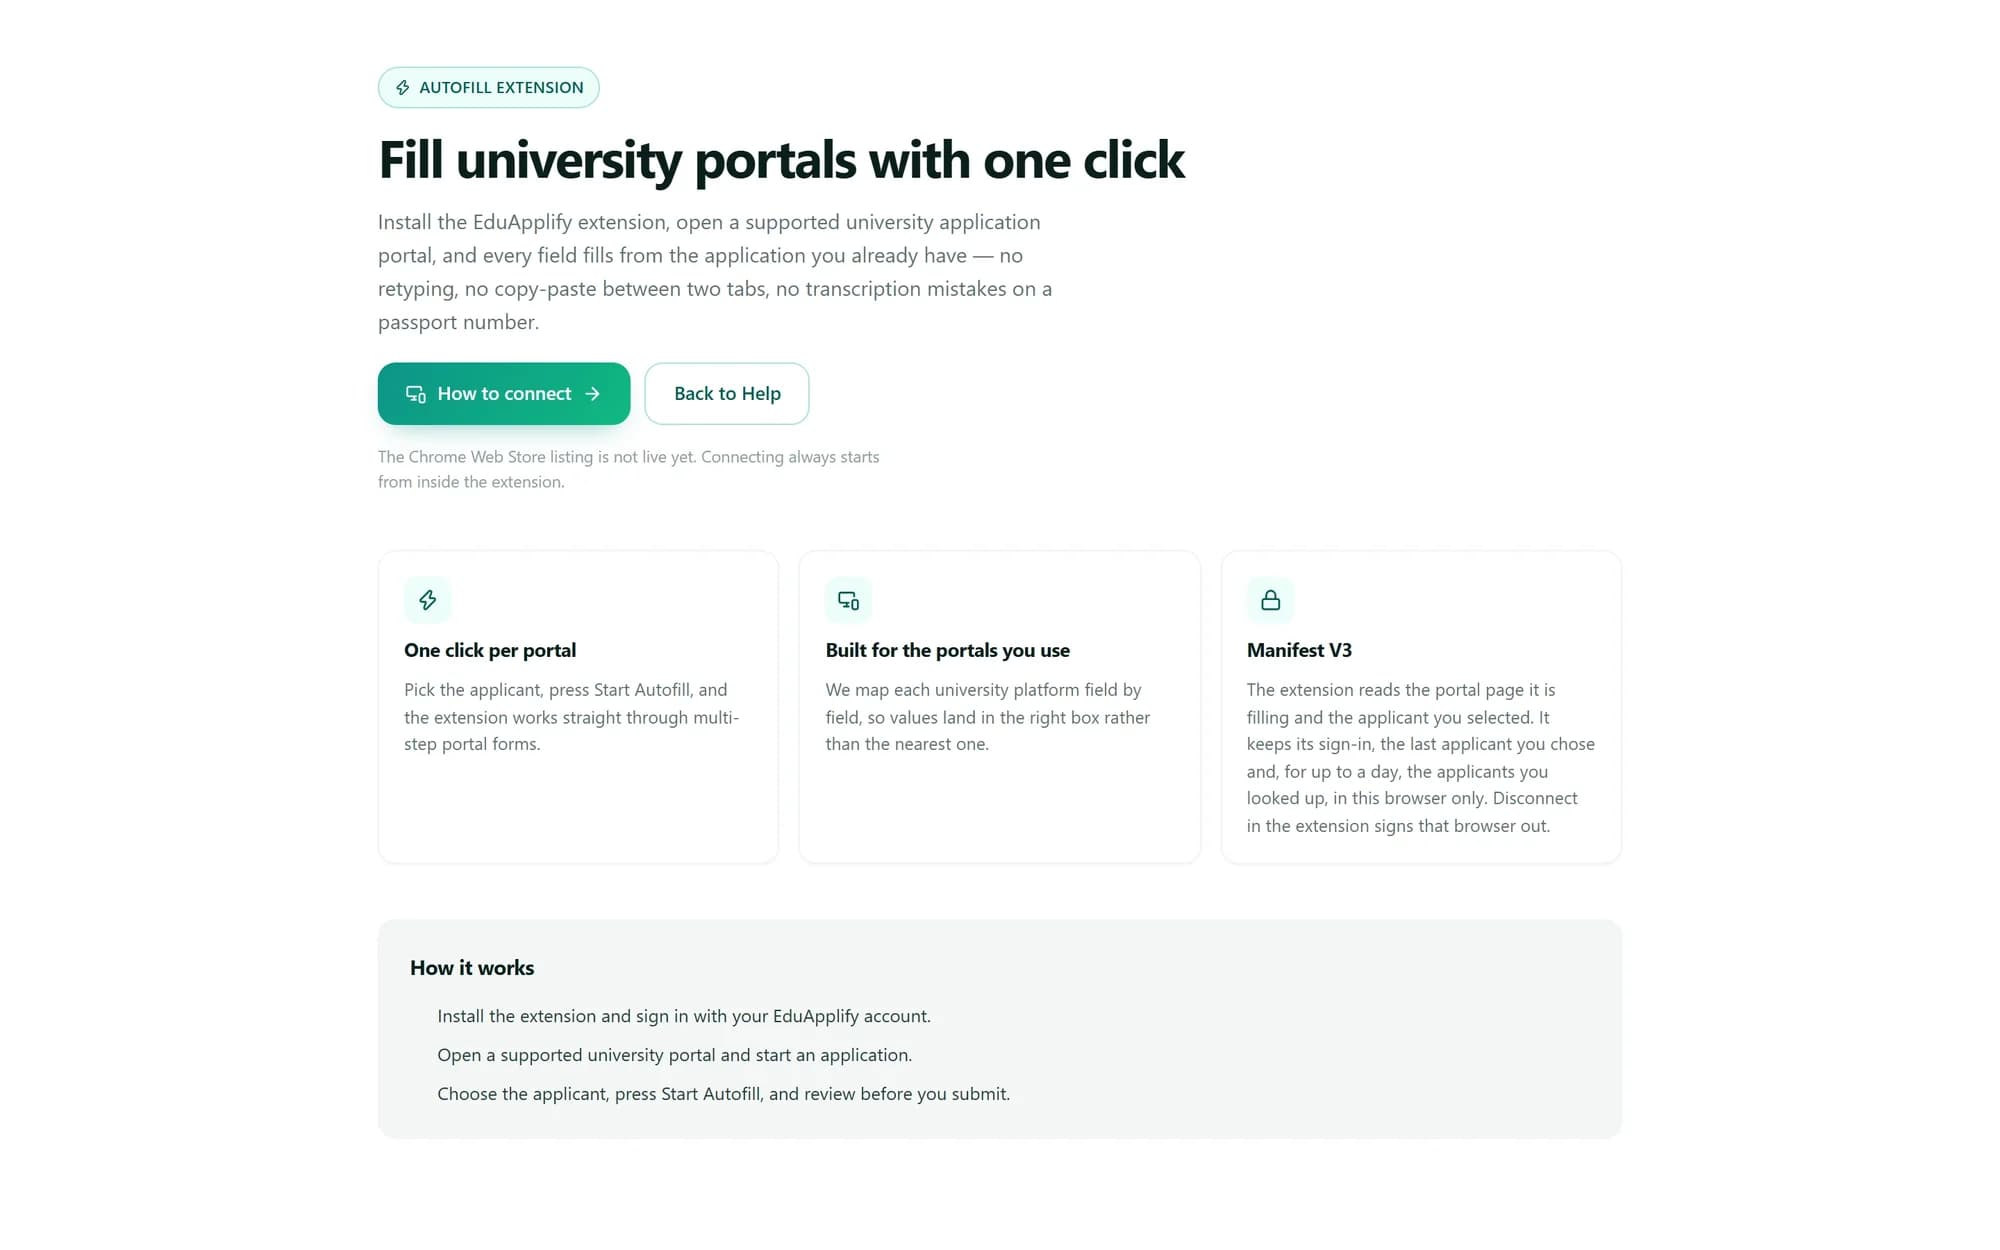
Prices lists each paid feature, what it costs and whether it is available now. A Section scan costs 1 credit, Scan documents 3 credits, AI fill from documents 5 credits, and each Browser extension fill 1 credit. Local OCR is free.
Credits are taken just before the work runs. Anything that fails gives its credits back, scanning a file that was already read is free, and filling the same application into the same portal again within 24 hours is free.
Step 3
Read the history
History lists every credit in and out, newest first: Trial, Credits added, Used, Refund and Adjustment. Each line has the date, the change, the balance after it and who did it.
Only owners and admins can see the history.
Step 4
Know what pauses at 0
At 0 credits the section scans, Scan documents, the AI fill, Local OCR and the browser extension switch off. Their buttons show No credits, and pressing one explains why. Everything else keeps working: students, applications, documents, university forms, the pipeline, partners and your team.
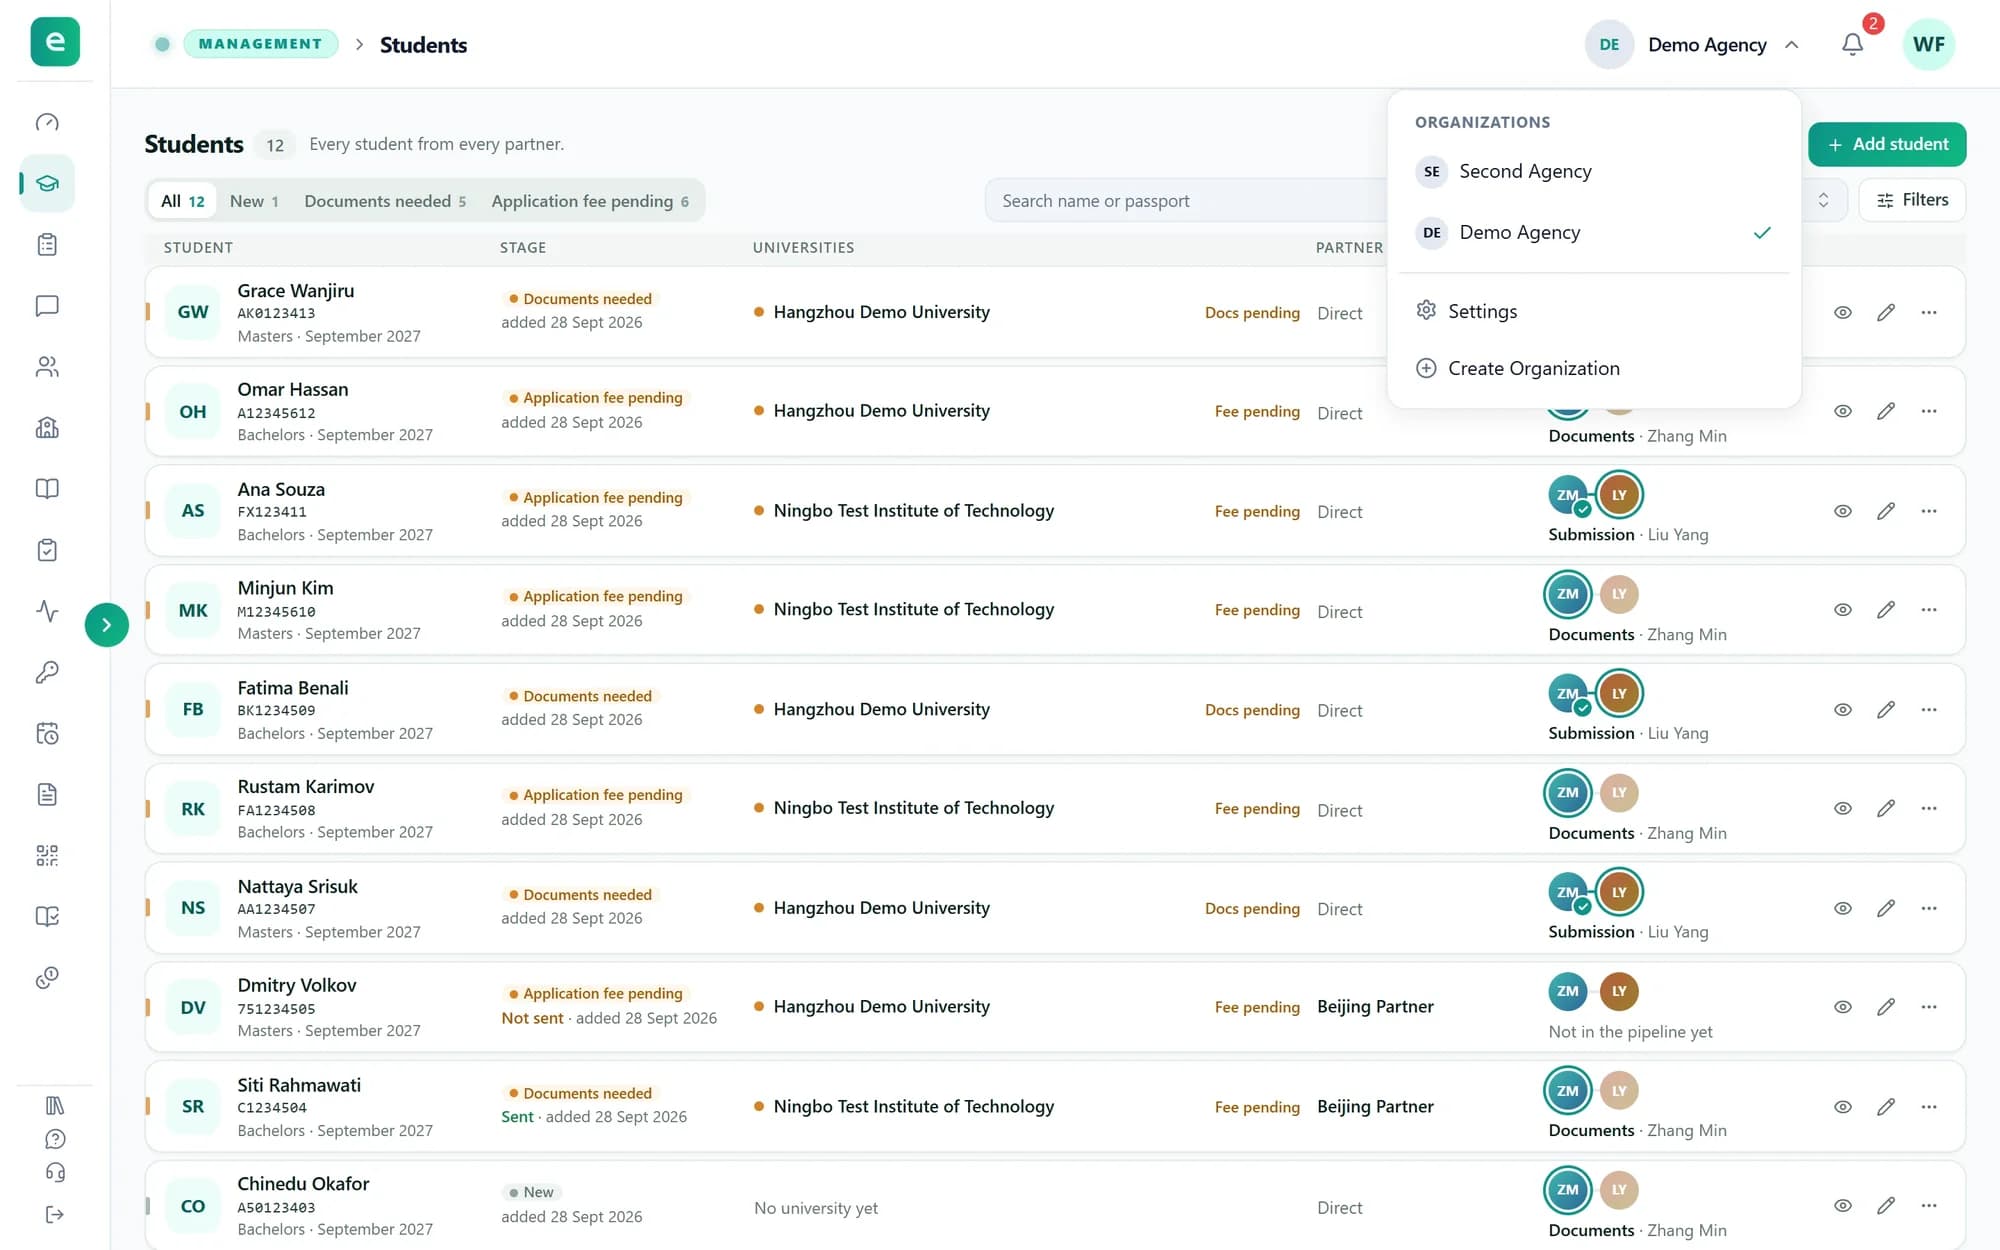
Partners and sub-partners spend your organization's credits when they scan or fill. They never see the balance. At 0 they are told that their organization is out of credits.
Tip: A browser extension fill repeated within its 24 hours still works at 0, because it was already paid for.
Step 5
Watch the notifications
Owners and admins are notified when the balance runs low (Credits running low), when it reaches 0 (Out of credits) and when support adds credits (Credits added).
Out of credits is also sent by email straight away. The other two are emailed only if they are still unread after a while.
Step 6
Get more credits
There is no card payment yet. Press Buy credits on the Credits page, or Contact support wherever a feature says it is out of credits. A support ticket opens, already written with your organization's name and ID: add how many credits you need and press Send ticket.
The support team adds the credits, and you get a Credits added notification. From then on, the switched-off features work again.
What you have now
You know what your credits pay for, what pauses at 0, and how to get more.