Set up your organization
Add your logo and recommender details, tell partners how to pay application fees, and open the intakes students are added to.
- 5 min
- 5 steps
- For organizations
A few settings shape everything that follows: how your organization appears, how partners pay you, and which intakes students can be added to. Most of them are for the owner and admins.
Step 1
Open Organization Settings
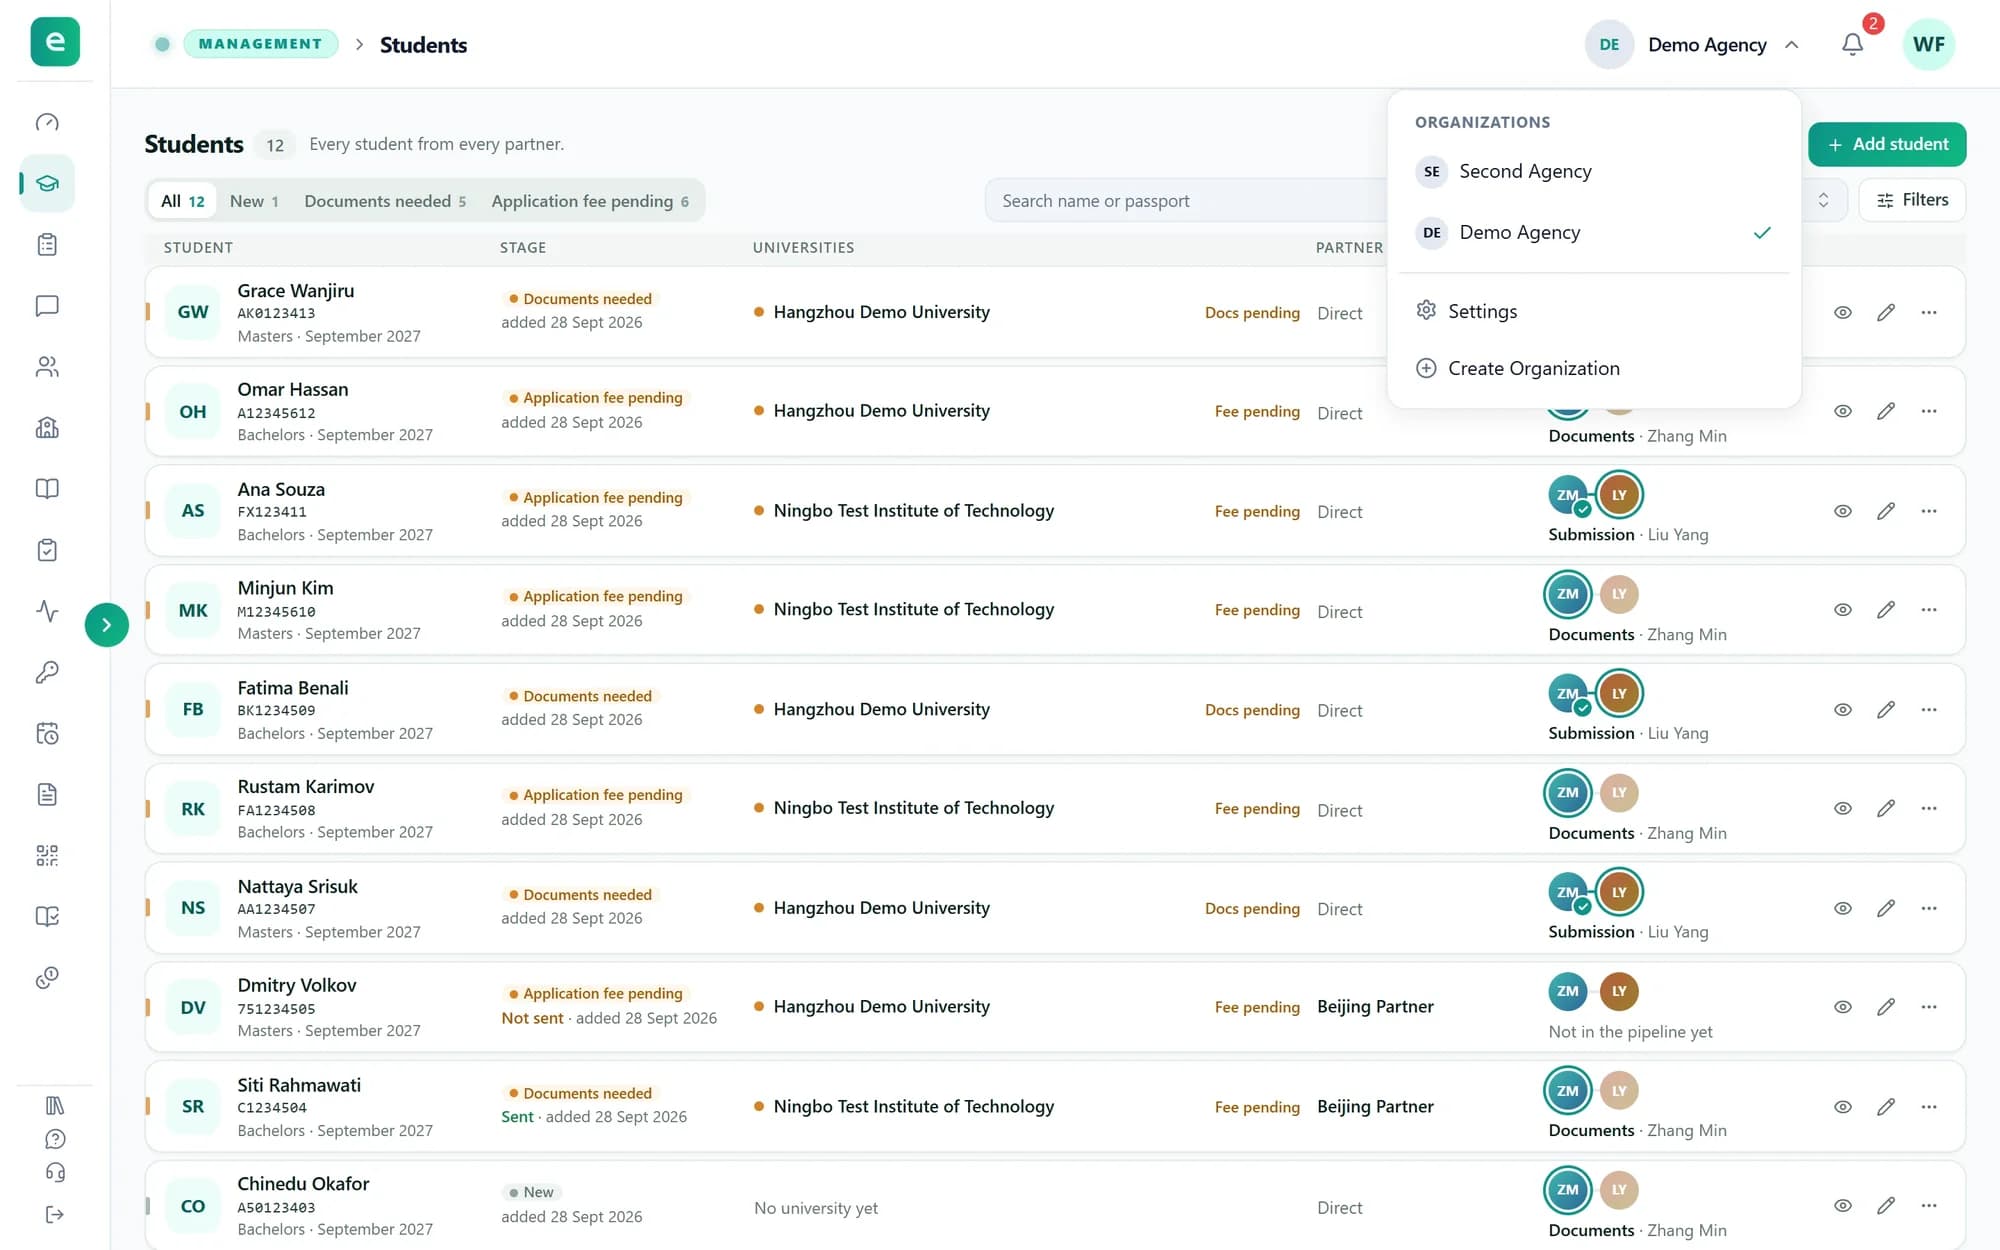
Click your organization's name at the top right of the header. The menu lists every organization you belong to, with a tick on the one you are working in, followed by “Settings” and “Create Organization”.
Choose “Settings”. Everything in the dialog applies to the organization with the tick.
Step 2
Add your logo and check the name
At the top of Organization Settings, click the camera on the logo to upload one: PNG or JPG, up to 5 MB. Under “Organization Name”, press “Rename”, type the new name and press “Save”.
Your team and your partners see this name and logo.
Tip: These changes need the Manage Members permission, which owners and admins always have. Other members can open the dialog, but their changes are refused.
Step 3
Fill in the recommender details
“Recommender Details” describe the person at your agency who recommends your students: name, email, mobile, job title, work place, fax, address, nationality and relationship. Only the name is required. Press “Save Recommender”.
Some university portals have a recommender section. When you fill one of those portals with the browser extension, it takes these details.
Tip: Further down, owners find “Ownership”, to hand the organization to another member while you stay on as an Admin, and the “Danger Zone”, to leave it or delete it. A deleted organization can be restored for 10 days.
Step 4
Tell partners how to pay application fees
In the sidebar, open “Application fee”. Press “Add method” and choose Bank transfer, Alipay, WeChat Pay, PayPal or Other (for UnionPay or a local bank). Add a QR code, the account name and number, a payment link or instructions. The switch beside a method pauses it without deleting it.
Under “BDT estimate”, type how many taka make one yuan and press “Save rate”. Fees are in CNY; partners then also see an estimated BDT amount. “What partners see” on the right is a live preview of their payment sheet.
Tip: The amount a partner pays is the application fee of each university in your catalogue. The partner uploads a screenshot of the payment, and you confirm it, or reject it with a note, before the application goes out. Confirming needs the Edit Finance permission.
Step 5
Open your intakes
In the sidebar, open “Intakes”. Each year is a row. Press “Open a month of …” for that year and click a month: the intake is open at once. Everyone who adds a student, your partners and sub-partners included, chooses one of the open intakes.
When an intake is over, press “Close”. Students already on it keep it, and “Reopen” opens it again. An intake with no students can also be removed.
Tip: While no intake is open, nobody can add a student, so open at least one before your partners start. Only owners and admins see “Application fee” and “Intakes” in the sidebar.
What you have now
Your organization now has its name, logo and recommender, a way for partners to pay application fees, and at least one open intake.