Create your organization
Sign up as an agency, confirm your email and sign in to your new organization's dashboard.
- 3 min
- 5 steps
- For organizations
An organization is your agency's own space in EduApplify: its students, team, partners and list of universities. You create it from the sign-up page, and you become its owner.
Step 1
Choose “Create an organization”
Open the sign-up page. It offers two ways in; choose the first, “Create an organization”. It is for an agency that runs its own applications.
The second, “Join as a partner”, is for agents who send students to an organization that already uses EduApplify. It needs the sign-up code that organization or partner gave them.
Tip: A login belongs either to an organization or to a partner, never both. A partner who also wants to run an organization signs up again with a different email address.
Step 2
Fill in the form
Type the “Organization name” as your team and partners should see it, your “Email Address” (this is your login), a “Username”, and a password of at least 8 characters twice. Then press “Create my organization”.
A username takes letters, digits and . @ + - _ only, no spaces, and at least 3 characters.
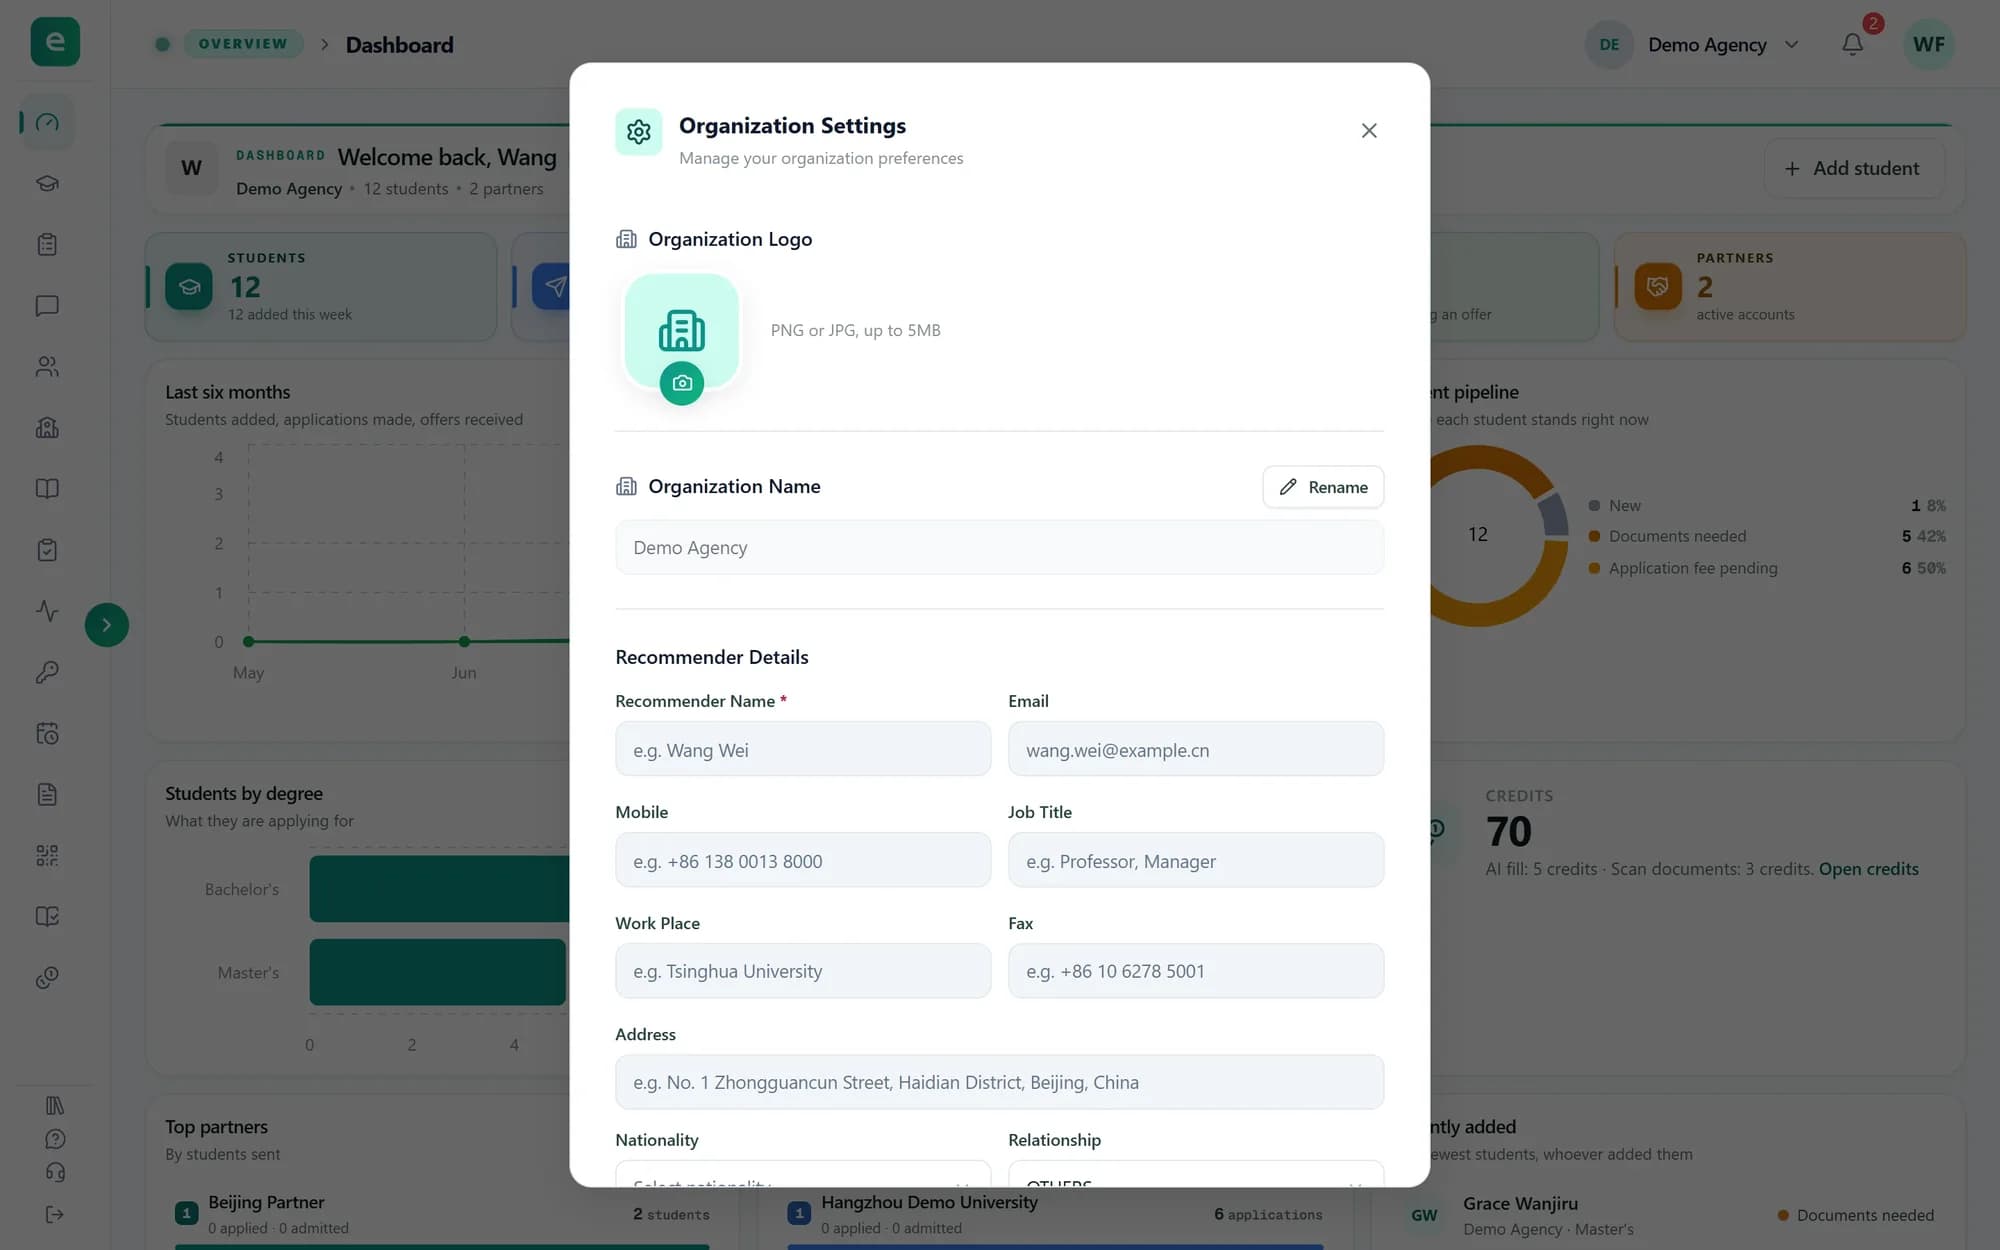
Tip: Organization names are unique. If yours is already taken, the form says so under the field. You can rename the organization later in its settings.
Step 3
Confirm your email
The next screen, “Confirm your email”, shows the address the link went to. Open that email and click the link. Your organization is created at that moment, with you as its owner.
You cannot sign in before you confirm. If nothing arrives, look in the spam folder, or press “Didn't get the email? Resend”.
Tip: If somebody else takes the same organization name before you click the link, yours gets a number added, such as (2). Rename it in Organization Settings.
Step 4
Sign in
The link opens a page that confirms your email is verified. Press “Sign In” there, then enter your email address and password.
Step 5
Look around your dashboard
You land on the dashboard: “Welcome back” with your name and an Owner badge, tiles for students, university applications and partners, and a Credits card with your balance. Most of it stays empty until you add students.
“Add student” at the top right is the quickest way to start. Before that, set up the organization and enter the universities you apply to.
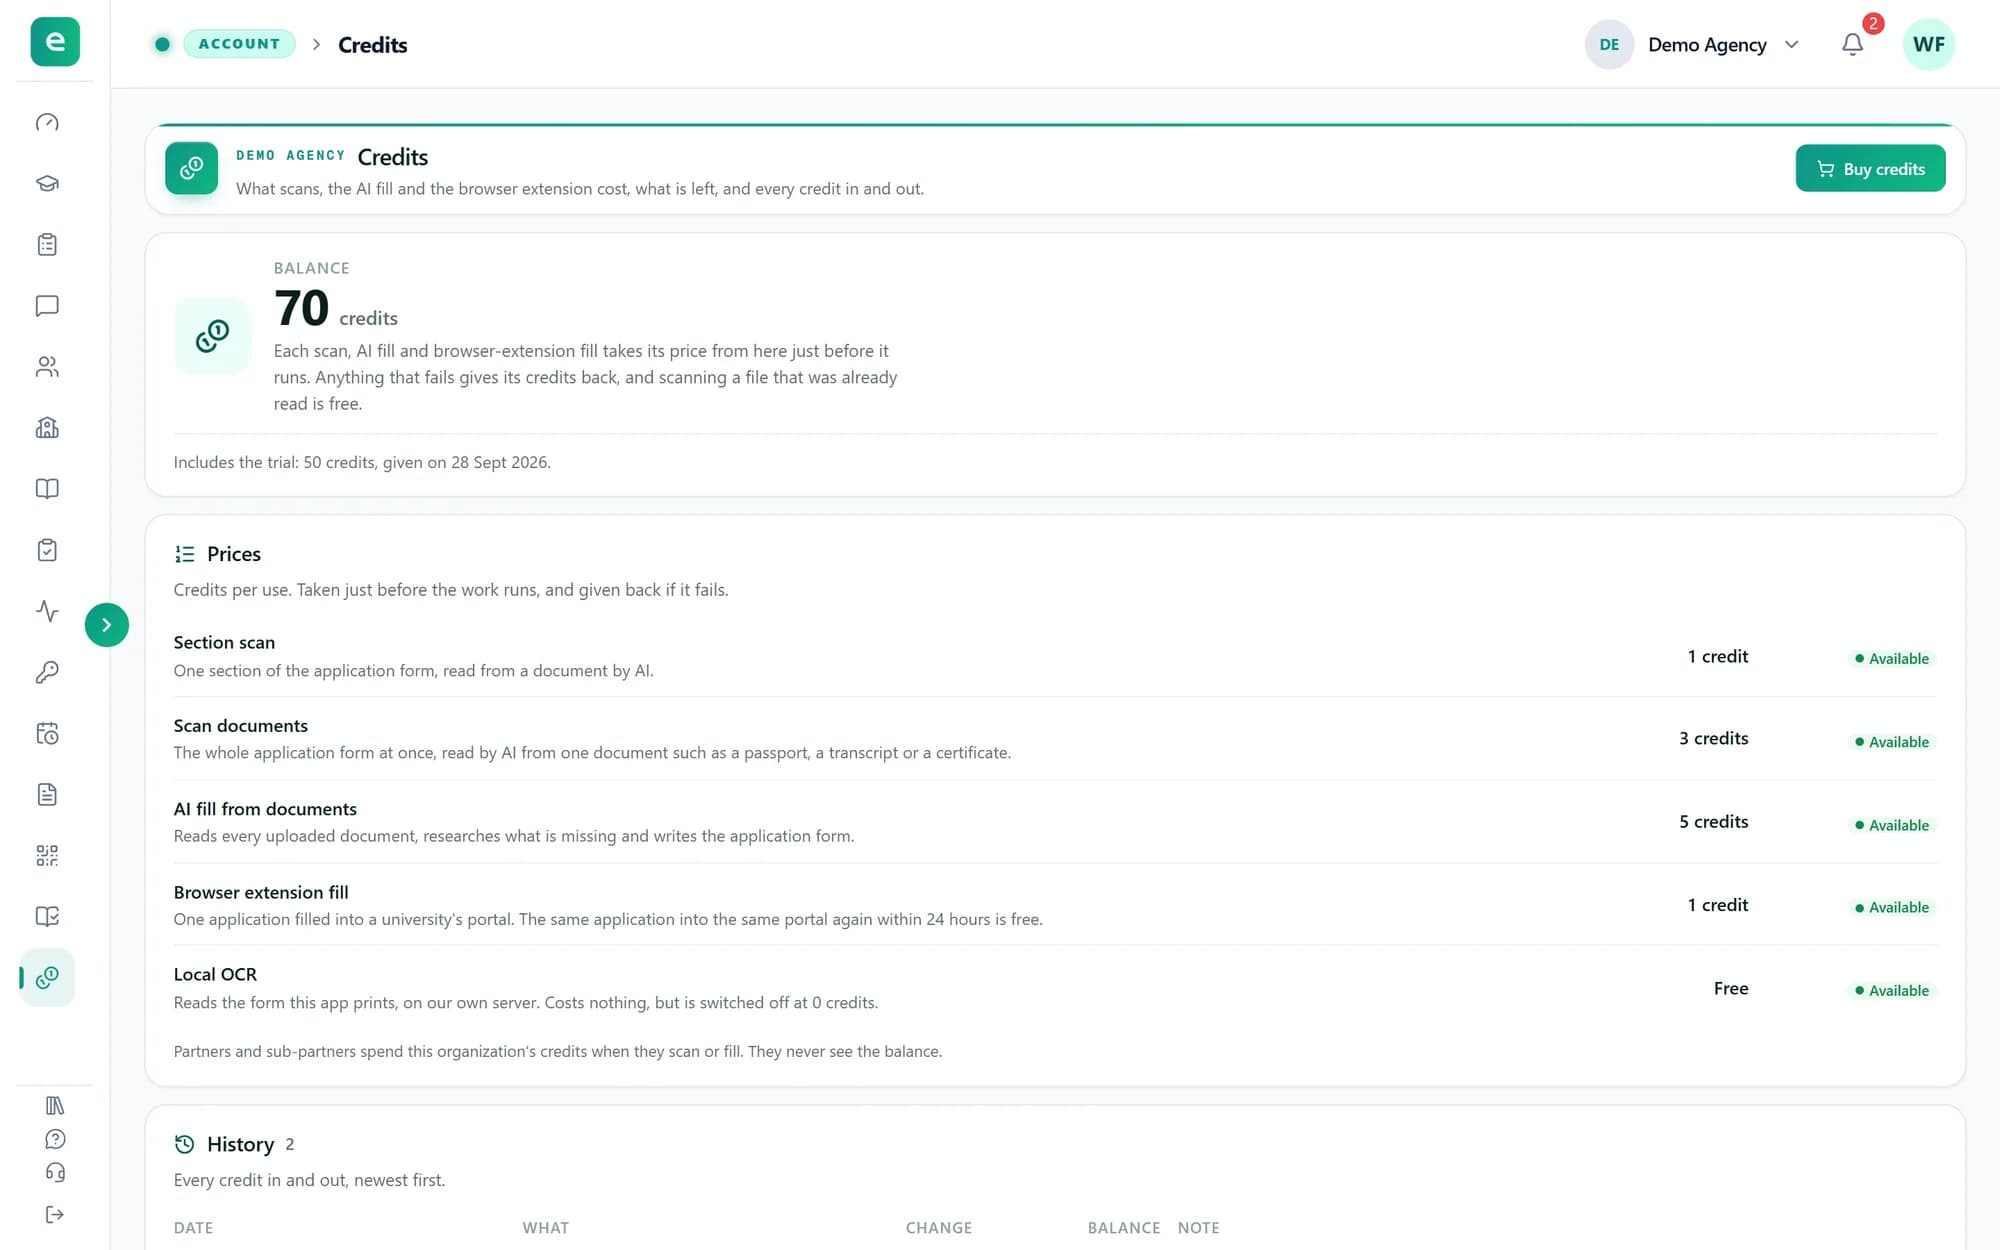
Tip: The first organization a person ever creates gets 50 free trial credits, with no card. Any organization you create later starts at 0. Credits pay for the AI scans, the AI fill and the browser extension, and the free Local OCR also needs a balance above 0. Everything else works without credits.
What you have now
You now have an organization of your own, with you as its owner, ready to set up.