Work in several organizations
Use one login in more than one organization, switch between them, and create, hand over, leave or delete one.
- 4 min
- 5 steps
- For organizations
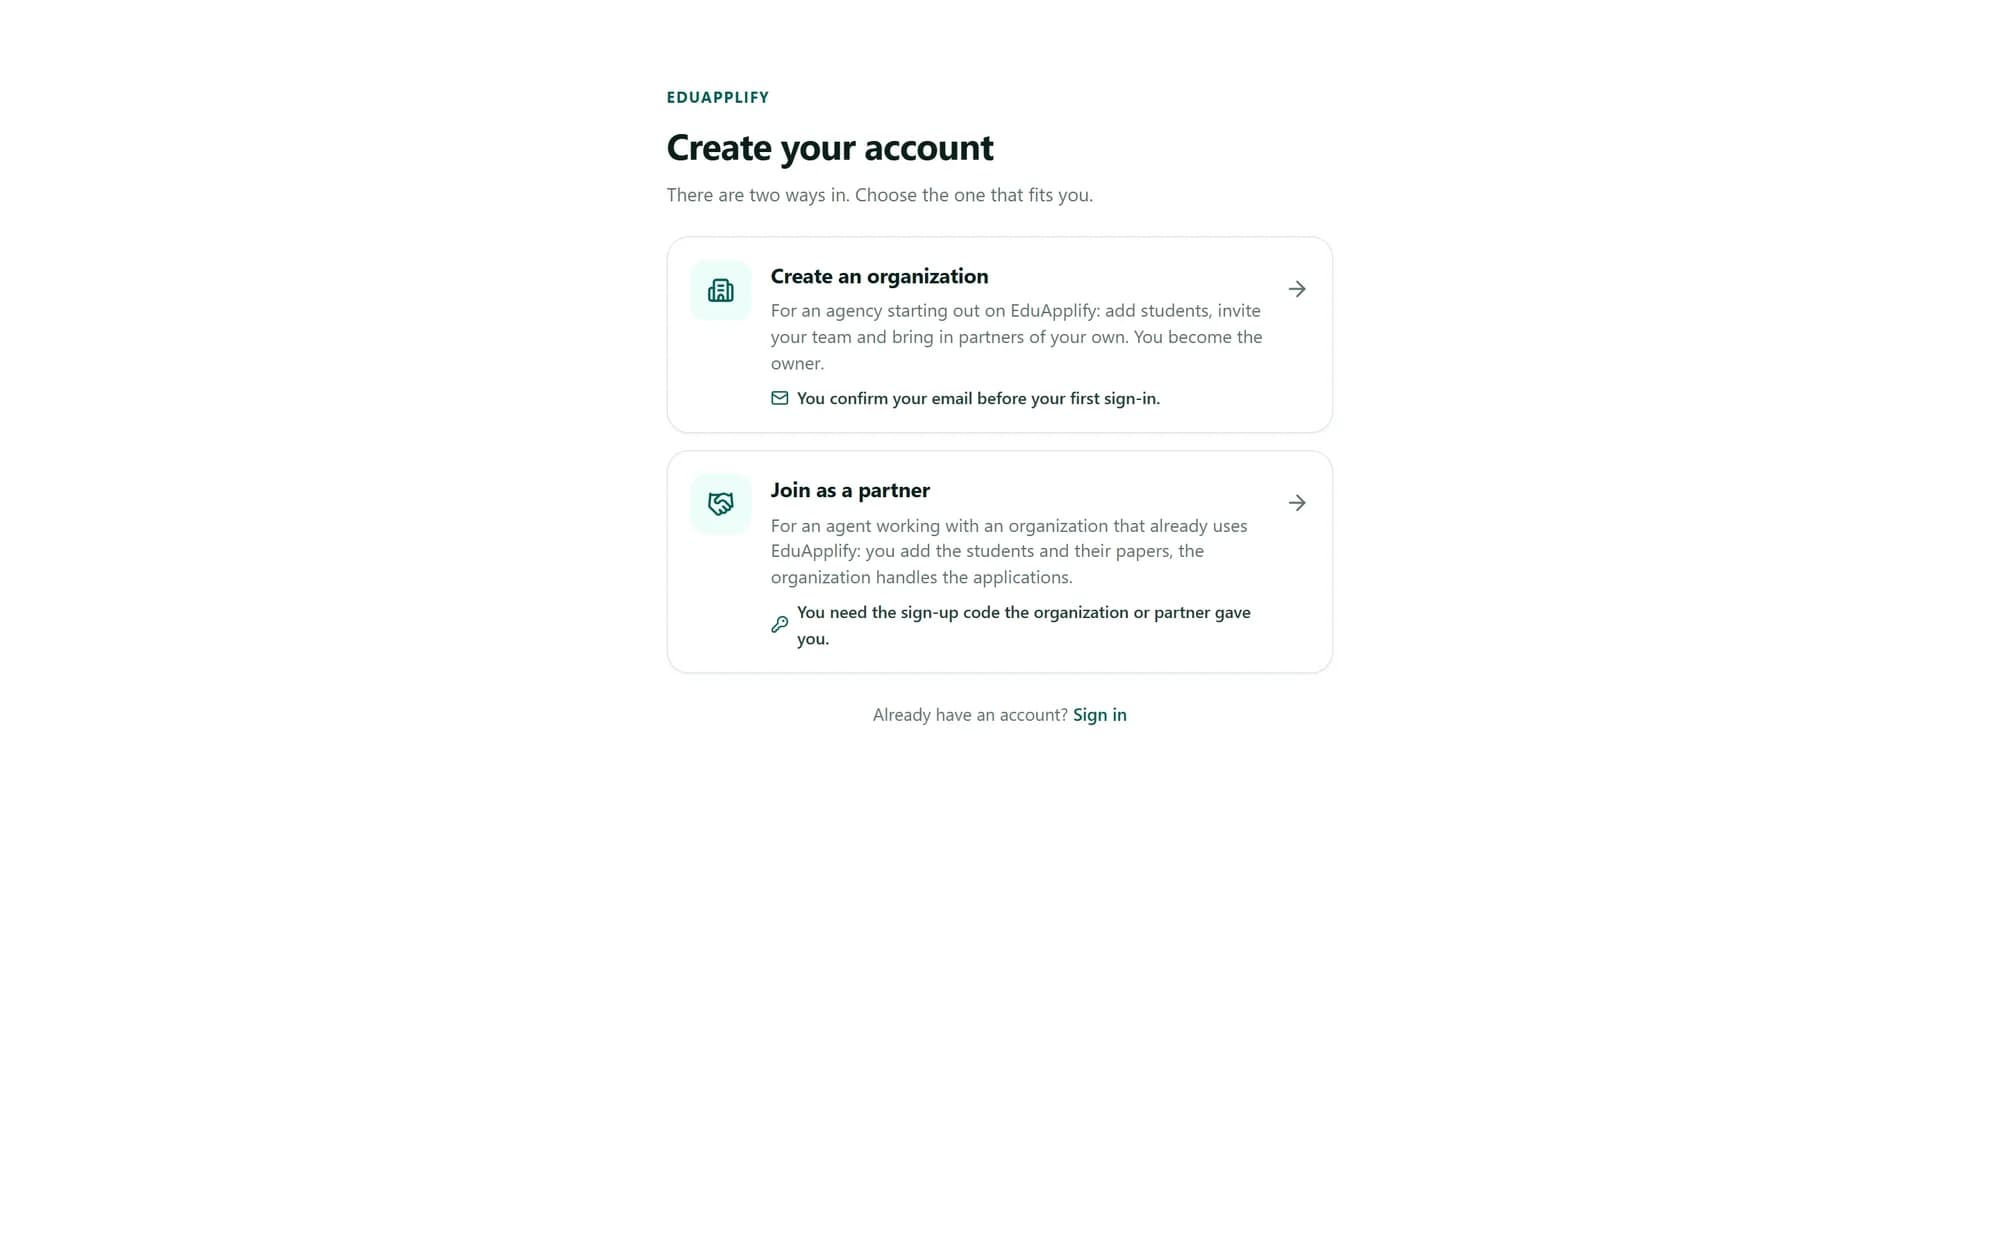
One login can belong to several organizations: the ones you create and the ones that invite you. Each organization keeps its own students, team, partners and credits, and your role can be different in each.
Step 1
Switch between organizations
The organization you are working in is named at the top right of the header. Click it to open the switcher: it lists every organization you belong to, with a tick beside the current one. Choose another to switch. The pages then show that organization's students, team and credits, with your permissions there.
Tip: To join another organization with the login you already have, ask its owner or an admin to invite your email address. Open the link and sign in, and you are added; no new account is needed.
Step 2
Create another organization
In the switcher, choose Create Organization. Enter the name; the slug, which is used in web addresses, fills itself in from the name. For a name in Chinese, type a slug in lowercase letters and hyphens. The logo and the recommender details are optional and can be added later in Settings.
Choose Create. You become the owner, and the switcher moves to the new organization at once.
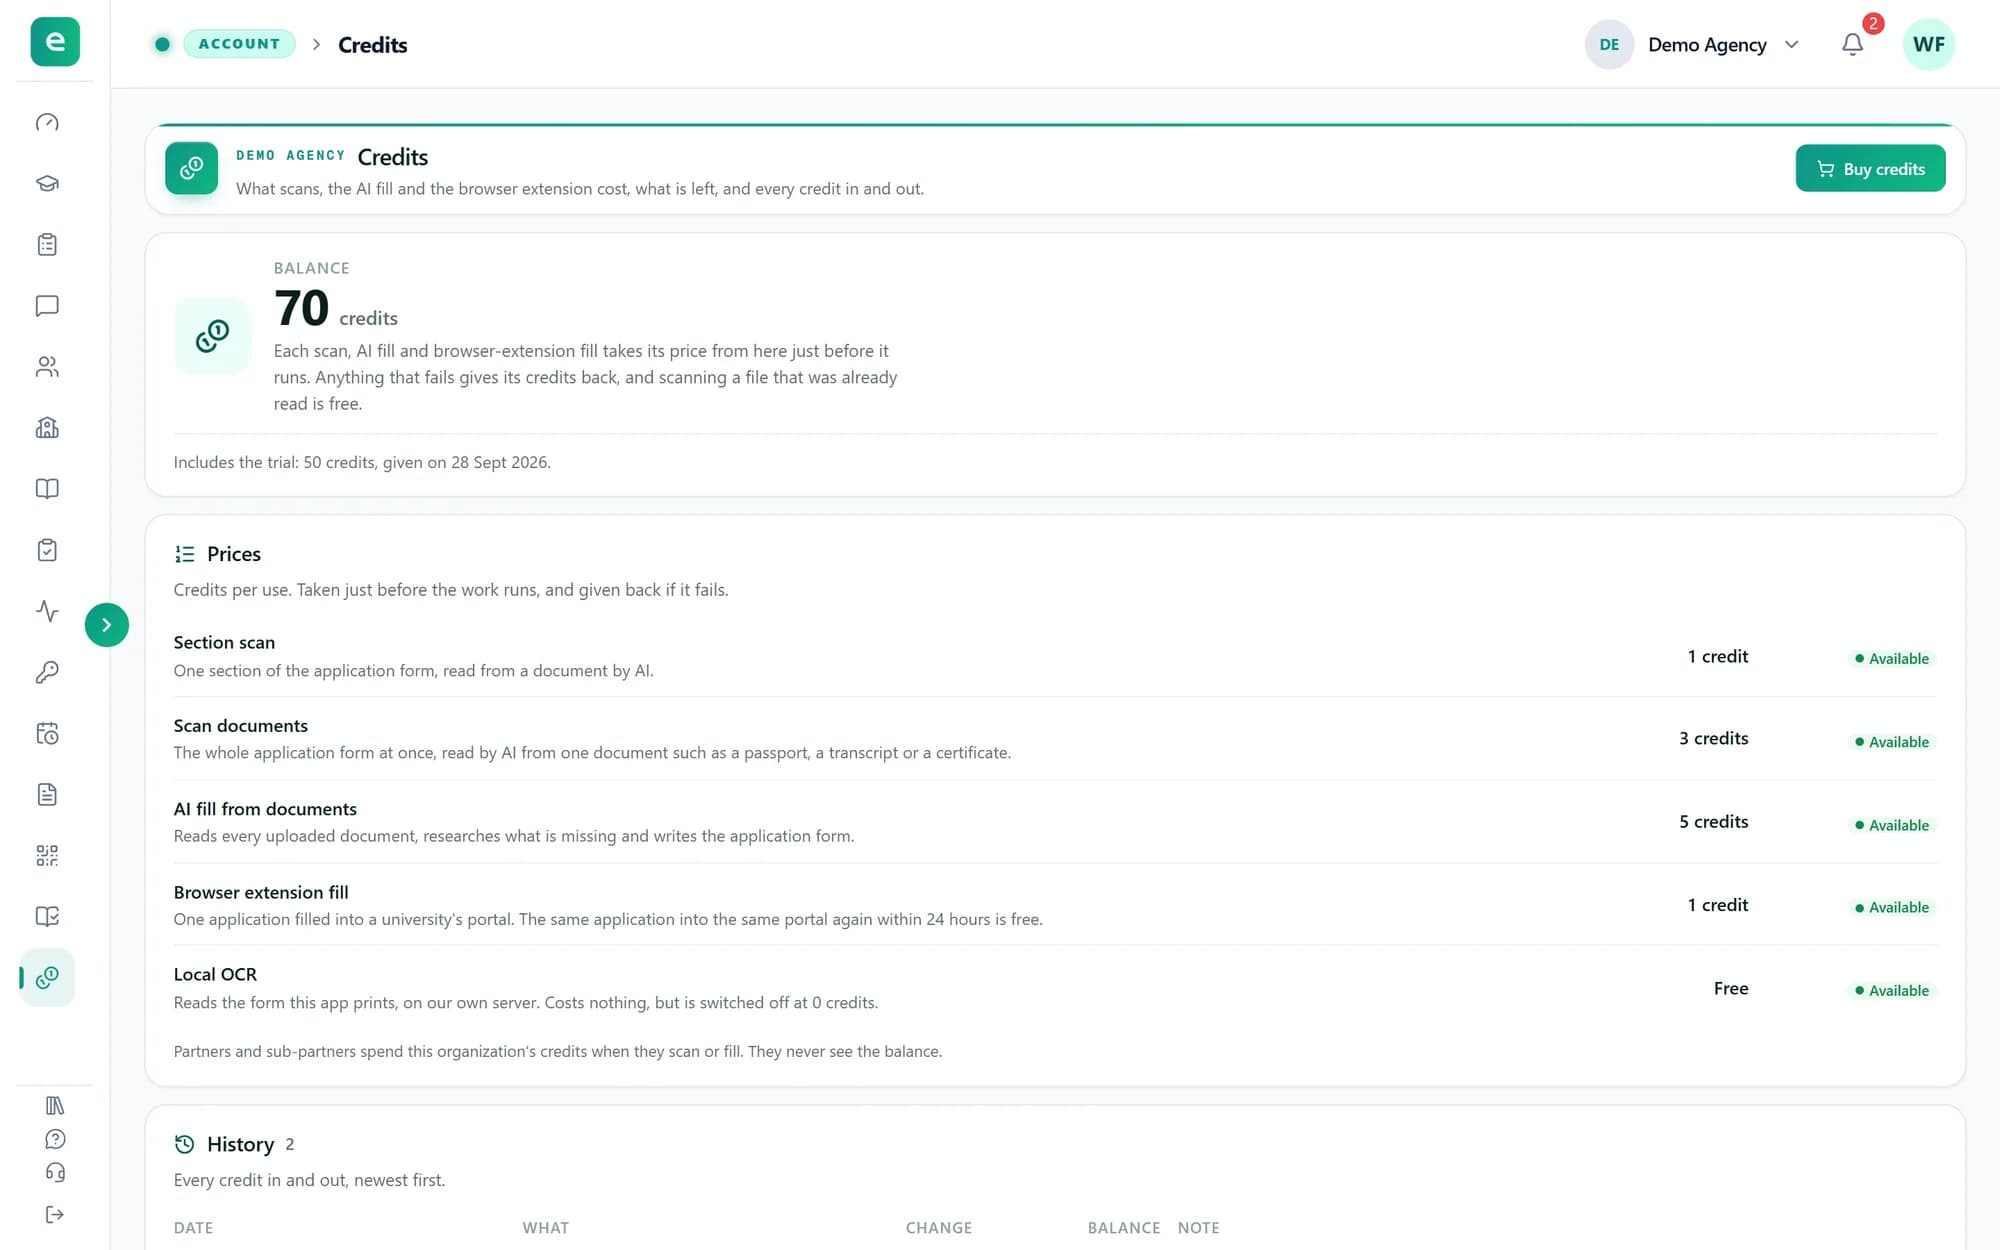
Tip: The 50 free trial credits go only to the first organization a person ever creates. Every later organization starts at 0 credits; contact support to add some.
Step 3
Hand an organization over
Choose Settings in the switcher to open Organization Settings for the organization you are in. Owners see Ownership near the bottom. Pick the member under New owner, choose Transfer ownership and confirm. They become the owner and you become an Admin: you can no longer delete the organization or manage its owners, and only an owner can make you an owner again.
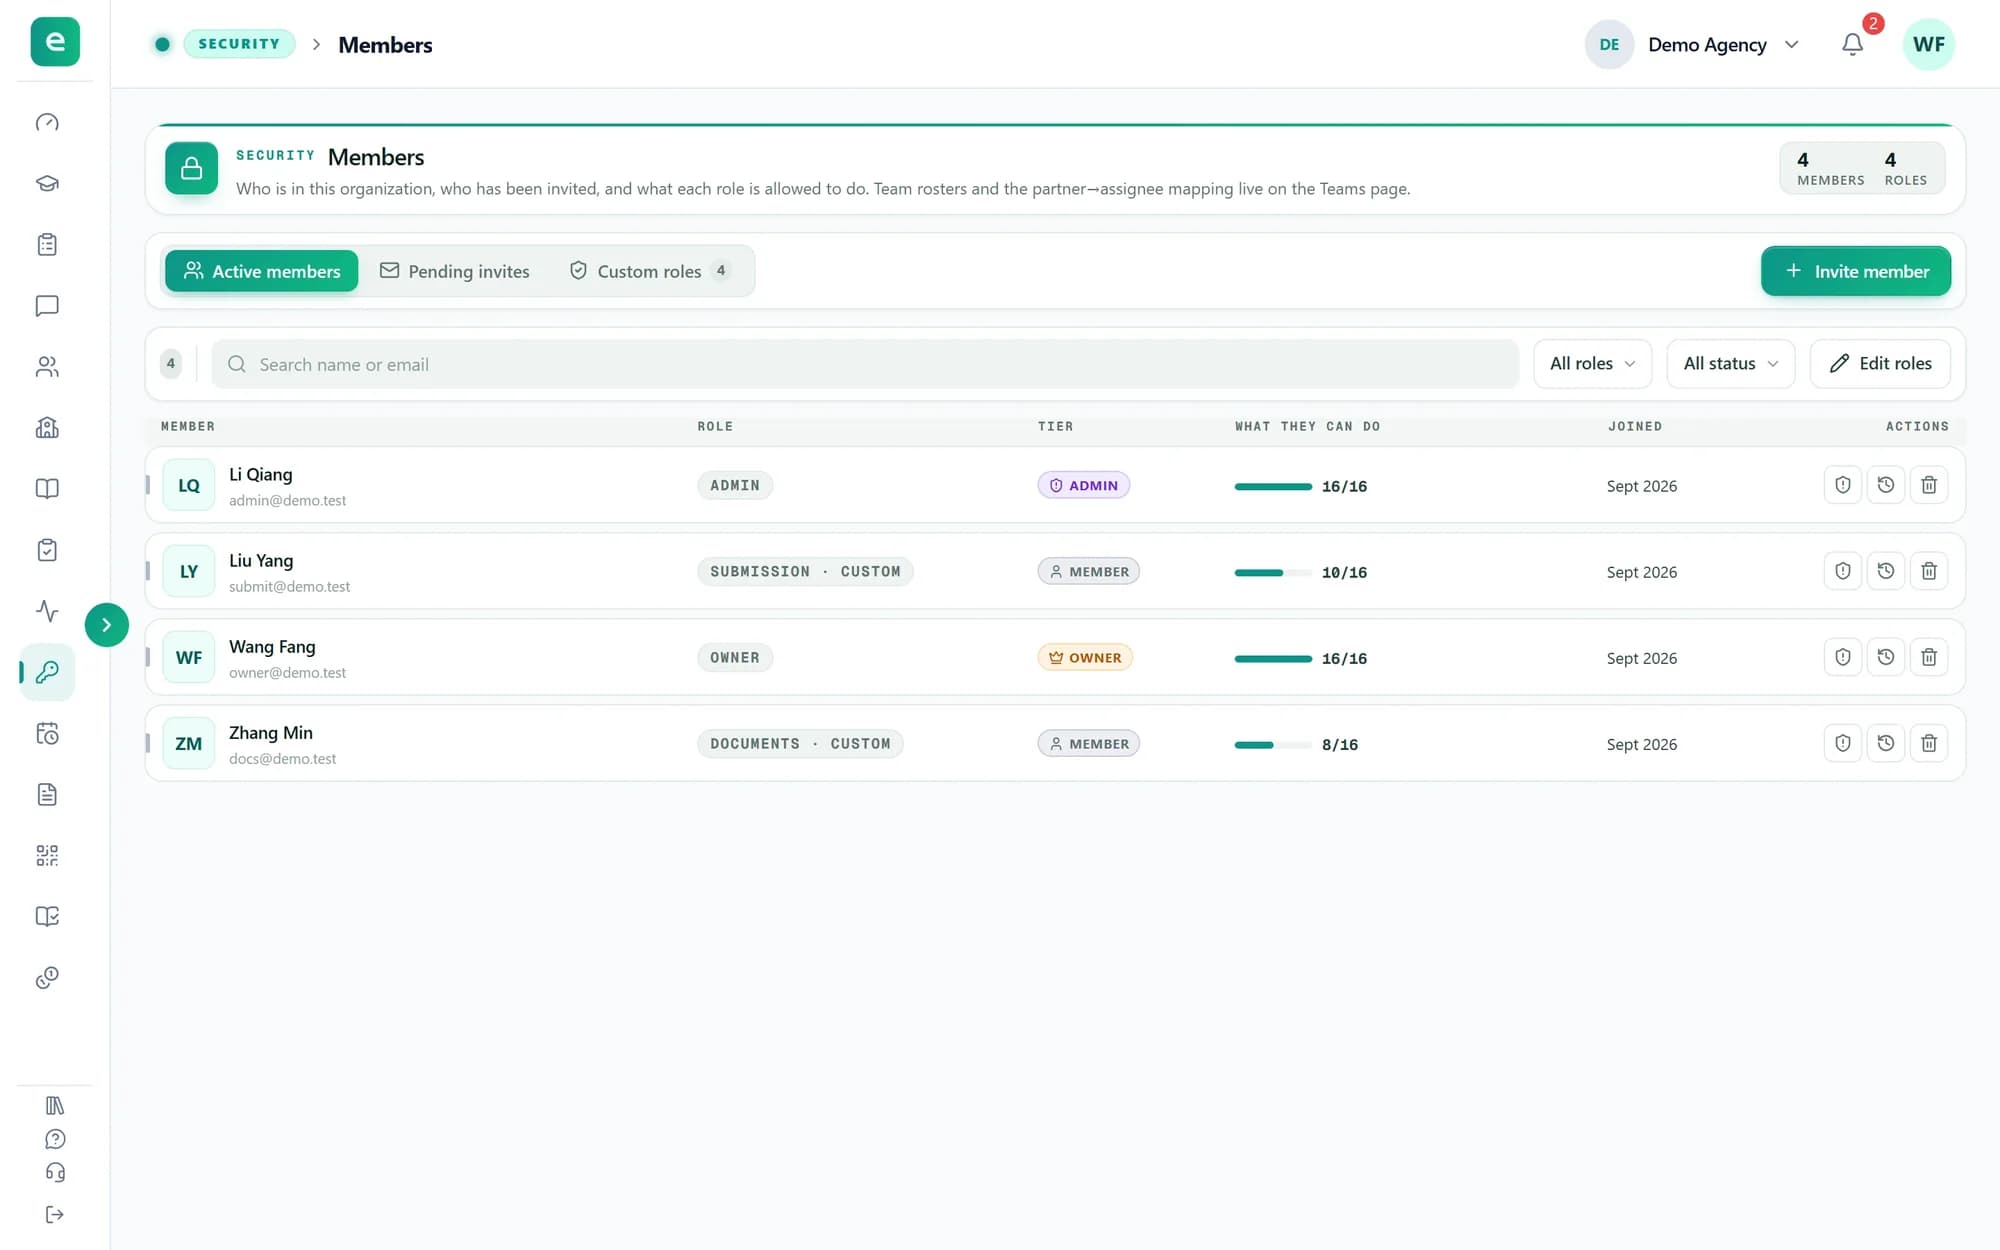
To add a second owner and stay one yourself, use Grant ownership in that person's permissions on the Members page instead.
Tip: The new owner must already be a member. If nobody else is in the organization yet, invite someone first.
Step 4
Leave an organization
In the Danger Zone, Leave removes you from the organization at once. Only a new invitation can bring you back. If you belong to other organizations, the app switches to one of them.
Tip: The only owner cannot leave. Hand the organization over first, or delete it.
Step 5
Delete, and restore within 10 days
Only an owner can delete. Choose Delete, type the organization's name exactly as it is written, and choose Confirm Delete. Members, partners and sub-partners lose access at once, and the browser extension stops working for them.
For 10 days an owner can undo it: open the switcher and choose the organization under Recently deleted. Everything comes back as it was, credits included. After 10 days the deletion is final, and the credits left on the organization are forfeited.
Tip: Recently deleted appears in the switcher only for an owner of the deleted organization.
What you have now
You can move between your organizations, start a new one, and hand over, leave or delete one safely.