Invite your team
Invite colleagues by email, give each one a role, and adjust what a single person may do.
- 5 min
- 6 steps
- For organizations
Everyone at your organization signs in with their own login. You invite them by email and pick a role, and the role decides what they can see and change. Owners, admins and members whose role has Manage members can do this.
Step 1
Open Members
In the sidebar, choose Members. The page has three tabs: Active members, Pending invites and Custom roles.
Each row shows a person's role, their tier (owner, admin or member) and how many permissions they hold. If Members is not in your sidebar, your role does not include Manage members.
Step 2
Create a role for each kind of work
Open the Custom roles tab and choose Create role. Name the role, for example Documents or Submission, and switch on what it may do. The switches come in four groups.
Student data: see and edit students, upload, download and request documents, and generate the printed application form.
Applicant: see the Applicants list and the application form, edit the form (this includes the AI fill), record university results with Mark applied, and use the browser extension.
Finance: see application fees and payment screenshots, and confirm or reject them.
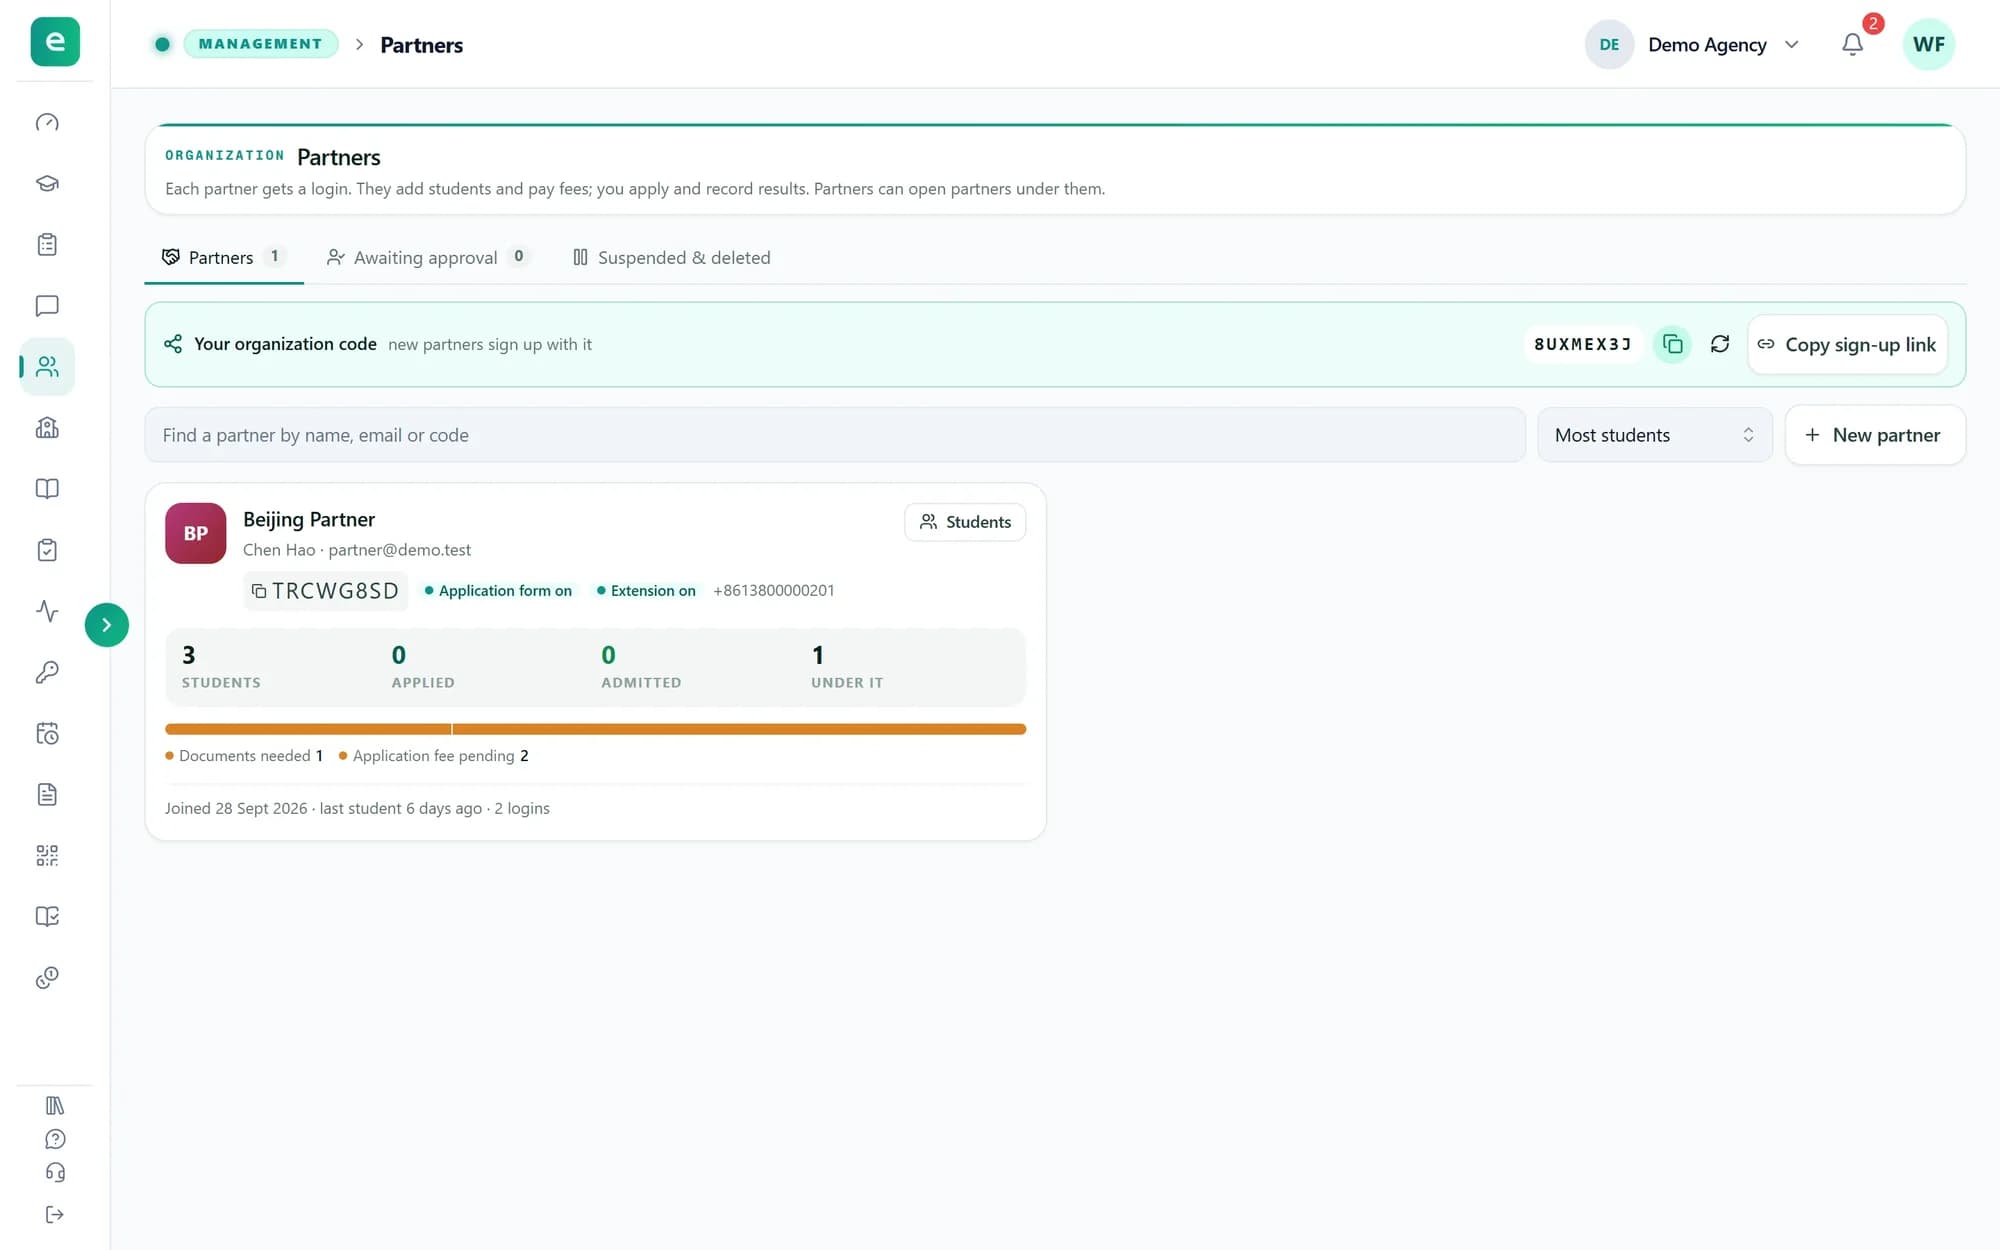
Admin: manage members, partners, the university catalogue and the pipeline assignments.
Owner and Admin are fixed system roles. An admin can do everything except manage owners, hand the organization over or delete it. When you edit a role, the change applies to everyone who holds it.
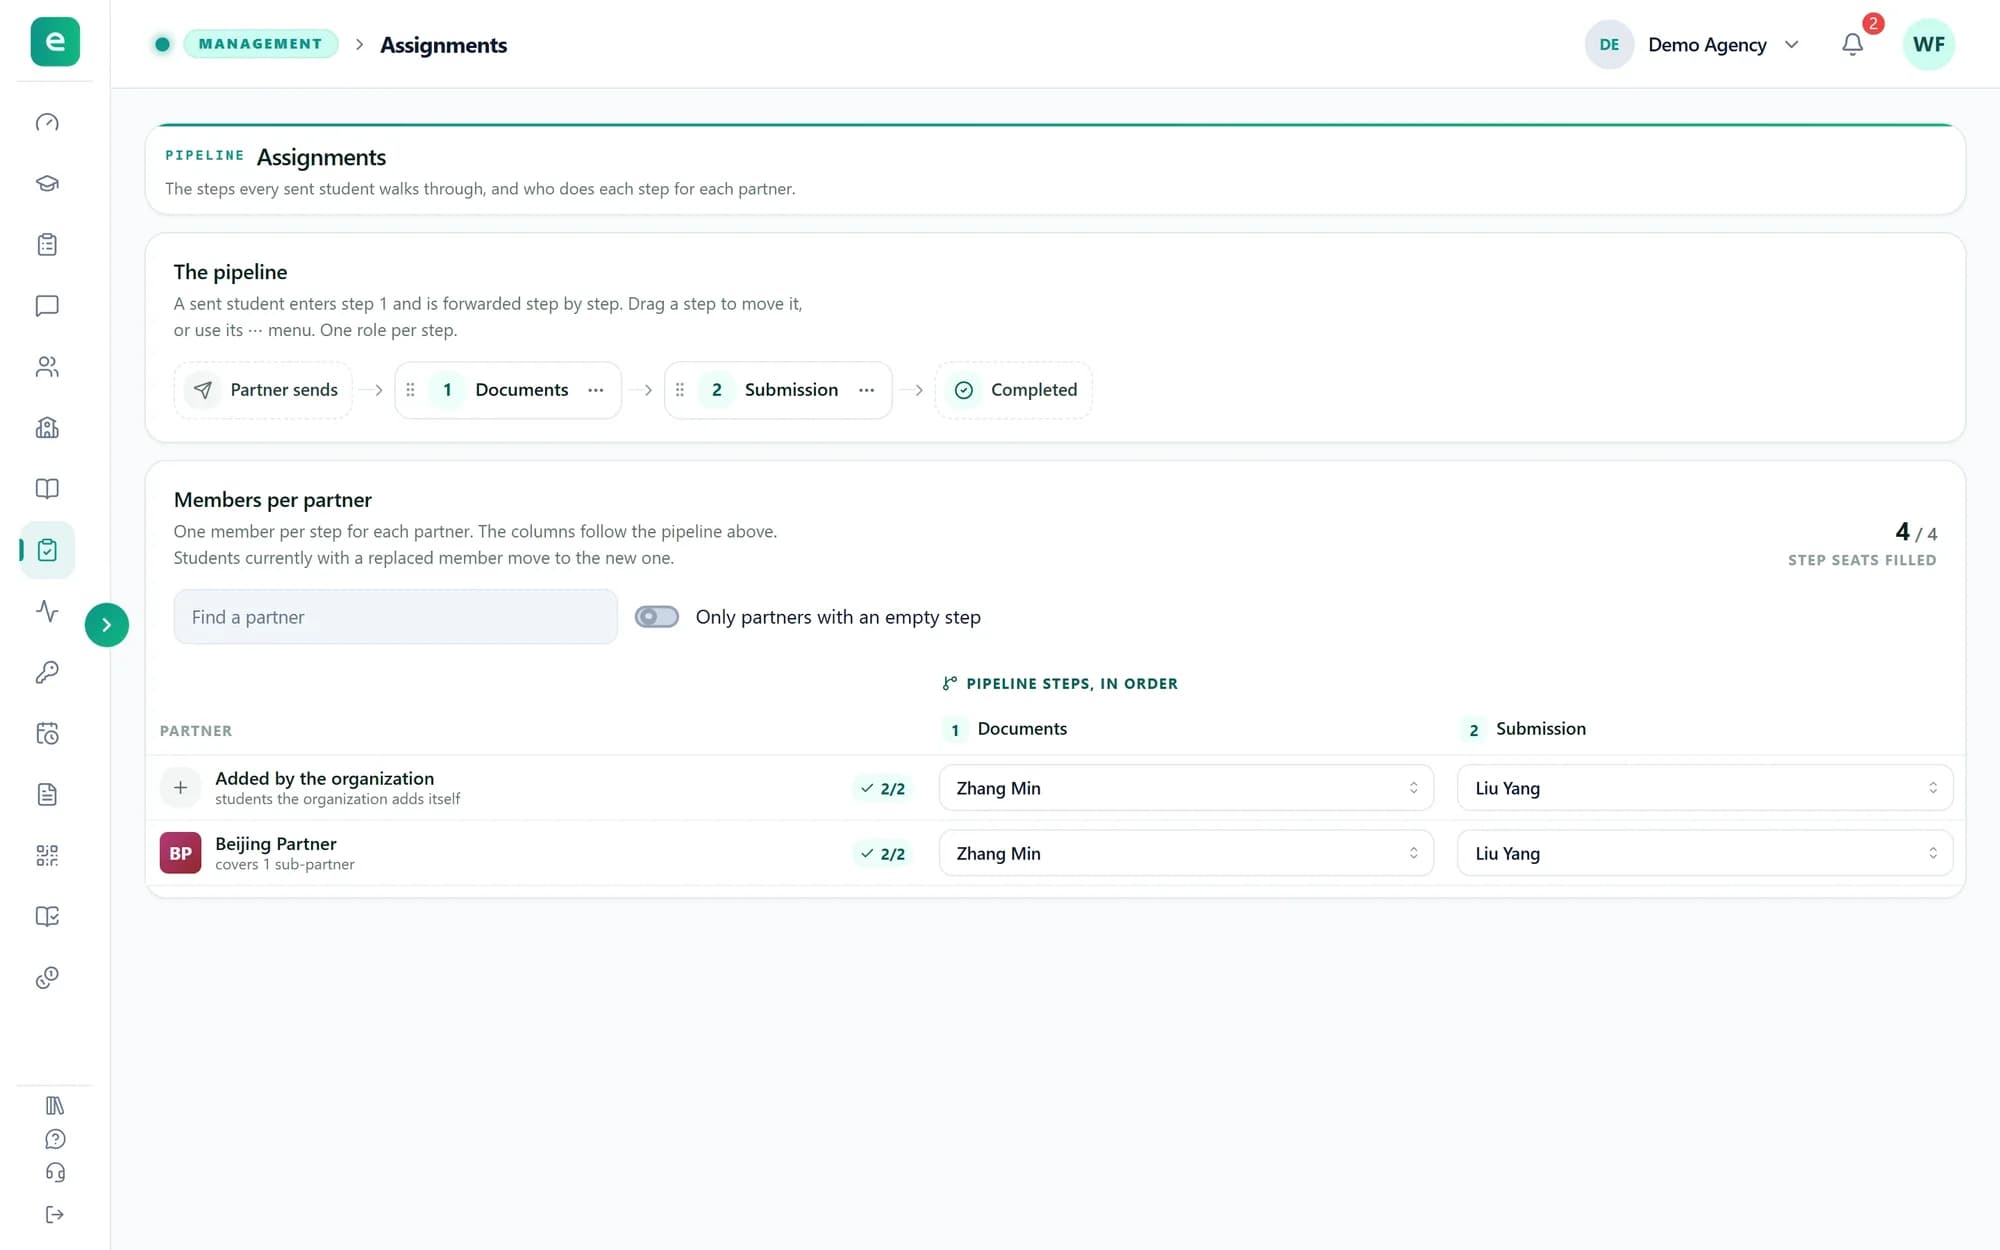
Tip: Owners and admins see every student. Everyone else sees only the students the pipeline gives them, so after someone joins, give them a place on the Assignments page, or their student list stays empty.
Step 3
Send the invite
Choose Invite member. Enter the person's email address, pick a role, and choose how long the link stays valid: 3, 7, 14 or 30 days. Then choose Send invite.
They get an email with a link. Someone new sets their name and a password on the invite page; someone who already has a login signs in and is added. Nothing is created until they accept.
Tip: Owner is not in the role list: ownership is granted after someone joins. Only an owner or an admin can invite someone as Admin.
Step 4
Follow up on pending invites
The Pending invites tab lists invitations nobody has accepted yet. Resend invite emails the link again with a new expiry date. Revoke invite cancels it, so the link stops working. Inviting the same address again replaces the earlier invite.
Step 5
Fine-tune one person
On Active members, the shield button in a person's row (Edit permissions) opens their permissions. Every switch starts from their role. Change one and it applies to this person only; the reset arrow beside it puts it back to the role's setting. Choose Save changes.
To give someone another role, choose Edit roles and pick the new role in their row. Changing the role clears their individual settings.
Tip: You cannot change your own role or permissions, and an owner's permissions cannot be narrowed. Only an owner can make someone else an owner, with Grant ownership in the same window; the owner who grants it stays an owner.
Step 6
Remove someone
The bin button in a row removes that person, and they lose access at once. Any students they were holding in the pipeline wait with nobody until you assign someone on the Assignments page.
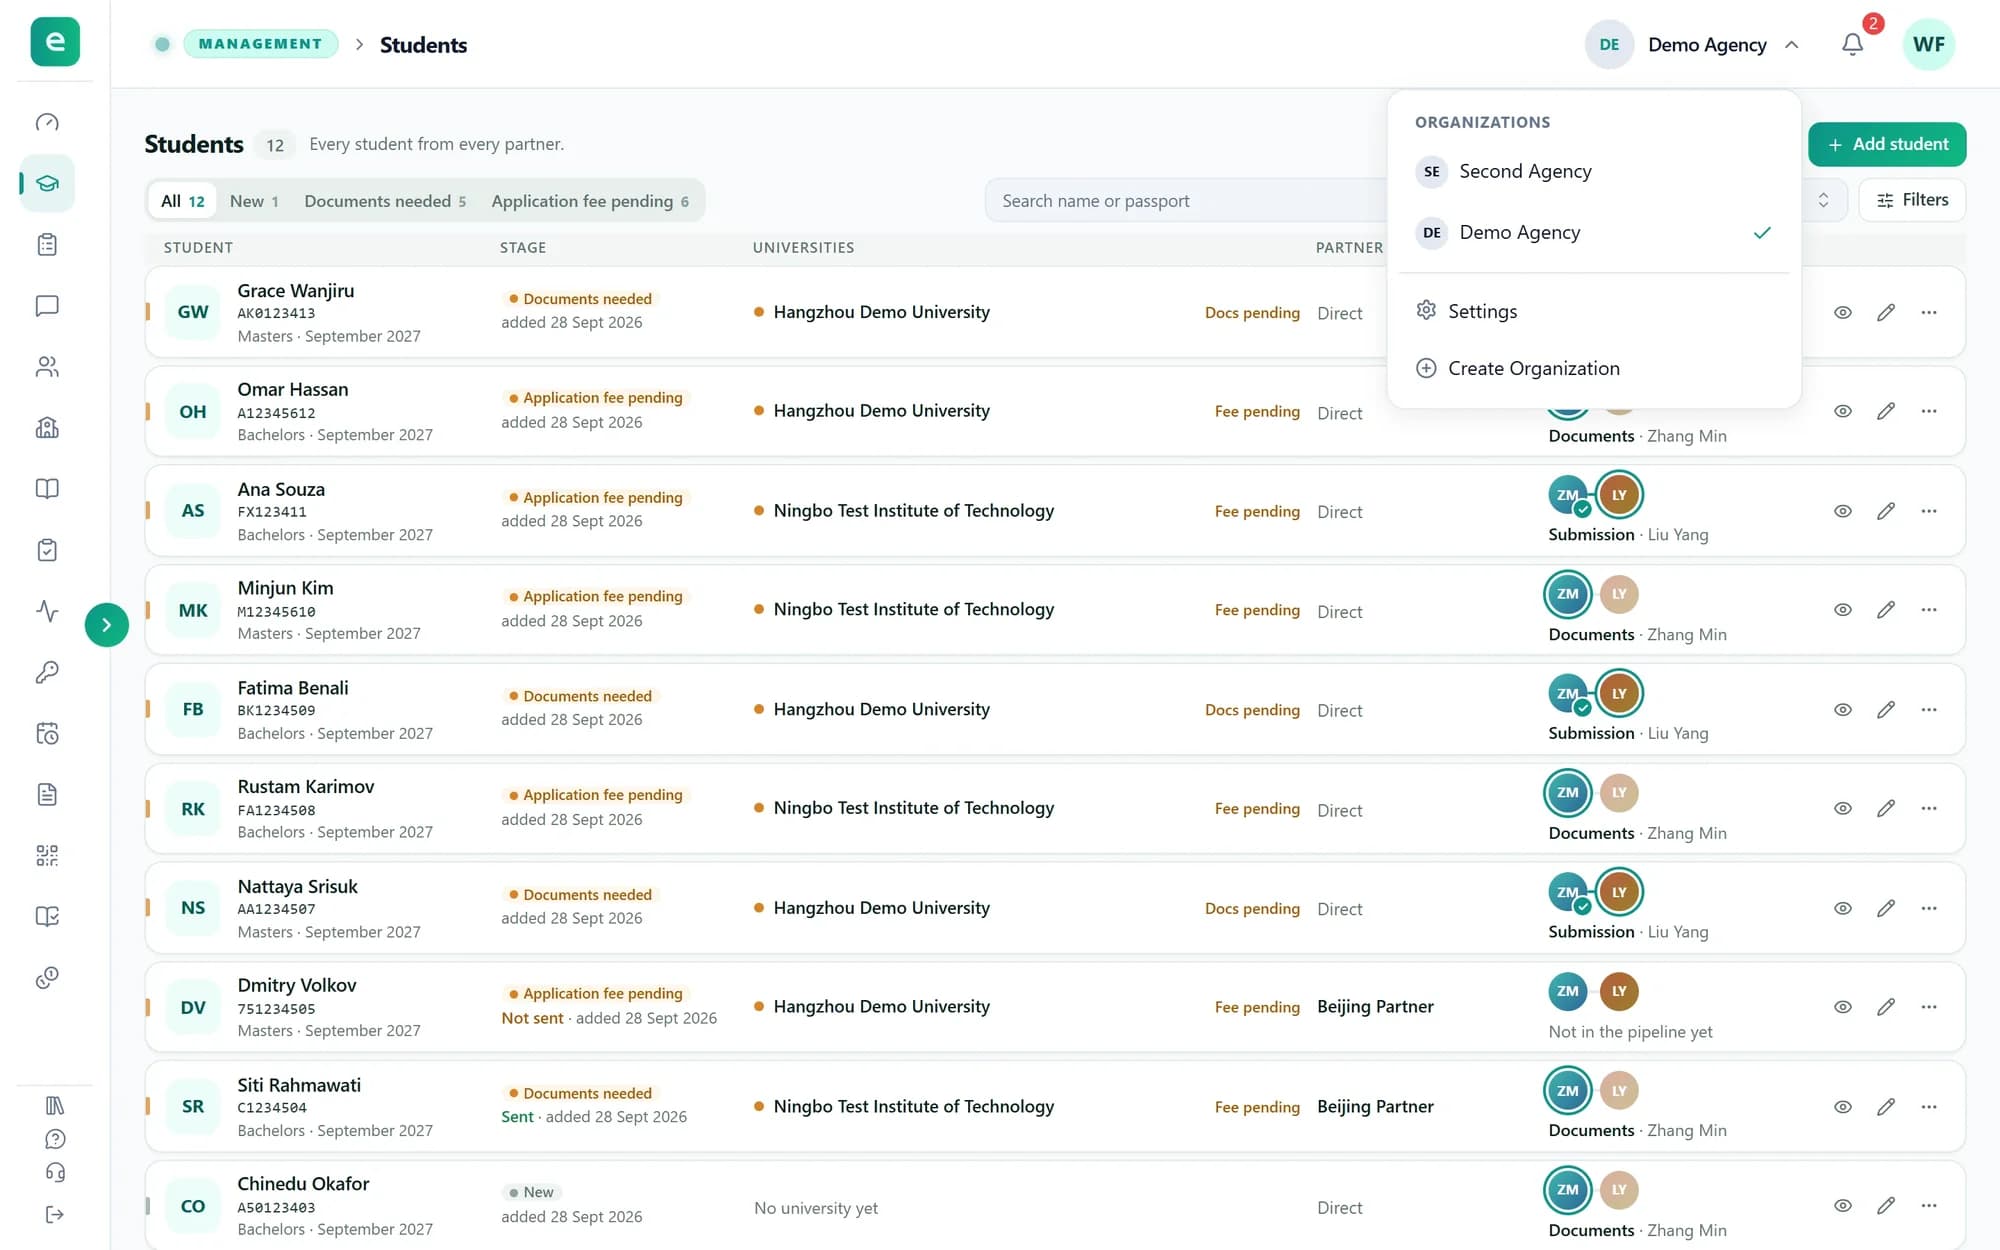
Tip: You cannot remove yourself: to leave, open the organization switcher, choose Settings and use Leave. An admin cannot remove an owner, and the last owner cannot be removed.
What you have now
Your team signs in with their own logins, and each person's role decides what they can do. Next, give them their places in the pipeline.