Generate a university's own forms
Fill a university's own Word and Excel forms with an applicant's details, check them, and download them ready to send.
- 5 min
- 7 steps
- For organizations
Many universities want their own forms filled in as well as the online application. The Application forms screen fills them from the application you already have, and asks you only for what the application cannot answer.
Step 1
Open Application forms
Owners, admins and members whose role has the “Applicant edit” permission find Application forms in the sidebar. Its Generate tab is where you fill forms.
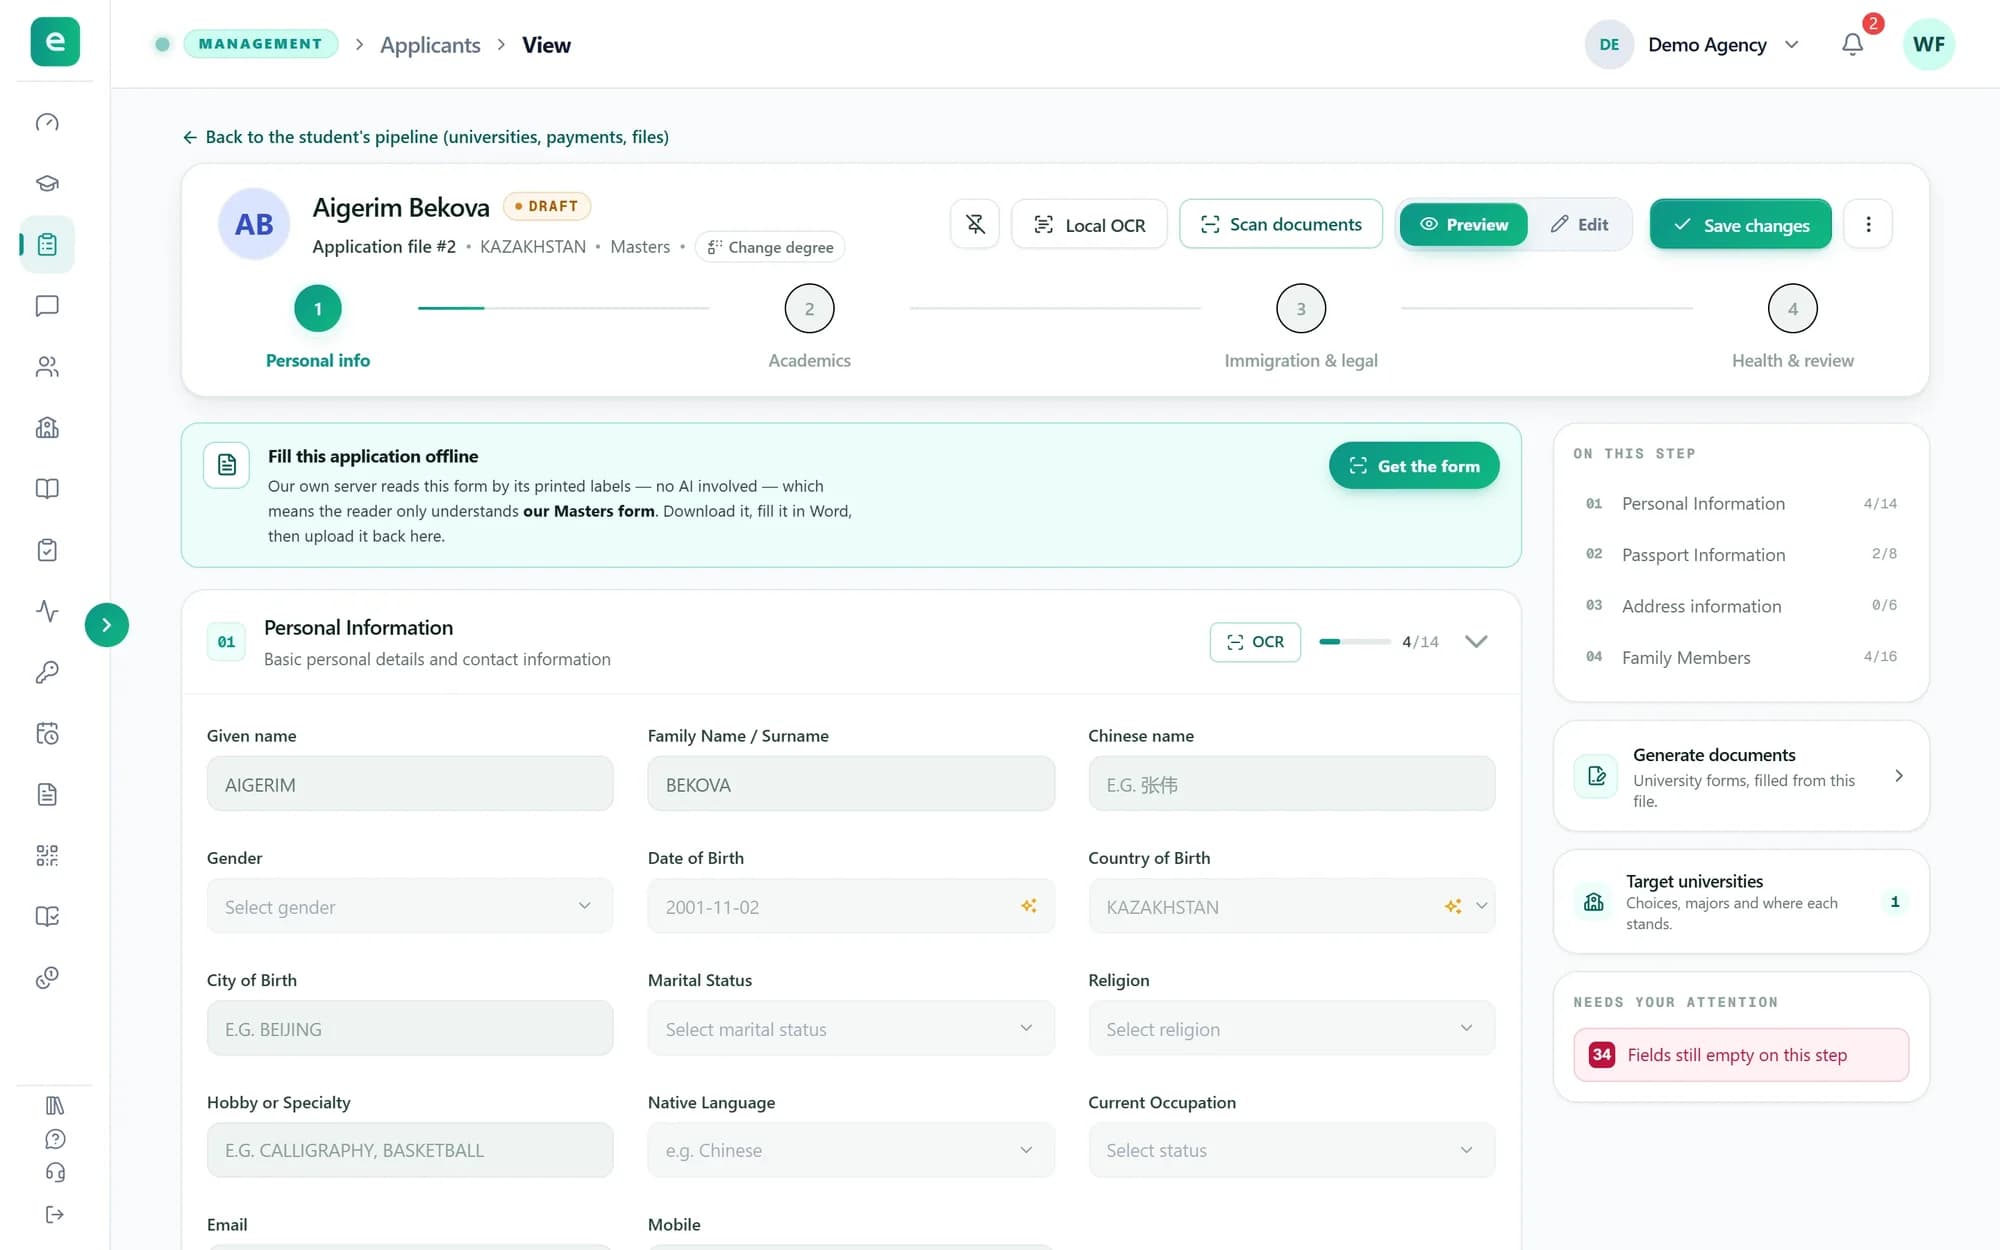
On an applicant's application form you can also press the Generate documents card on the right. It opens the same screen.
Tip: The card does not choose the applicant for you. Pick them again at the top of the screen.
Step 2
Pick the applicant and the university
At the top, search for the applicant by name, email or file number, then search for the university.
The university list is the forms catalogue: the shared, ready-made university forms plus your organization's own. Only universities that have forms appear, and it is a separate list from your Universities page.
Step 3
Choose the forms
The Application forms panel lists that university's forms. The required ones are ticked for you, or all of them when none is marked required. Tick or untick each form, or use All and None.
Step 4
Add the photo and signatures
Open Photo & signatures. It lists the pictures the chosen forms print: the ID photo, the applicant's signature, and a guarantor's, guardian's or parent's signature where a form asks for one.
Upload each one once, as a JPEG or PNG of up to 5 MB. They are kept with the student and used on every form for every university. A signature is never printed in someone else's box.
Step 5
Answer what the application cannot
Your answers lists the only fields the application could not fill for these forms. Answer them before you generate, so the forms come out complete the first time.
Your answers are kept for this session and printed on every form that asks. They are not saved to the application, and they are cleared when you change the applicant or the university.
Tip: If the same box comes out empty for every student, add that detail to the application form itself. Then every form that asks for it is filled.
Step 6
Generate, check and download
Press Generate documents. The filled forms appear on the right. When the server can convert them you see the real PDF pages; otherwise it says No preview available and you download the file to look at it.
Download each form as a PDF when there is one, or as its Word or Excel file. With several forms, the All button gets them in one ZIP. A form whose number carries a dot still has blank fields. Change an answer and press Regenerate.
Tip: Nothing generated is stored. Generate again whenever the application changes.
Step 7
Add your own forms or copy a shared one
On the Universities & documents tab, owners and admins manage the forms. Shared forms are the same for every organization and cannot be edited: press Clone to take your own copy, then edit that. Once you have a copy, Generate uses it instead of the shared one.
To add a form the catalogue does not have, choose the university (or press Add university) and press Add our document. Upload the university's blank form as .docx or .xlsx, check the field proposed for each box, and press Save document. A .doc or .xls file has to be saved in the newer format first.
Tip: If the shared form changes after you cloned it, your copy shows Update available.
What you have now
You can now fill a university's own forms for any applicant, check them, and download them ready to send.