Fill in the application form
Work through the four steps of a student's application form, save as you go, and change the degree when the student's plans change.
- 5 min
- 6 steps
- For everyone
Each student has one application form. It holds what universities ask for, in four steps, and its sections follow the degree the student applies for. Your organization's team fills it in, and so can a partner when the organization allows it.
Step 1
Open the form
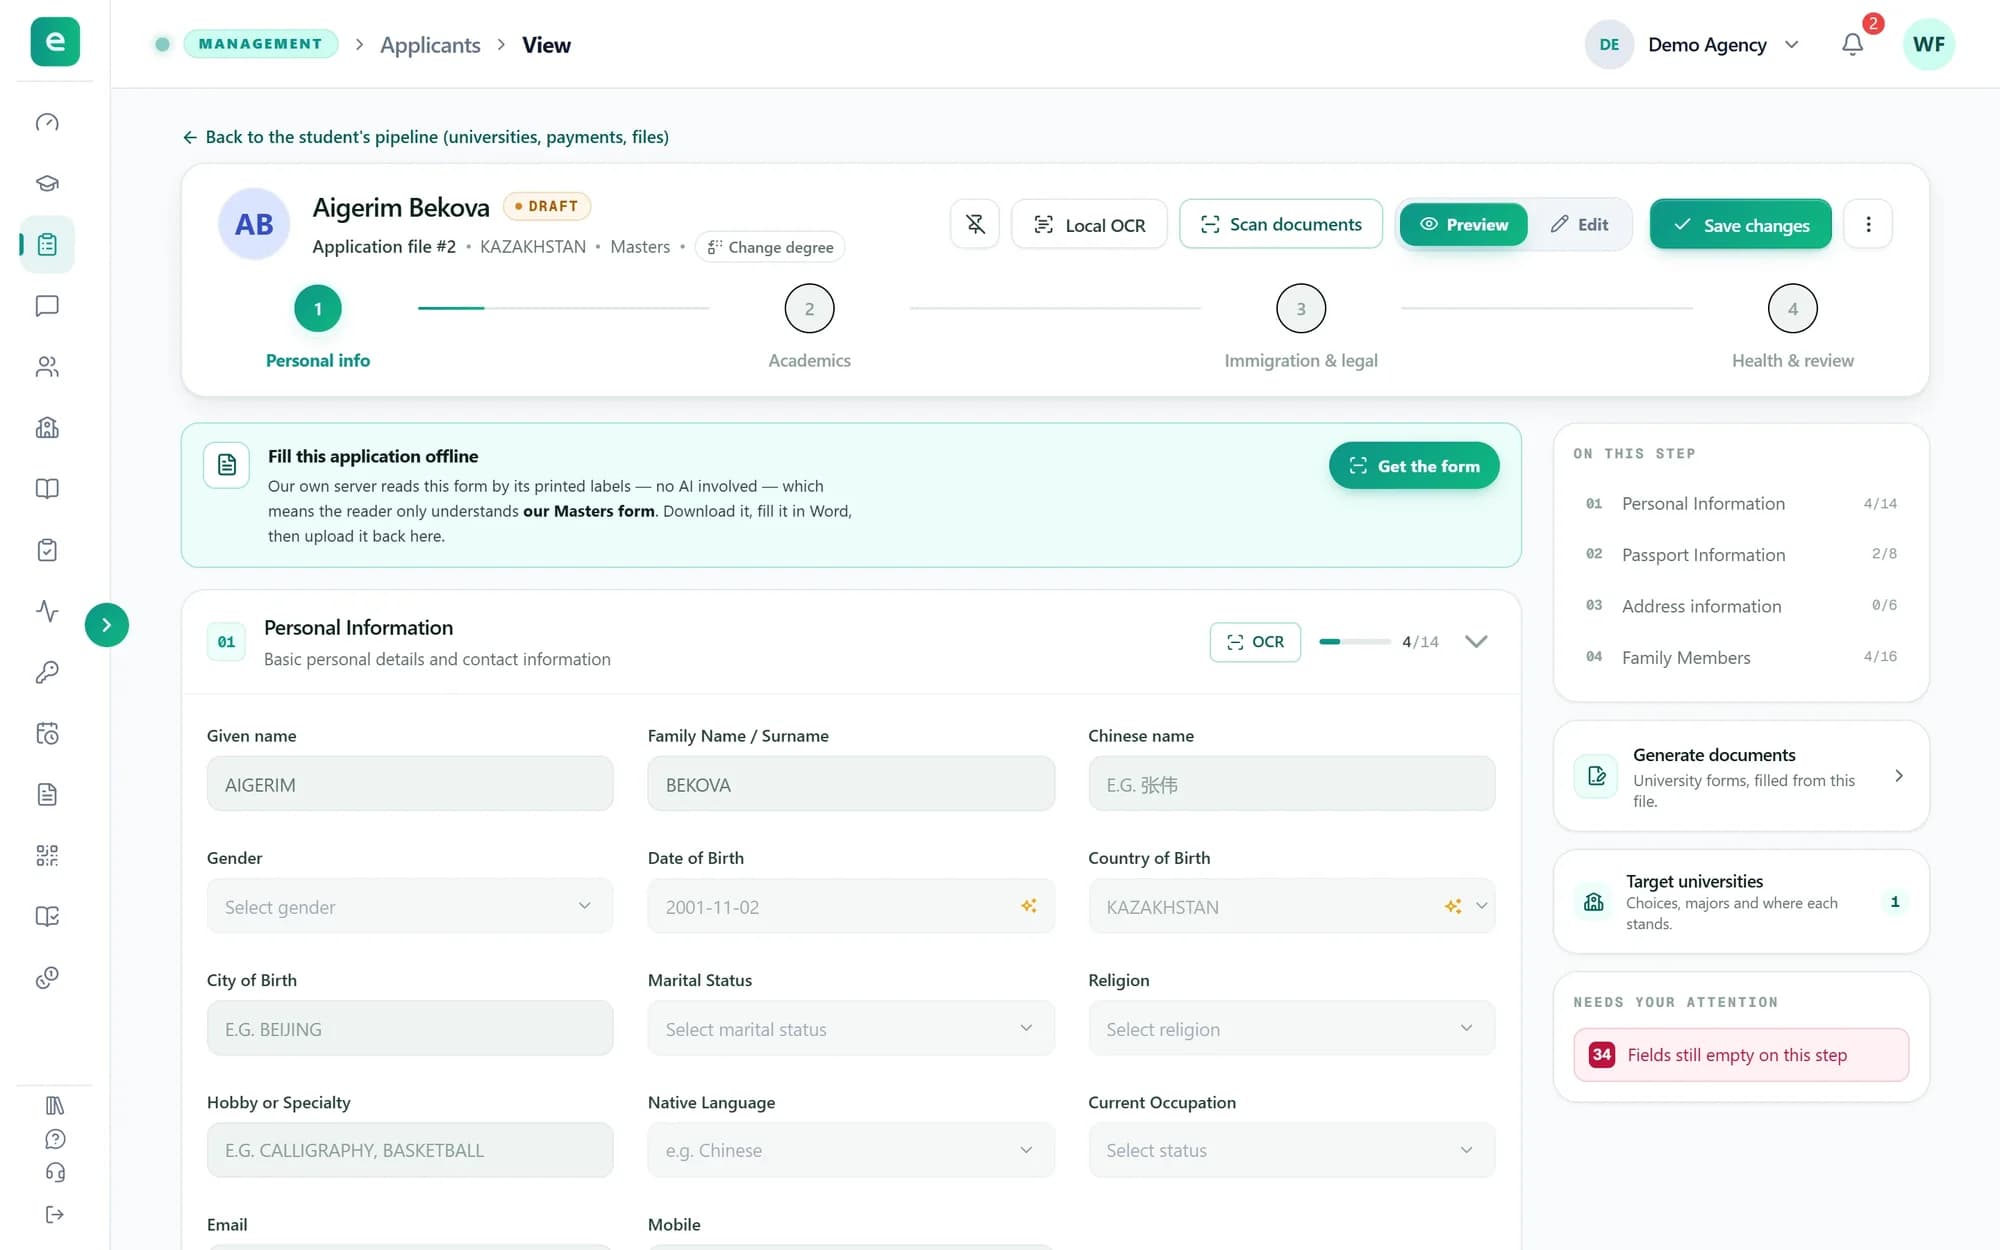
On the student's page, press “Application form”. Or open “Applicants” in the sidebar and choose the student. The form opens in Preview; press “Edit” to start typing.
The link at the top, “Back to the student's pipeline (universities, payments, files)”, returns to the student's page.
Tip: Reading the form needs the Applicant View permission and changing it needs Applicant Edit; owners and admins have both. A partner sees “Application form” only when the organization has switched “Application form” on for its desk, and a desk member who is not its owner or admin also needs it switched on by them.
Step 2
Work through the four steps
The steps across the top are “Personal info” (personal details, passport, addresses and family members), “Academics” (education, languages and work), “Immigration & legal” (immigration, visa and legal records) and “Health & review”. Each step shows how many of its fields are filled. Click a step to go to it, and use “On this step” on the right to jump to a section.
The button at the bottom, “Continue to …”, moves to the next step. Every field takes English or Chinese letters only: while a field on the step holds another script, the form names it and stays where it is.
Step 3
Save your changes
Press “Save changes” at the top right whenever you stop. Until then your edits are kept only in this browser, not on the student's record. If you leave with unsaved edits, “Save your changes?” offers “Save and leave”, “Leave without saving” or “Stay”, and “Discard changes” in the ⋮ menu throws edits away.
On the last step, the button at the bottom reads “Submit application”; it saves the form in the same way.
Step 4
See what still needs attention
“Needs your attention” on the right counts the fields still empty on the current step; click it to jump to the first one. The last step, “Health & review”, ends with “Review & submit”: what is still missing on each step, with “Open” to go there and “Re-check file” to count again.
Step 5
Change the degree if you need to
The degree shows under the student's name, next to “Change degree”. Press it, pick Bachelor's, Master's, Doctorate / Post-doc, Chinese Language, Summer School, Winter School or Diploma, and press “Switch to …”.
Everything already filled in is carried over; only the fields the new degree does not ask for stop being shown. Unsaved changes are saved first, so nothing is lost.
Step 6
Let documents do the typing
Instead of typing everything, you can fill the form from files. “OCR” on a section reads one document into that section, “Scan documents” reads one file into every section it can fill, and “Local OCR” reads the system's own printed application form once it has been filled in, without AI. “Get the form” downloads that form to fill in Word.
Tip: “OCR” on a section costs 1 credit and “Scan documents” 3; a scan that fails gives them back. “Local OCR” is free, but it is switched off while your organization has no credits left.
What you have now
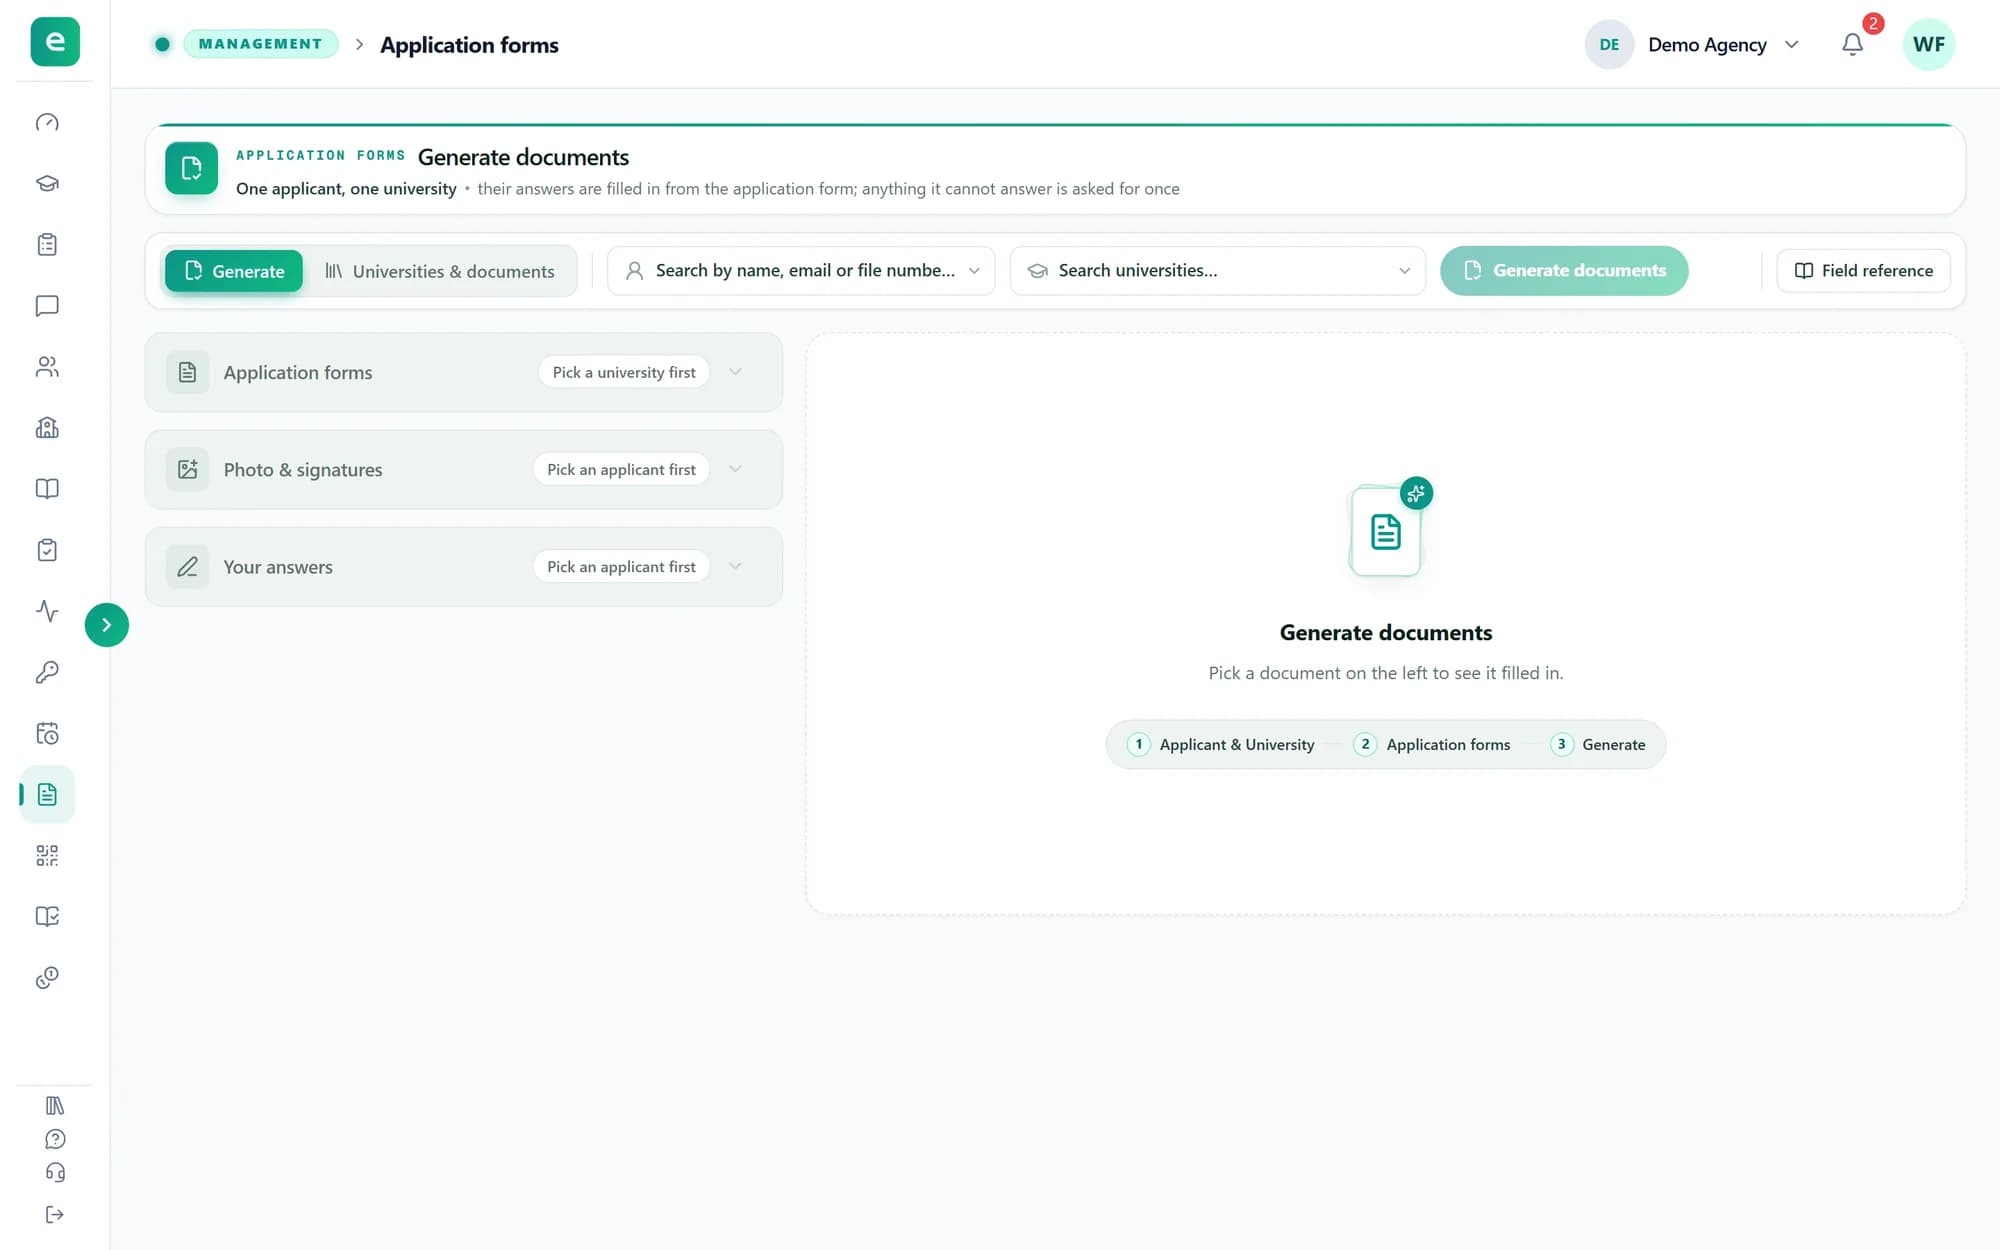
The student's application form is filled in and saved, ready for the university's own forms and portals.